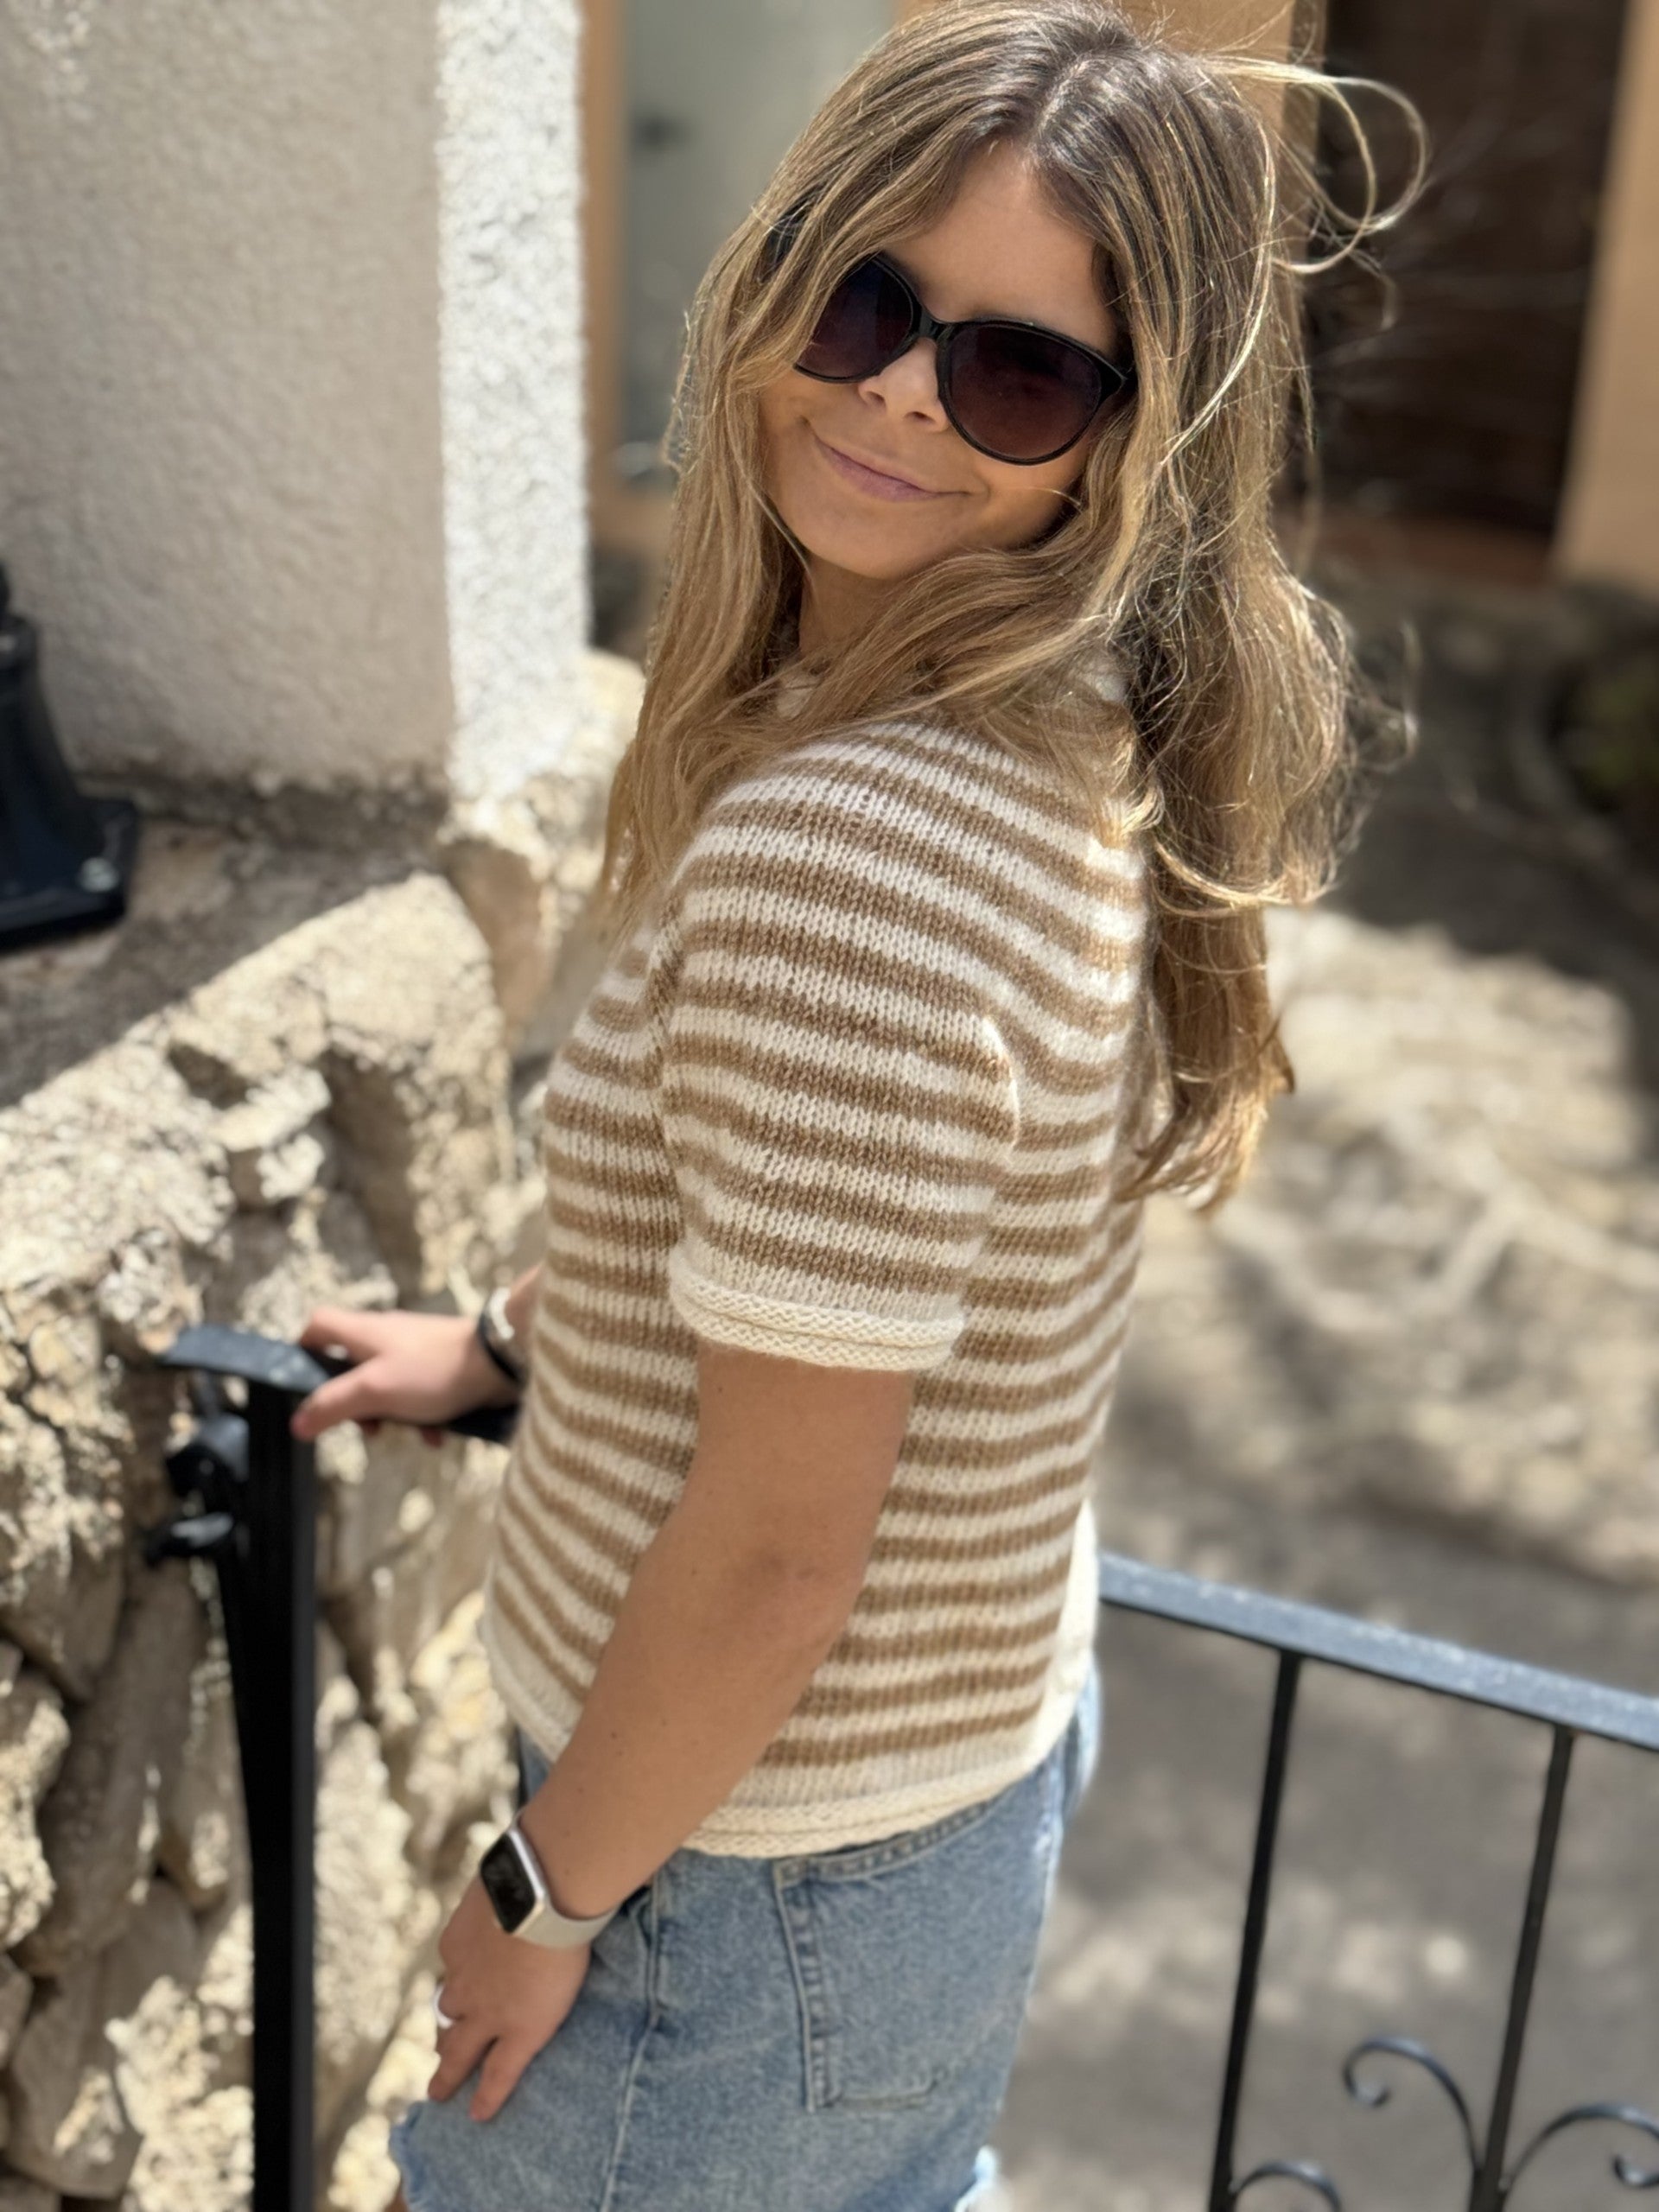
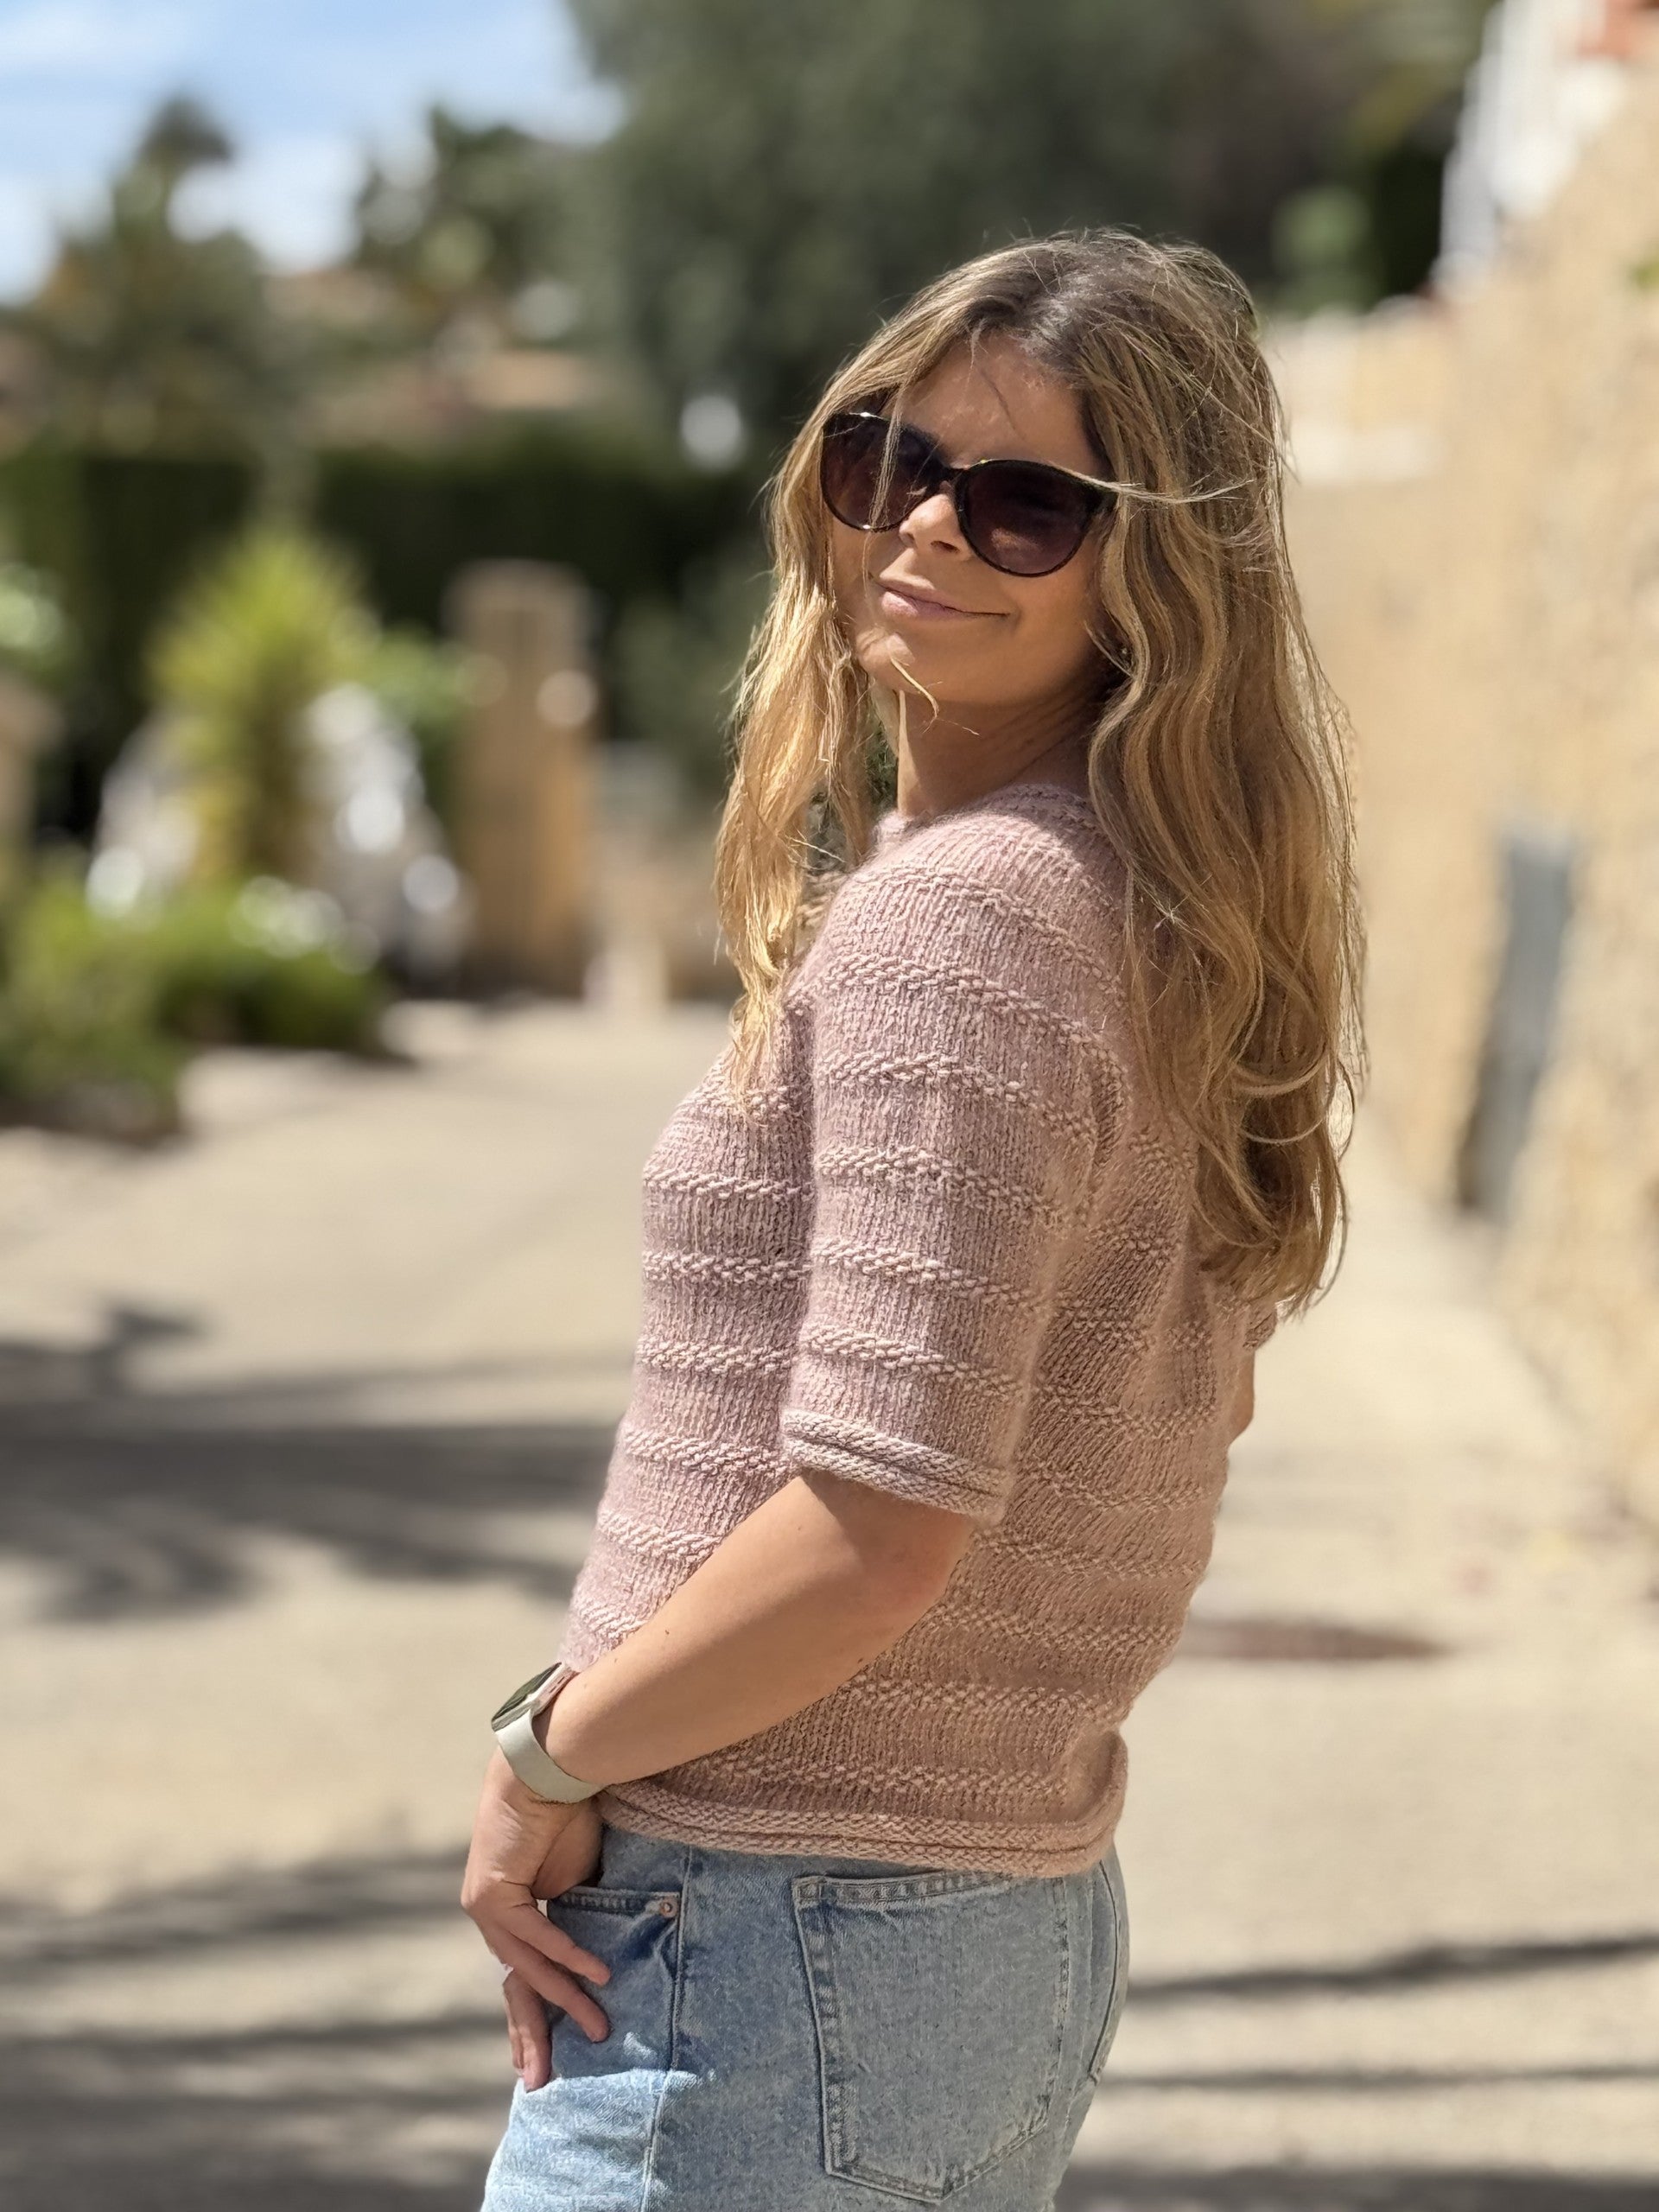
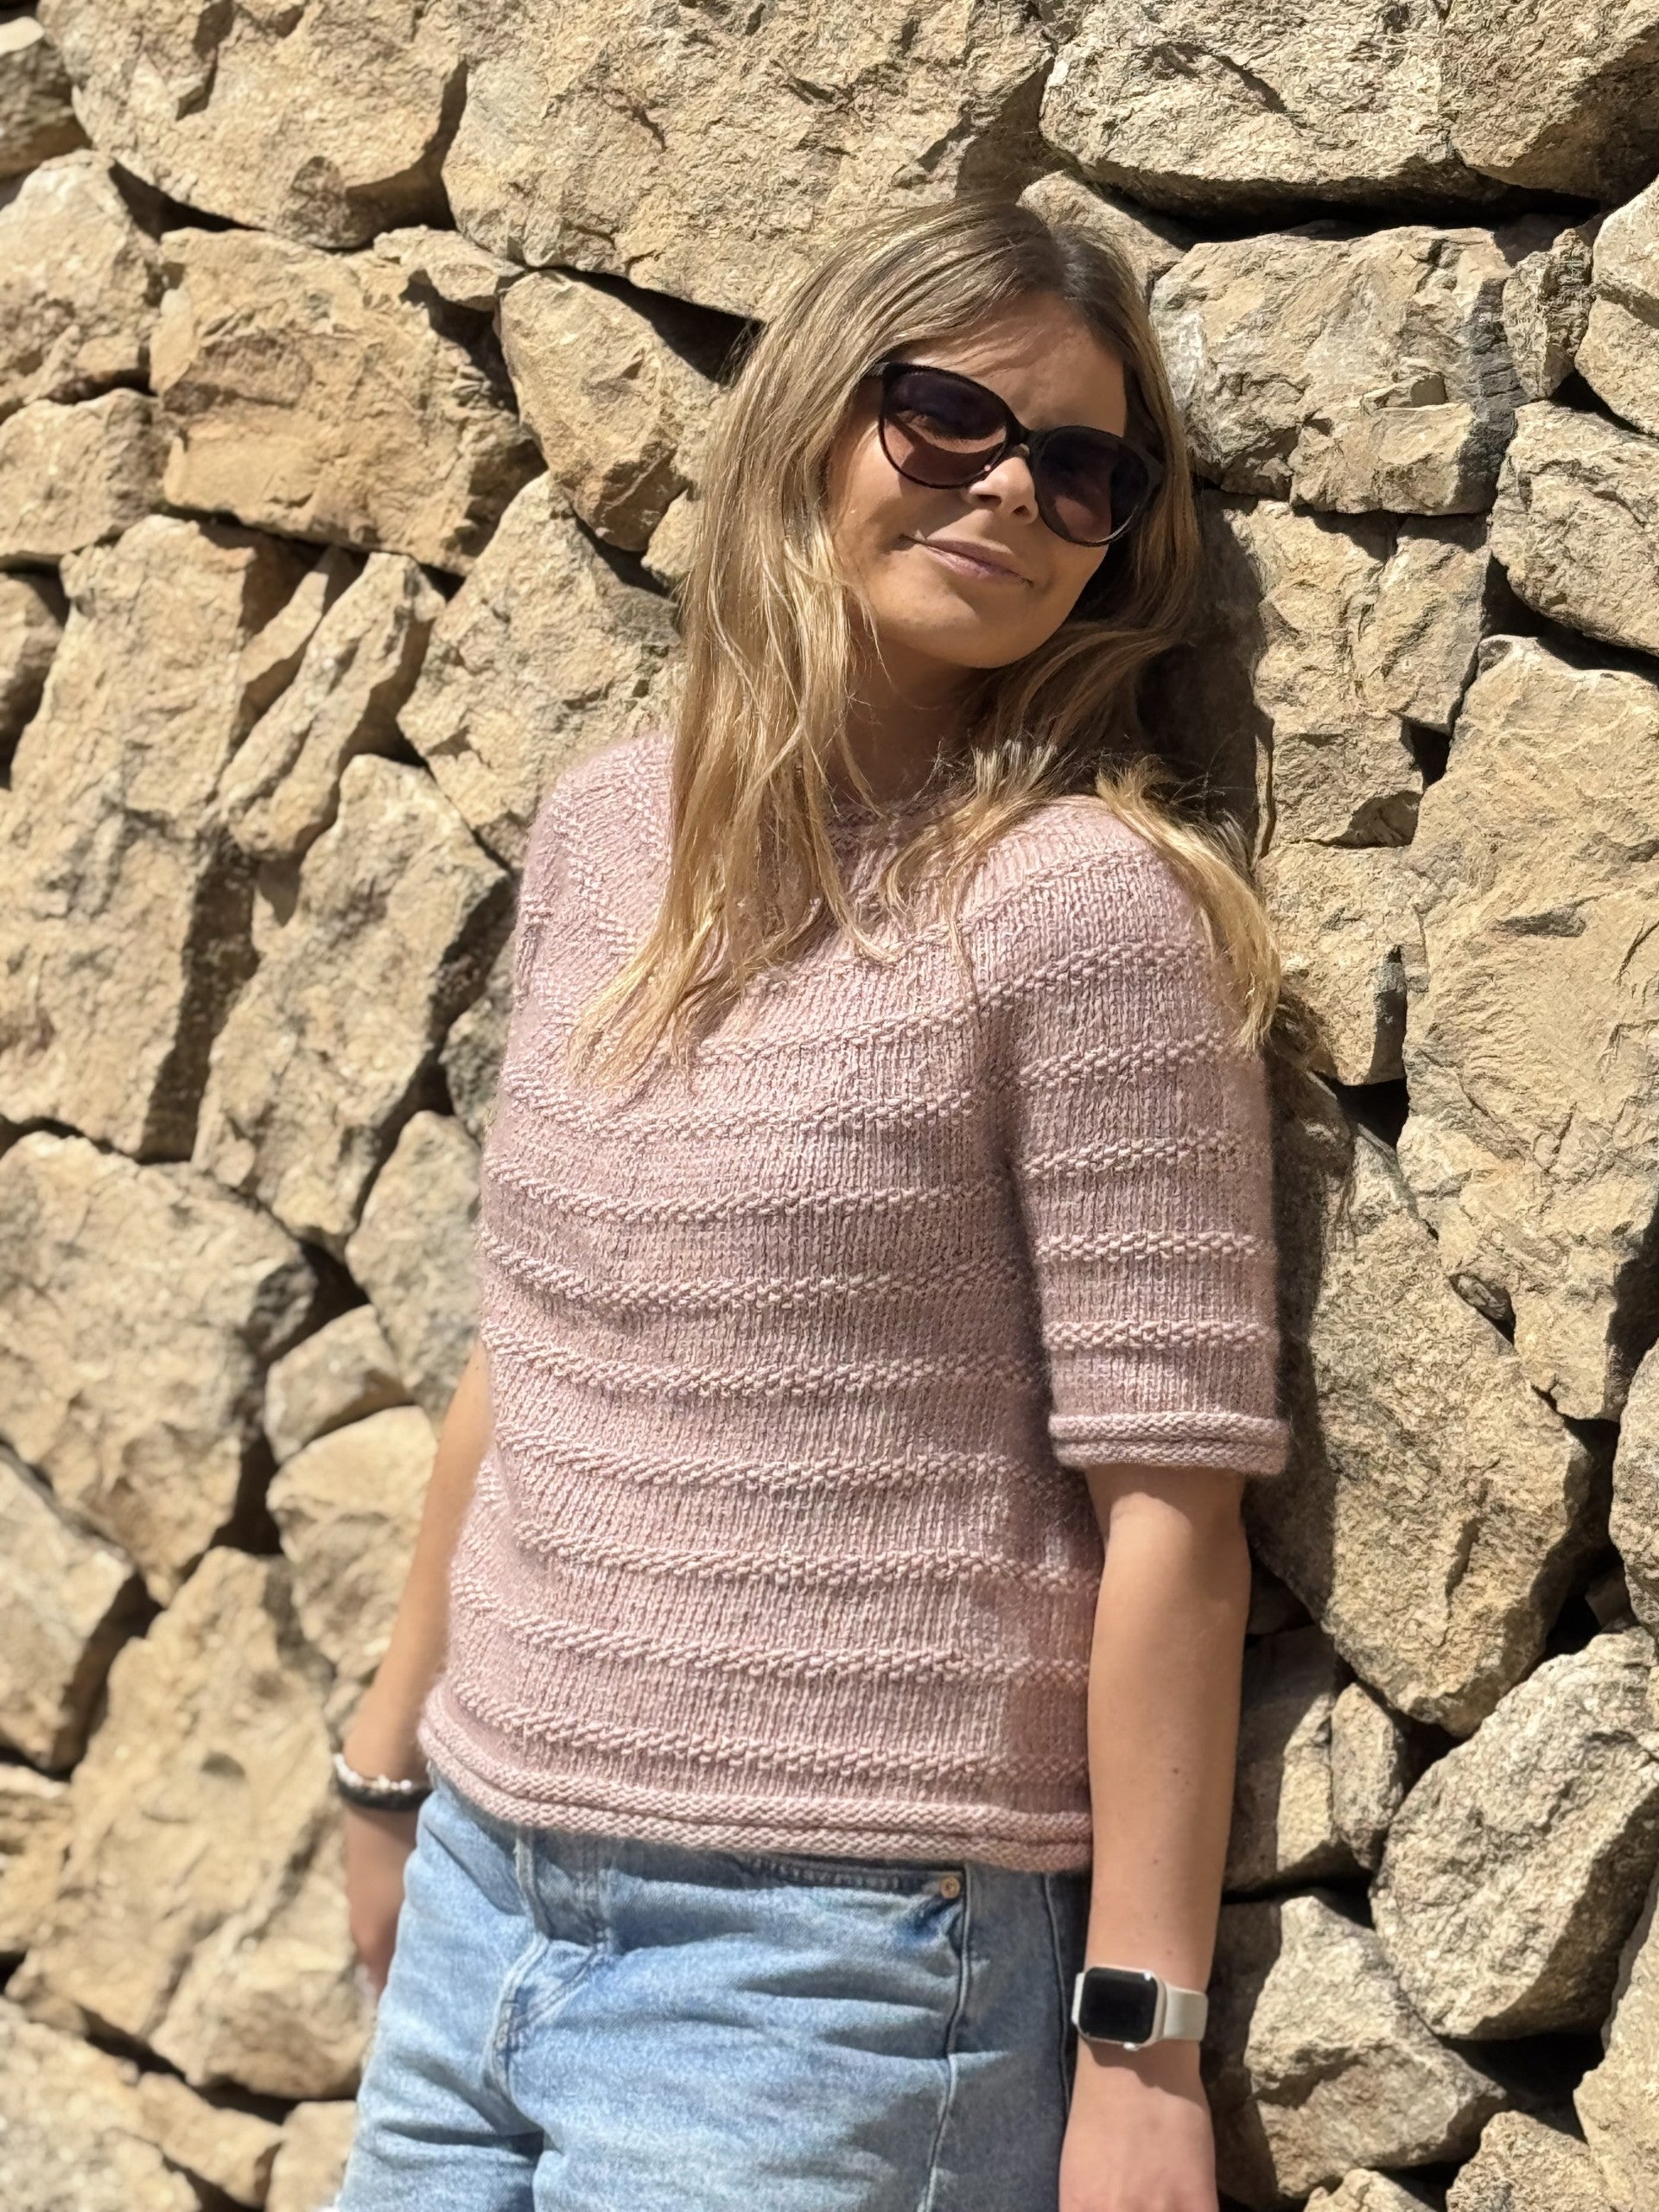
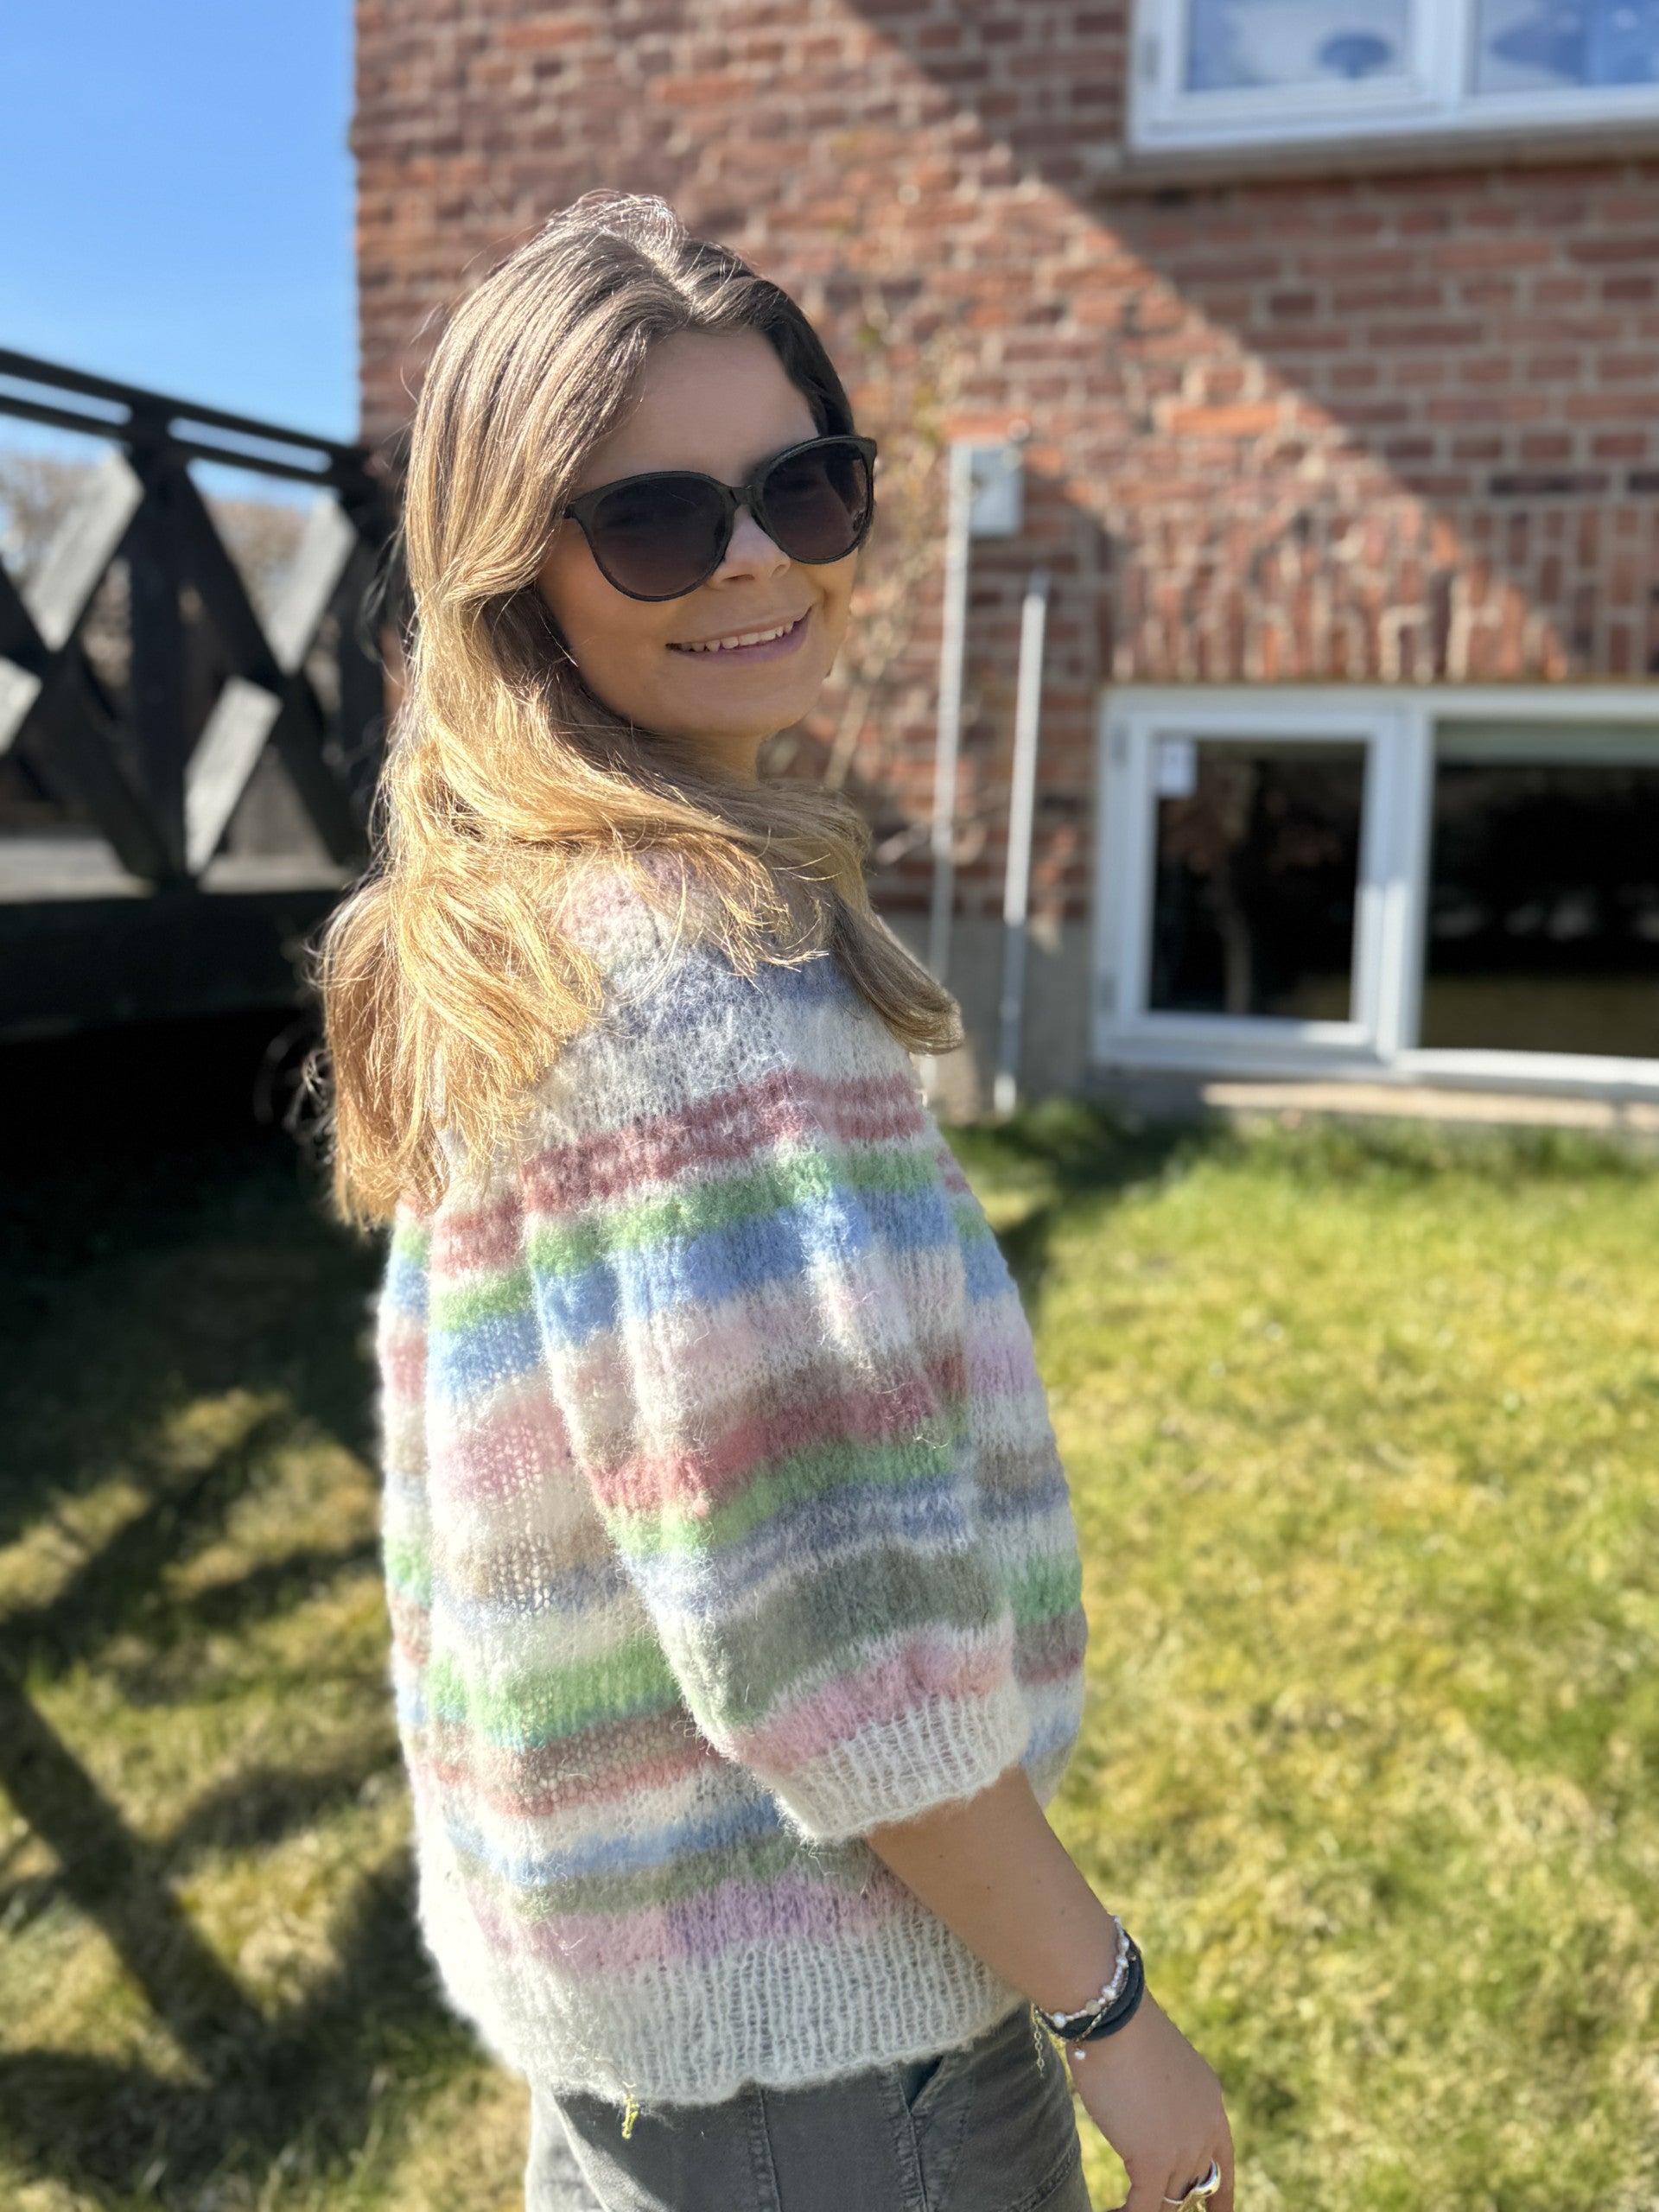
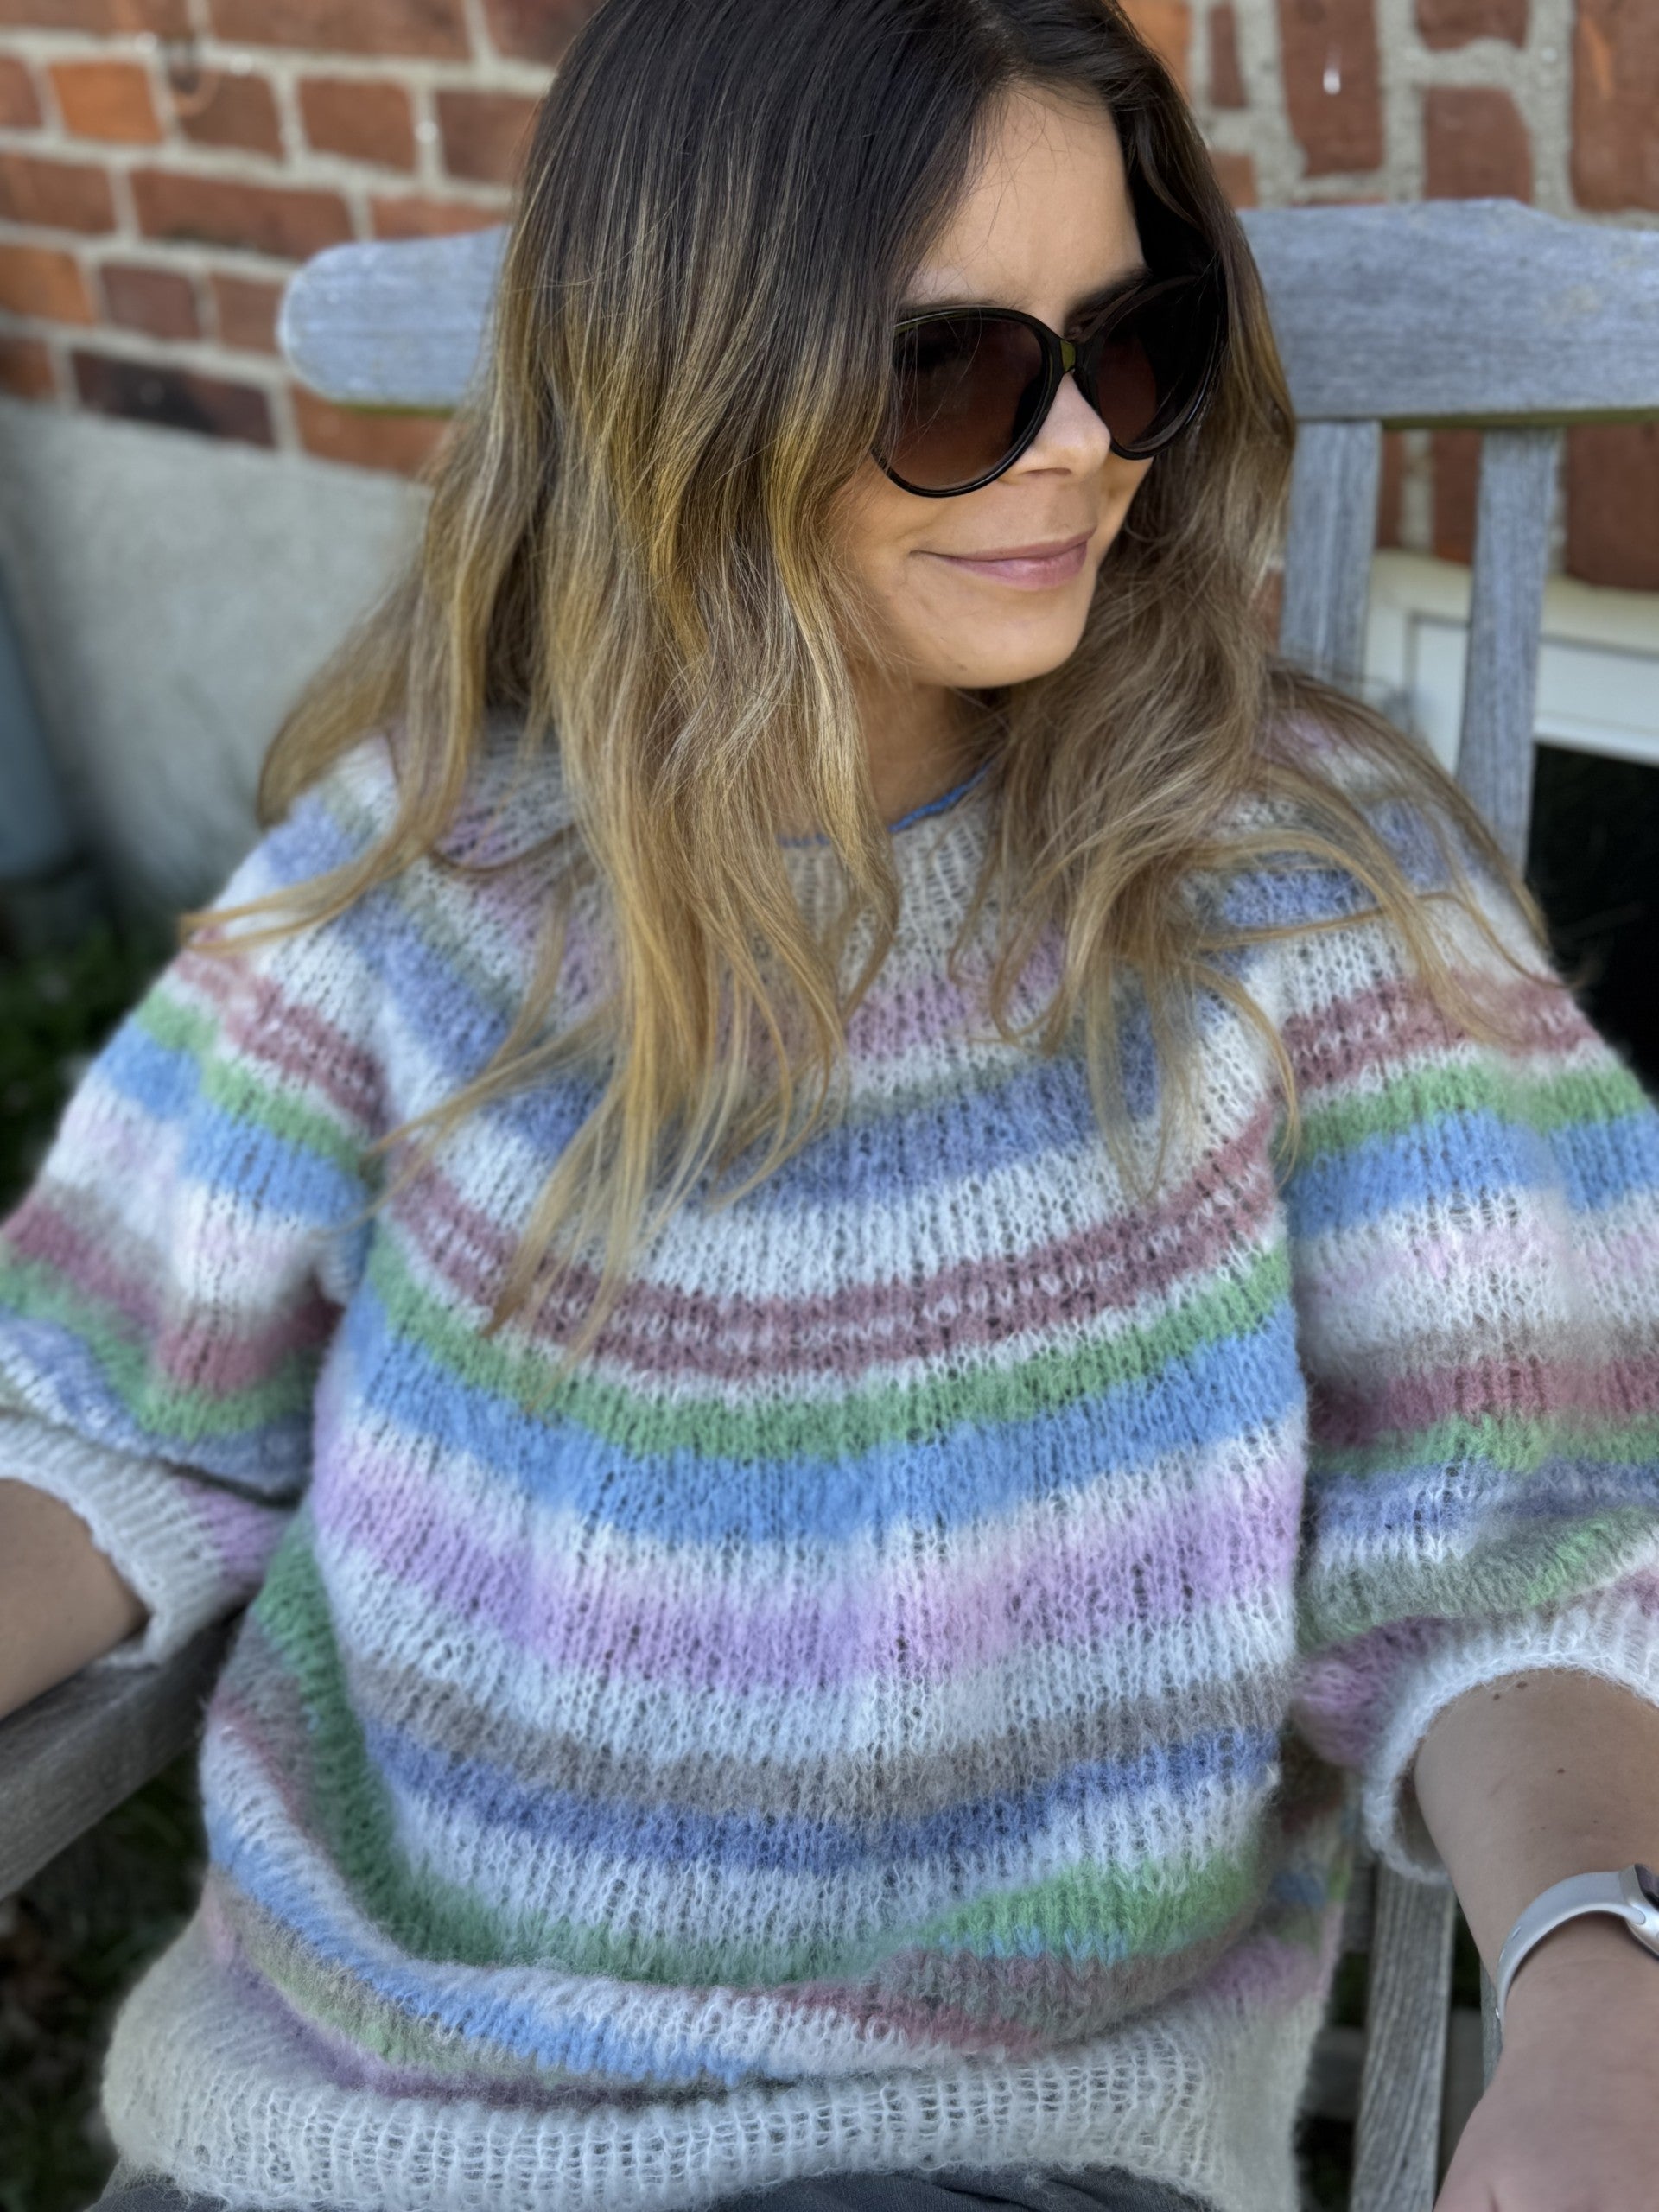
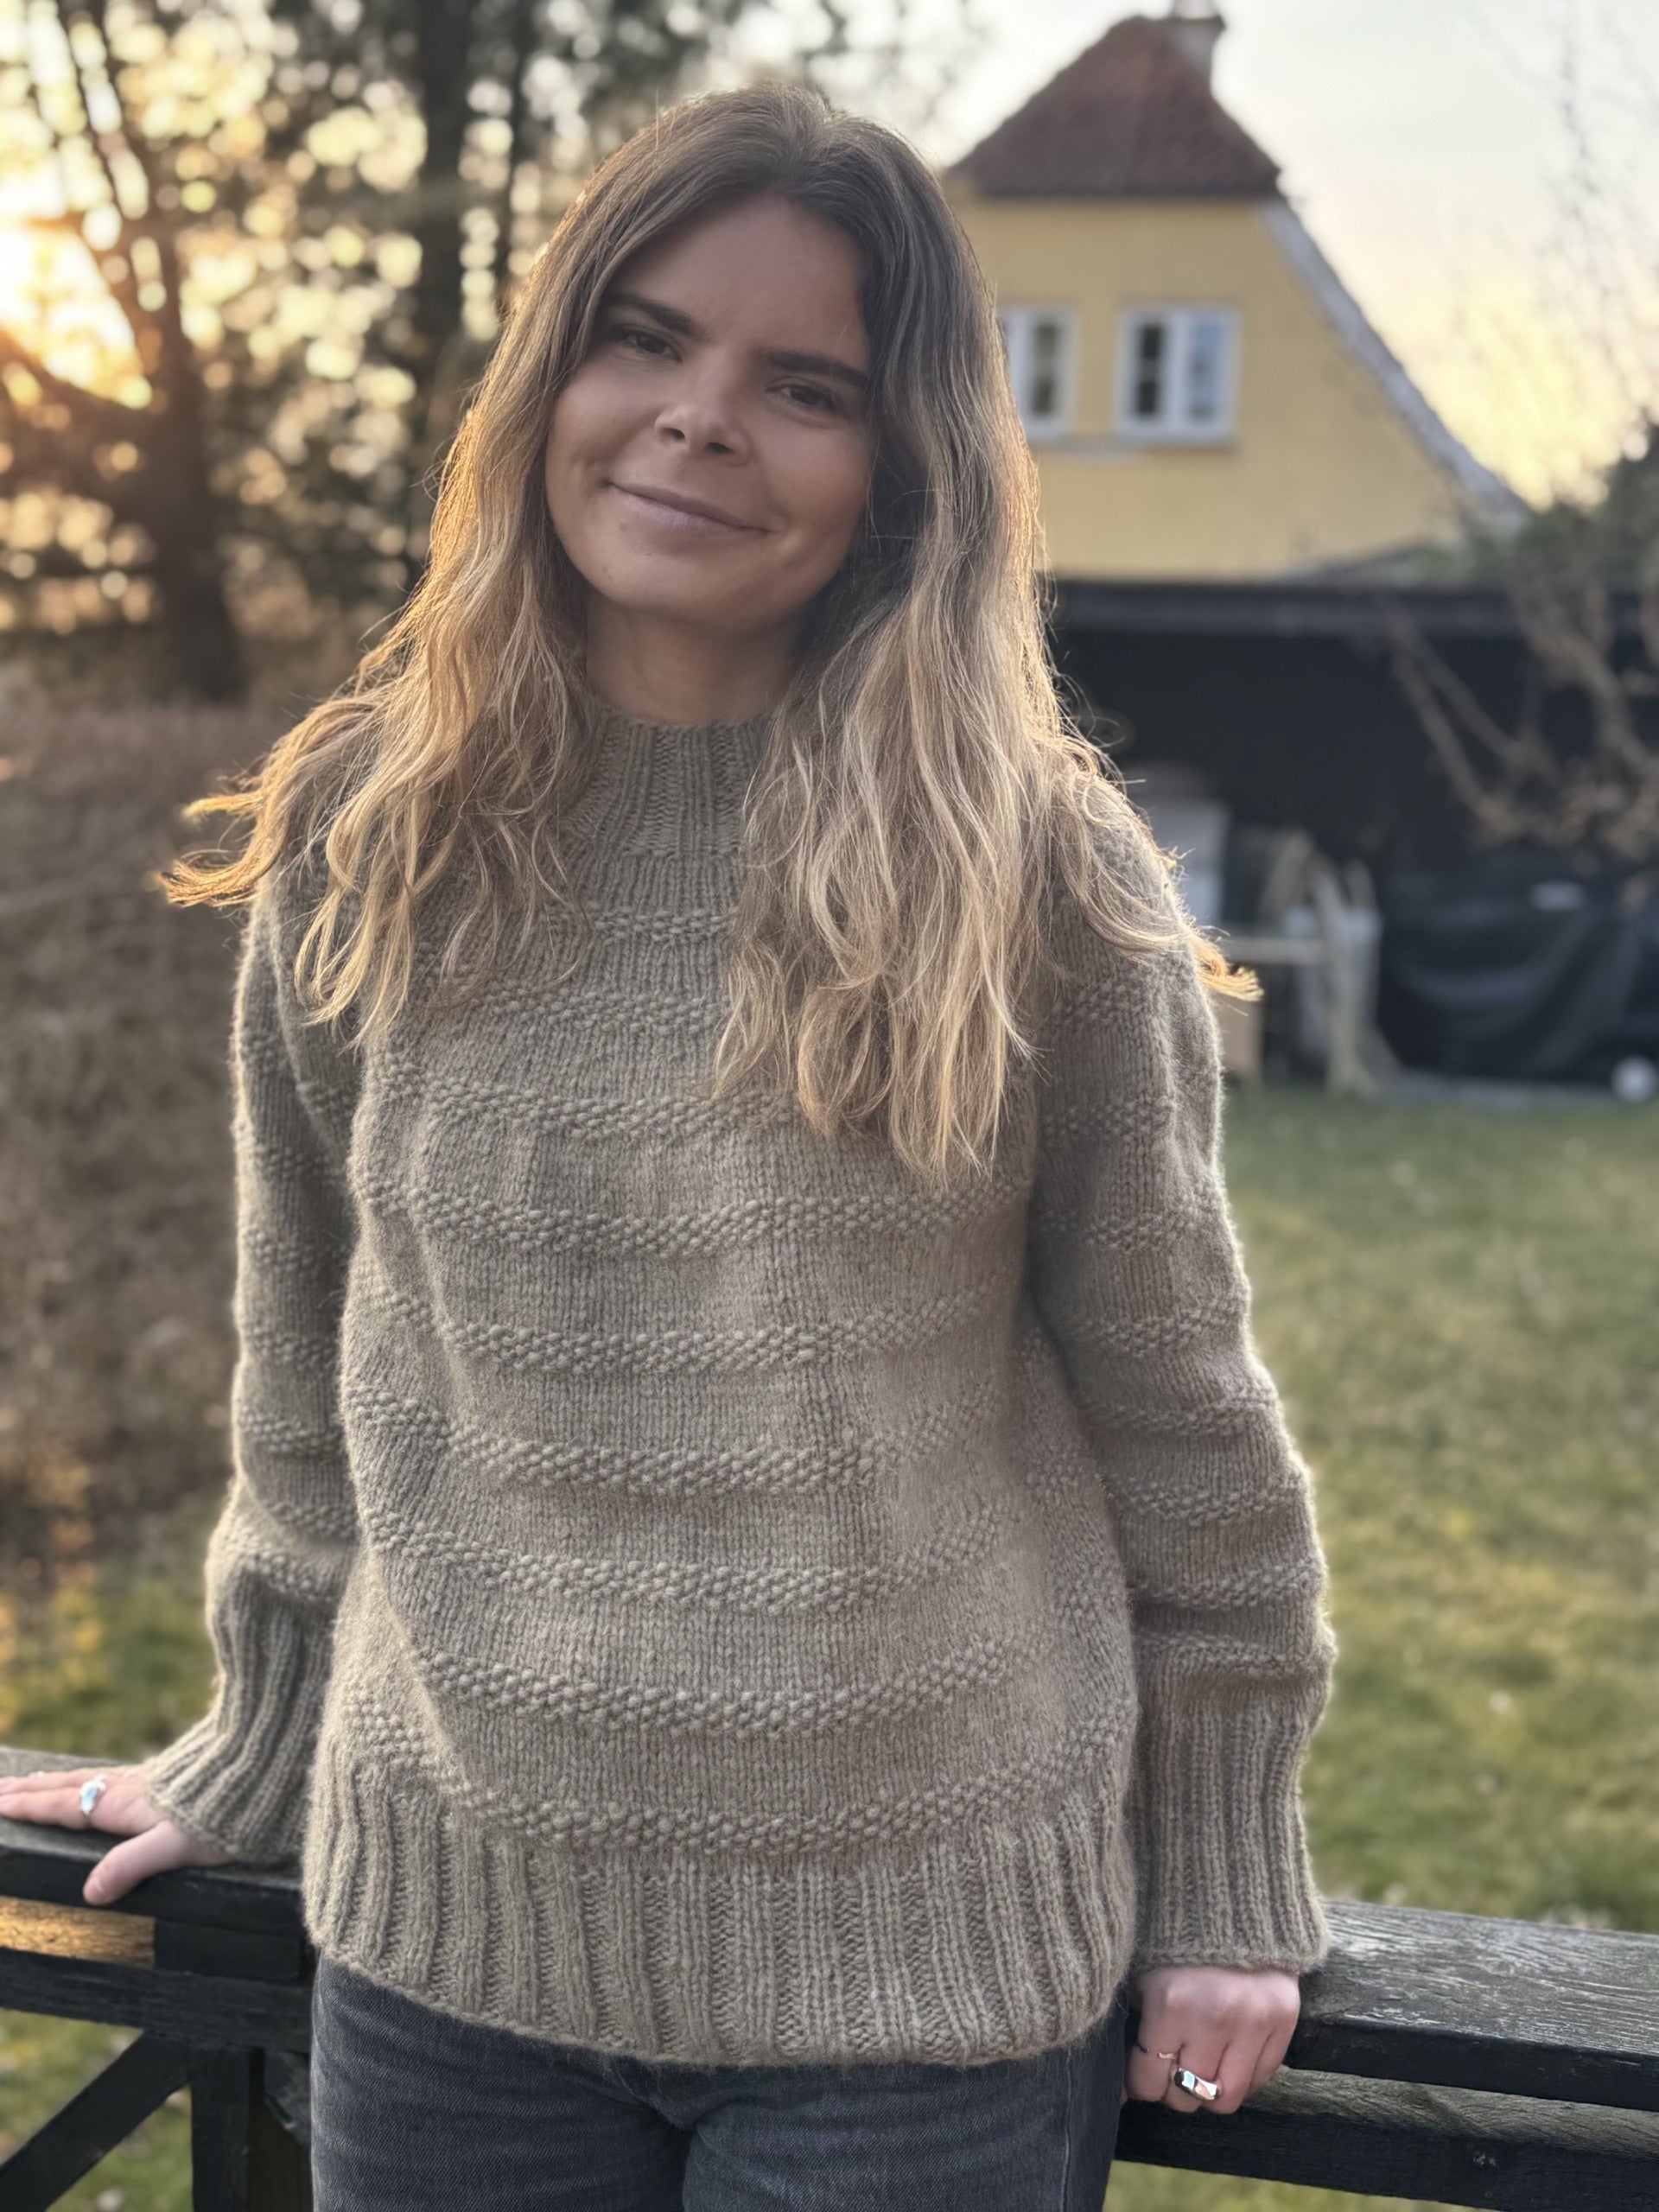
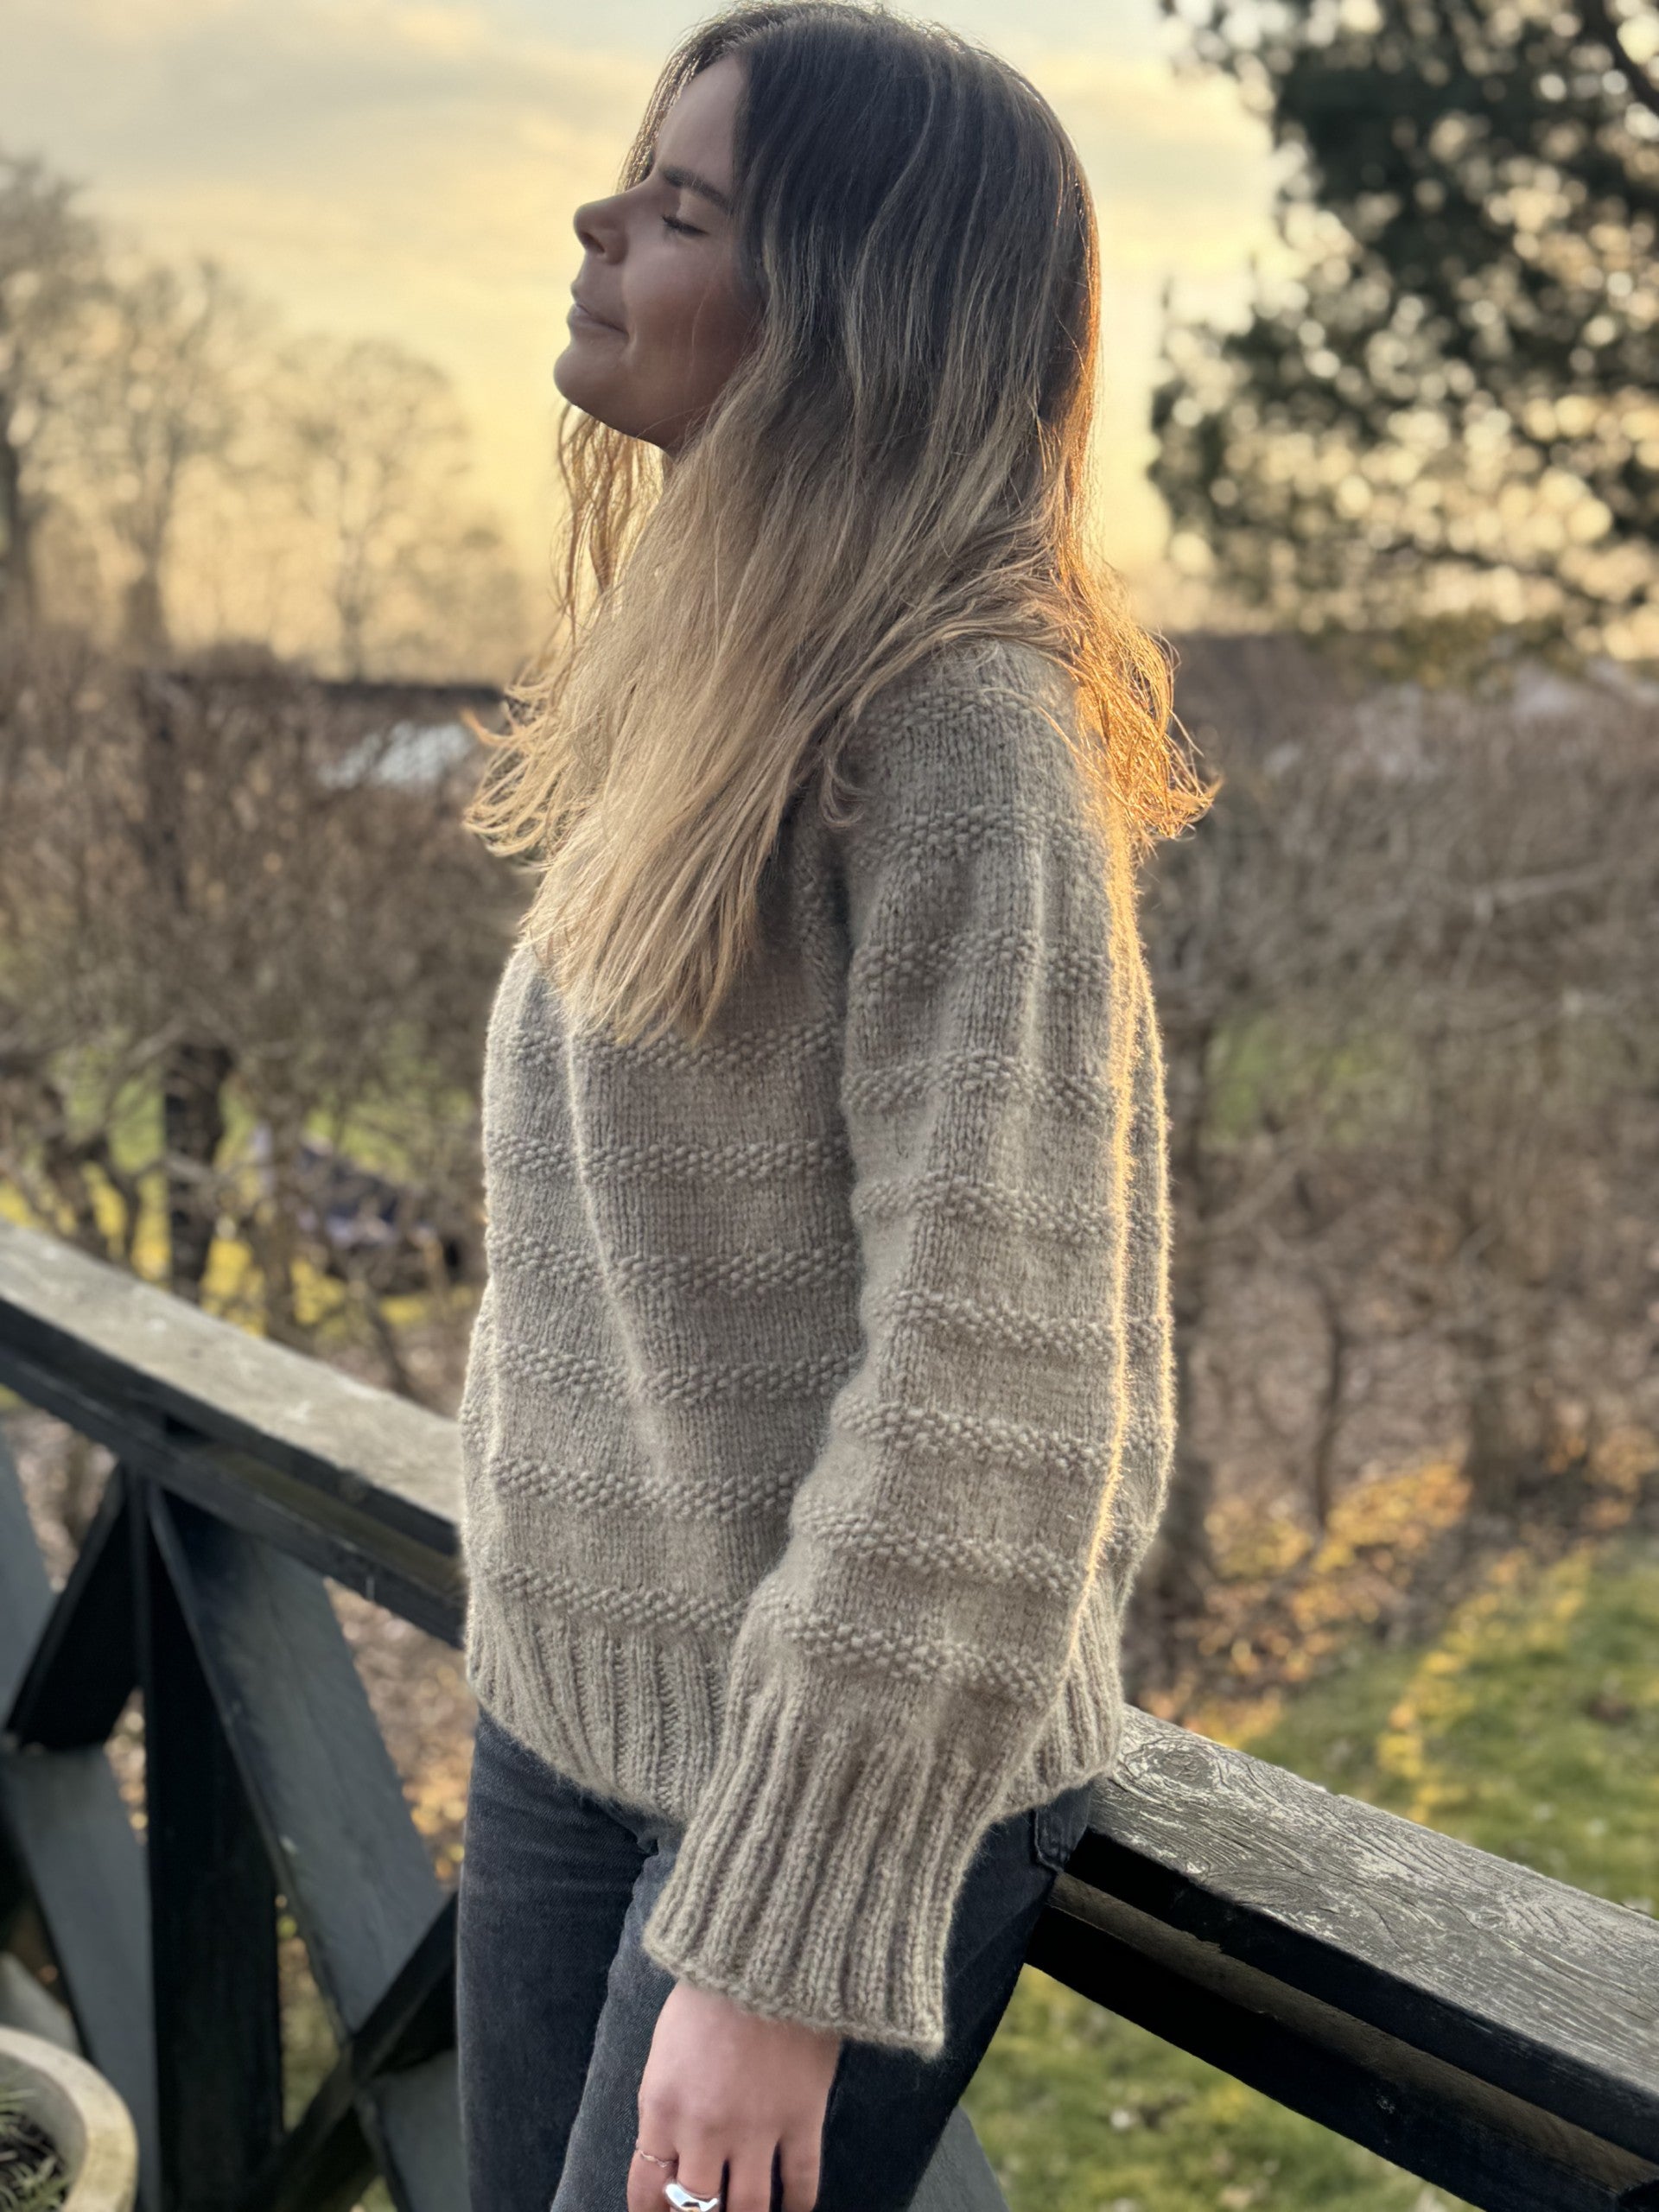
|
Size
|
1 (2) 3
|
|
Messurement
|
Circumference 110 (122) 140
Length measured on the back of your sweater 54 (56) 58
|
|
Material
|
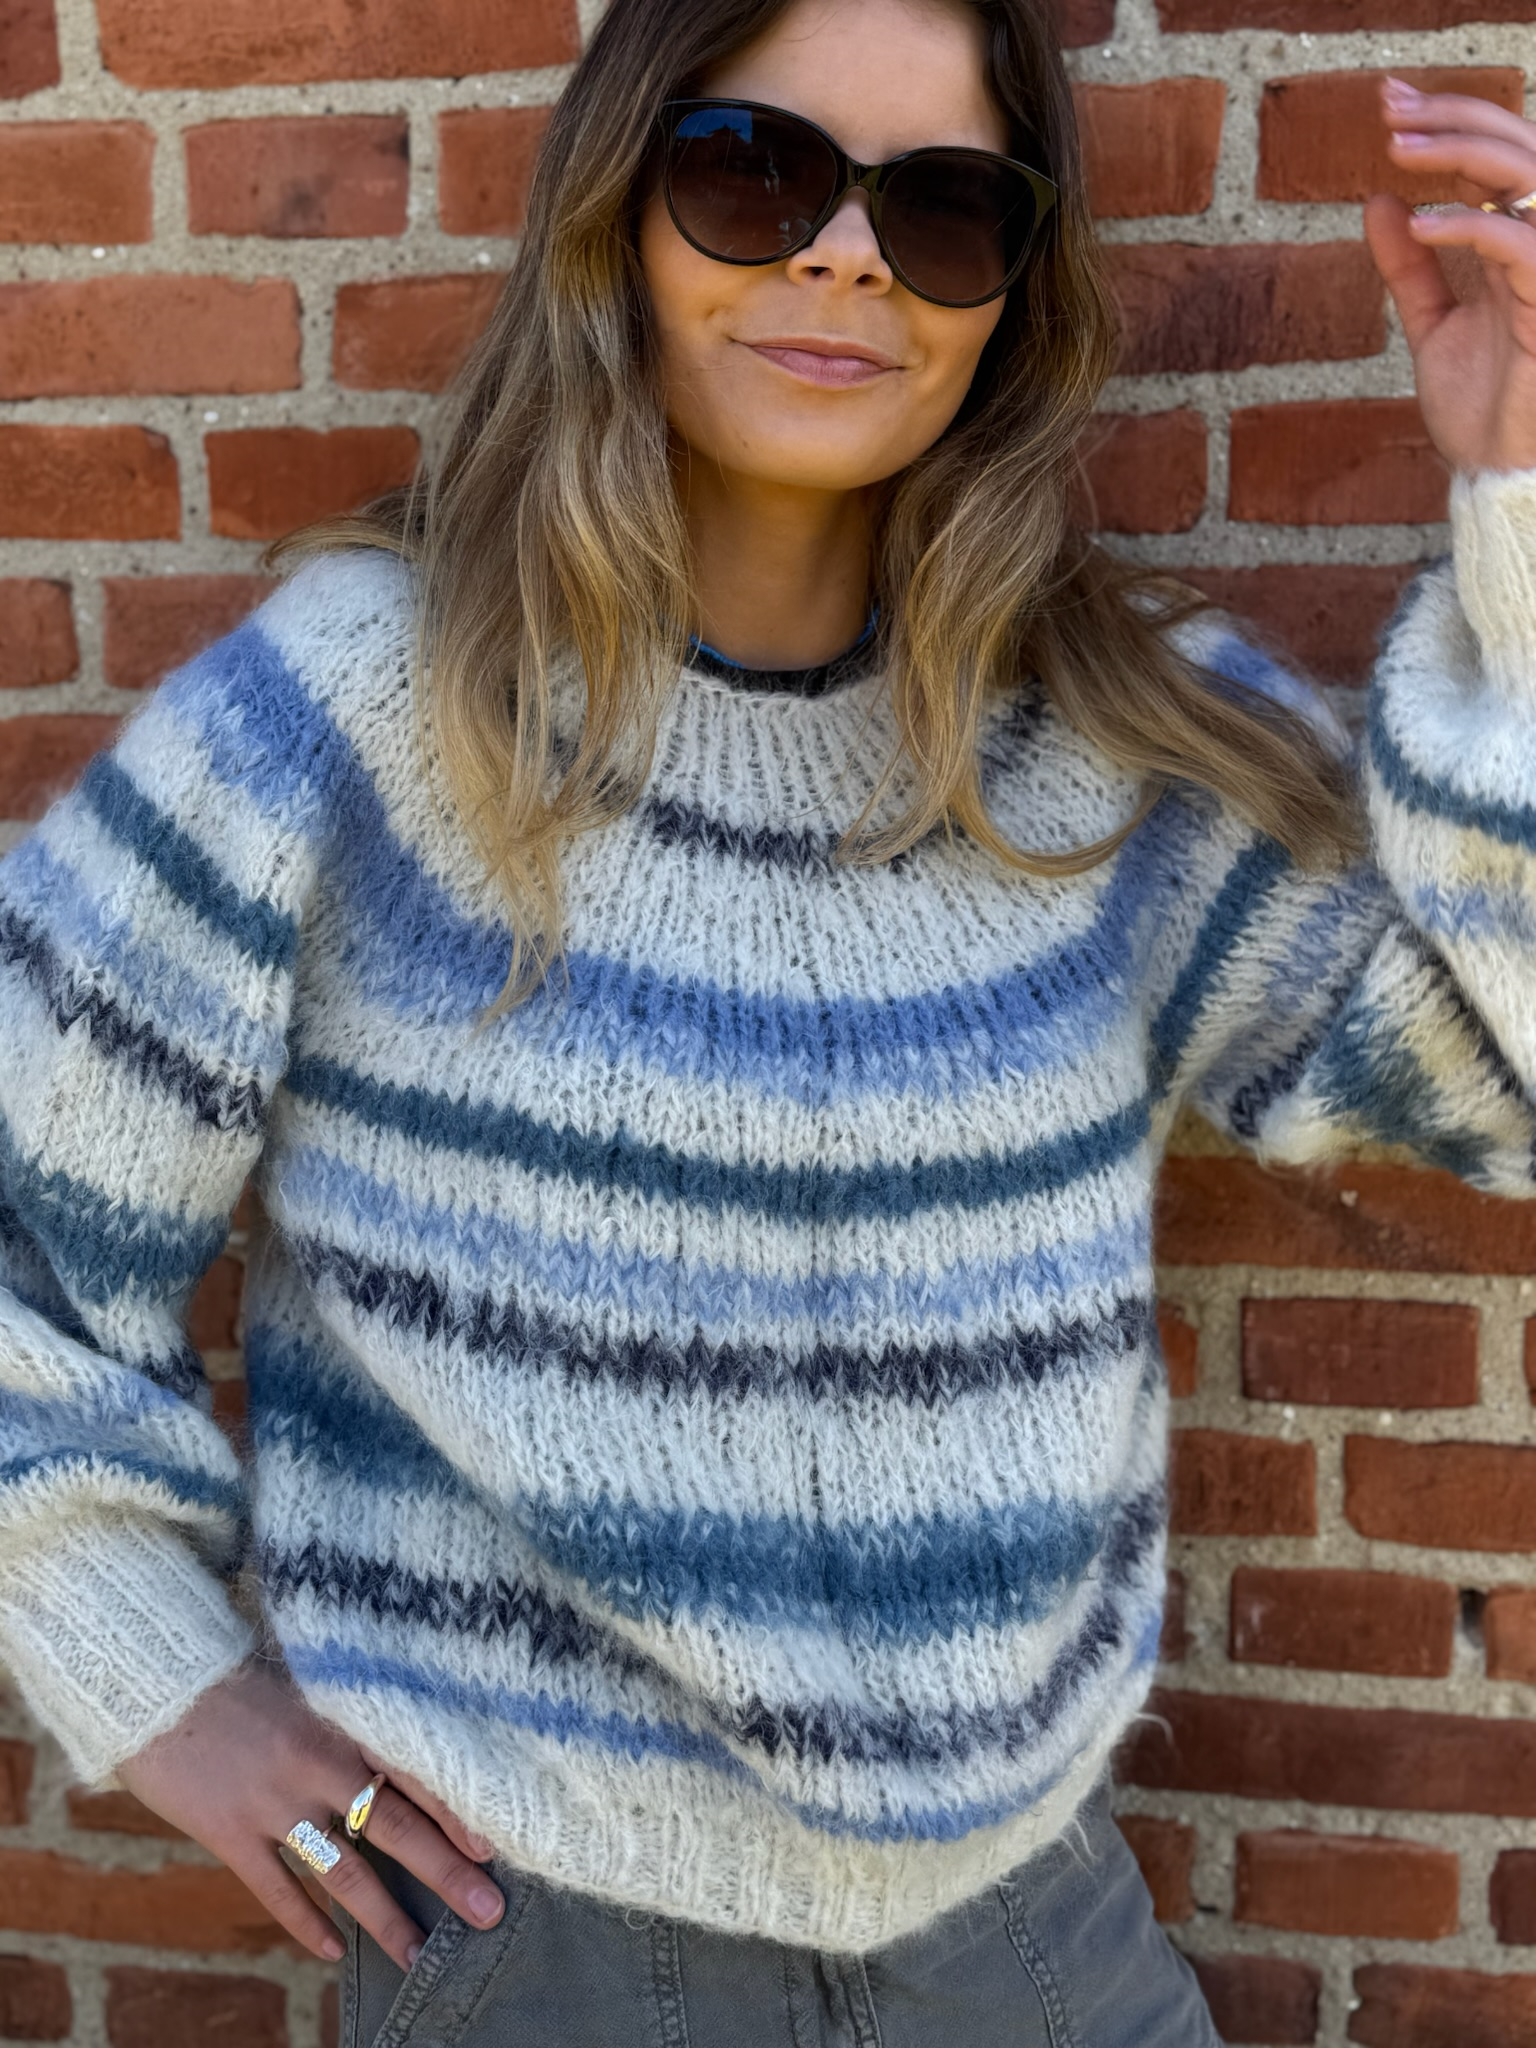
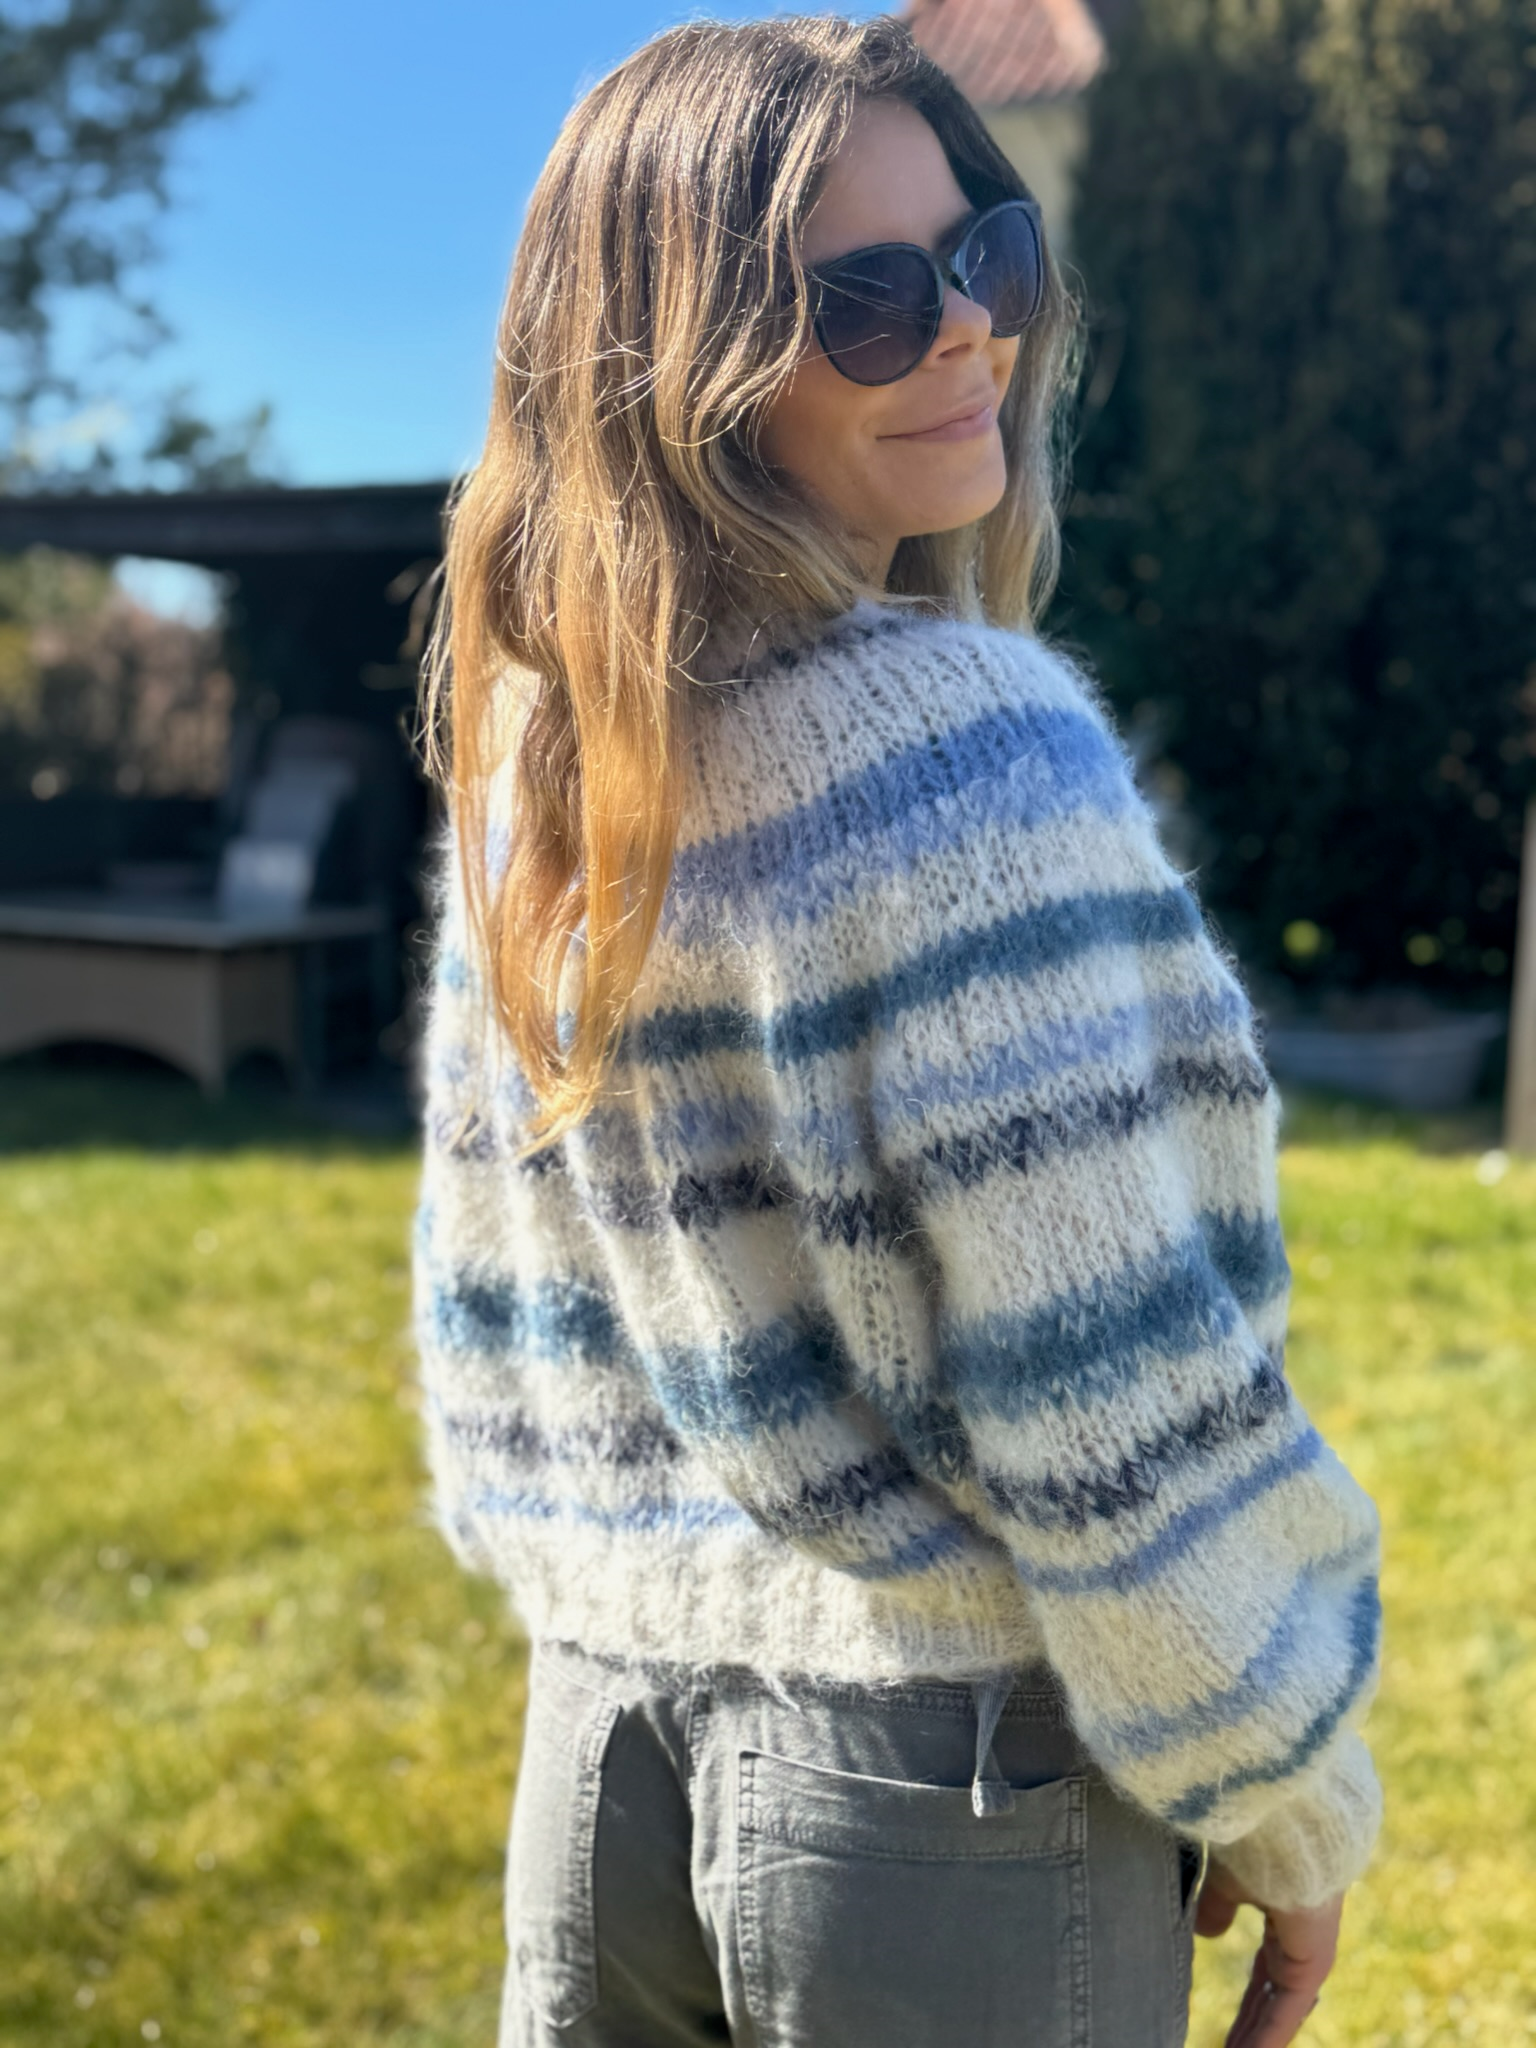
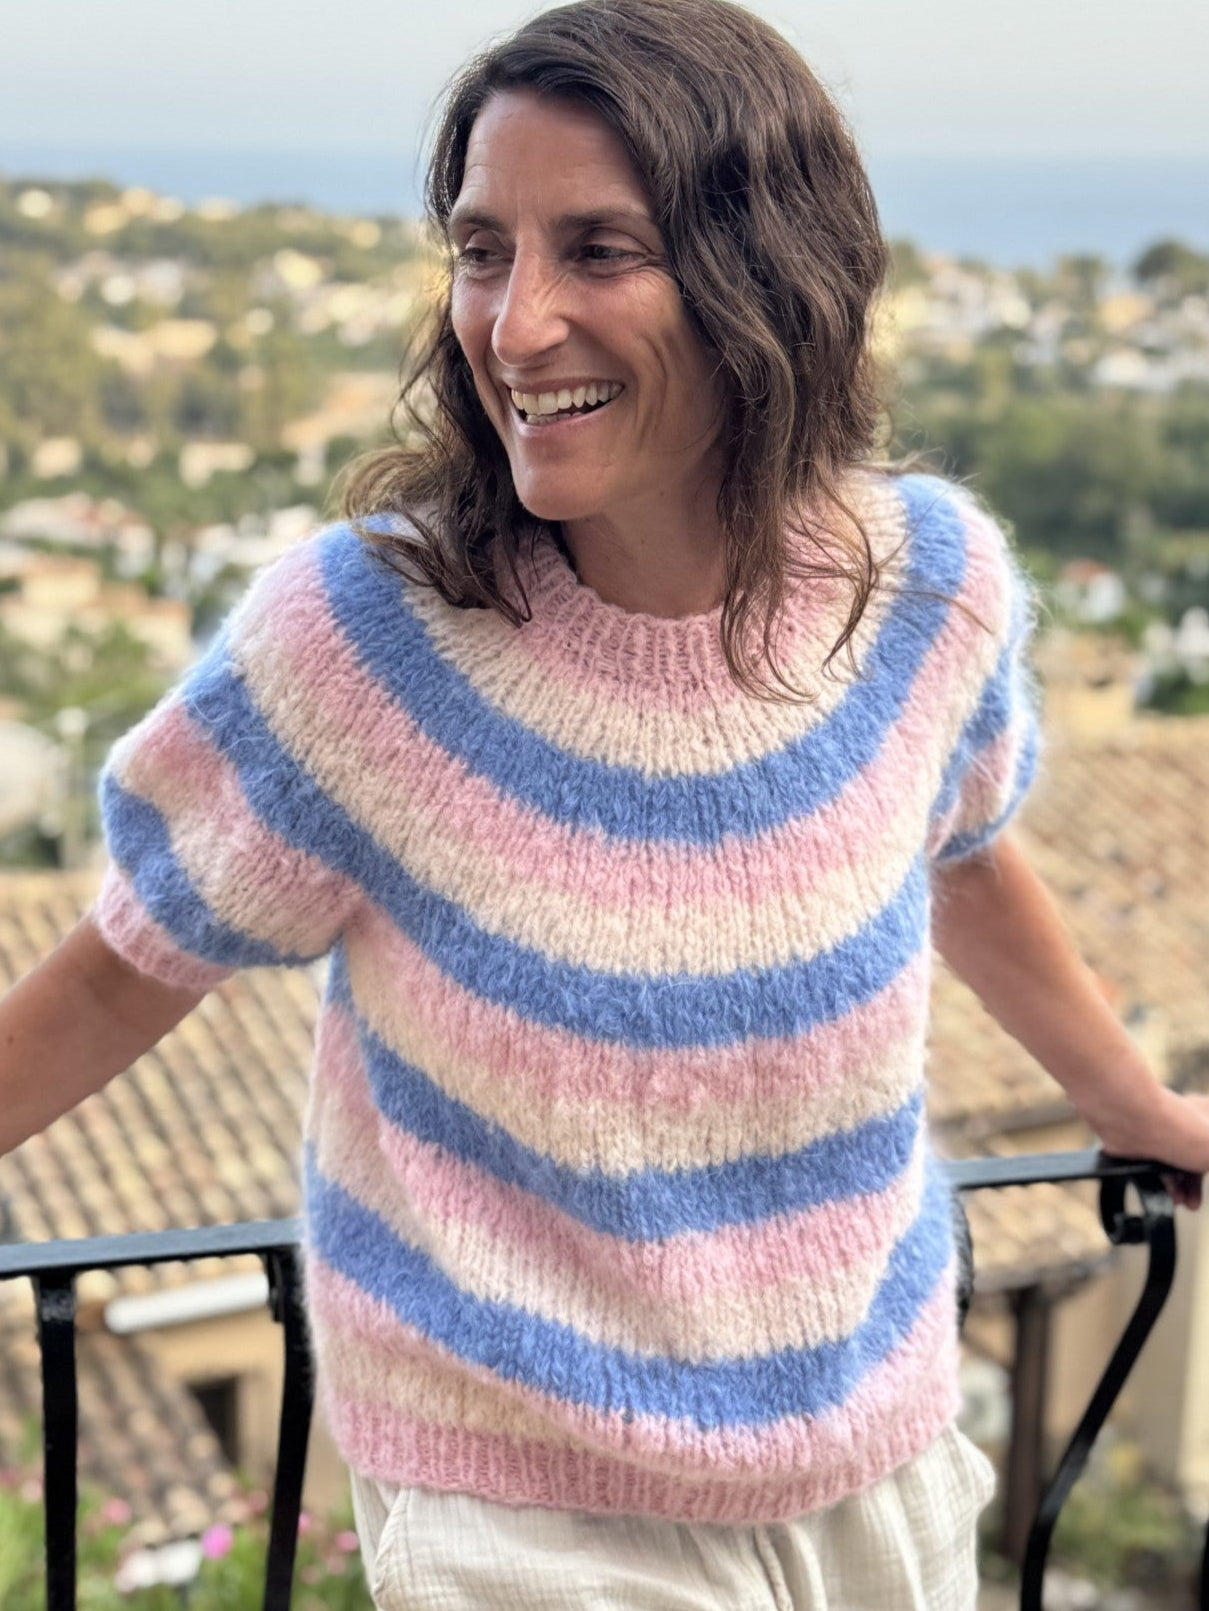
Baby Alpaca Merino Wool, 1 strand, 6 (7) 8 balls, colour 1.
Baby Alpaca Merino Wool, 1 strand, 1 (1) 1 ball, colour 2.
|
|
Knitting tension
|
13 stitches X 18 rows = 10X10 cm on US 11 (8 mm) needles.
|
|
Tools
|
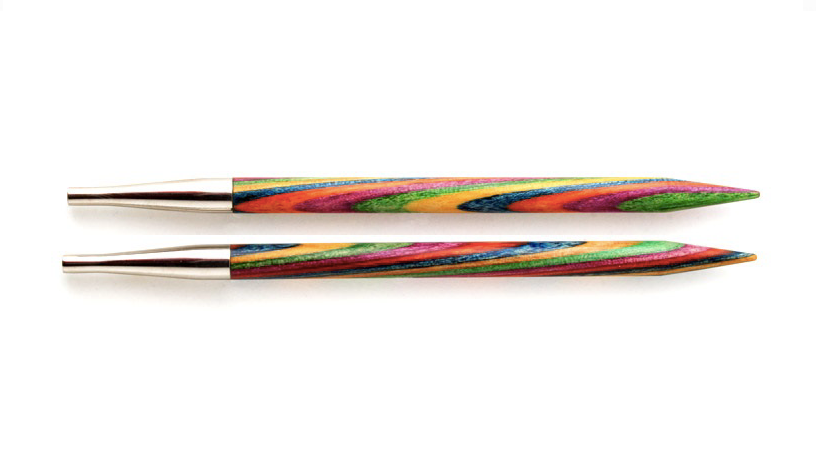
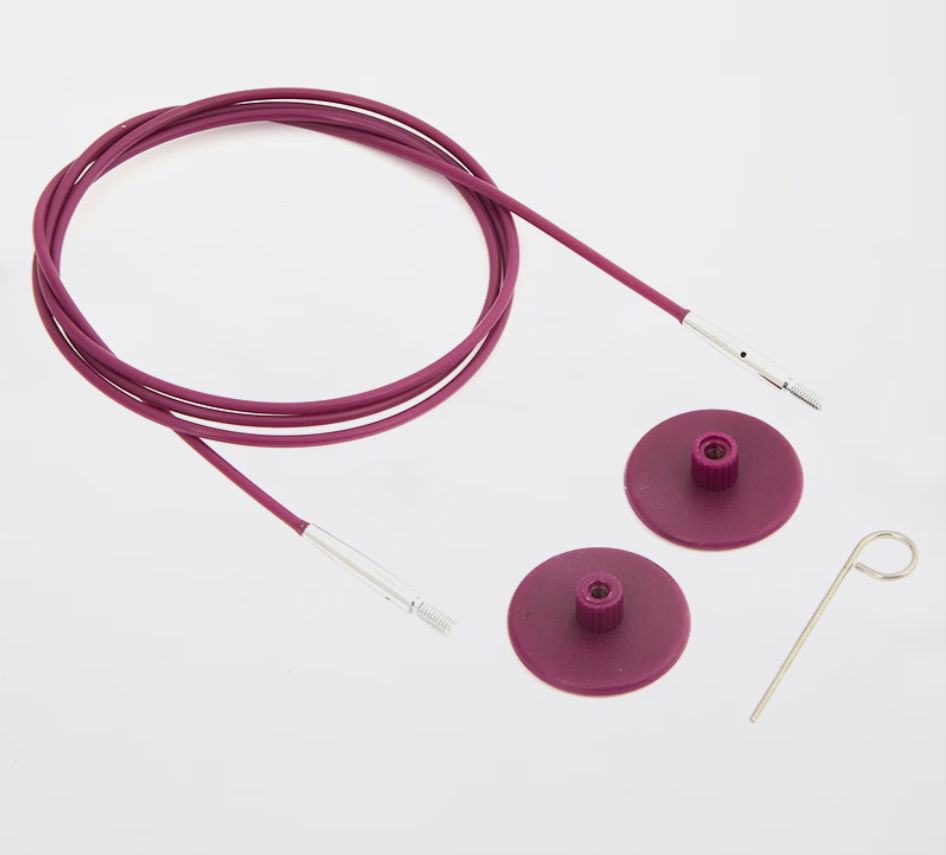
Circular needle 4 mm (40 and 60 cm) and 8 mm (80 or 100 cm)
Stitch markers
|
|
Knitting technique
|
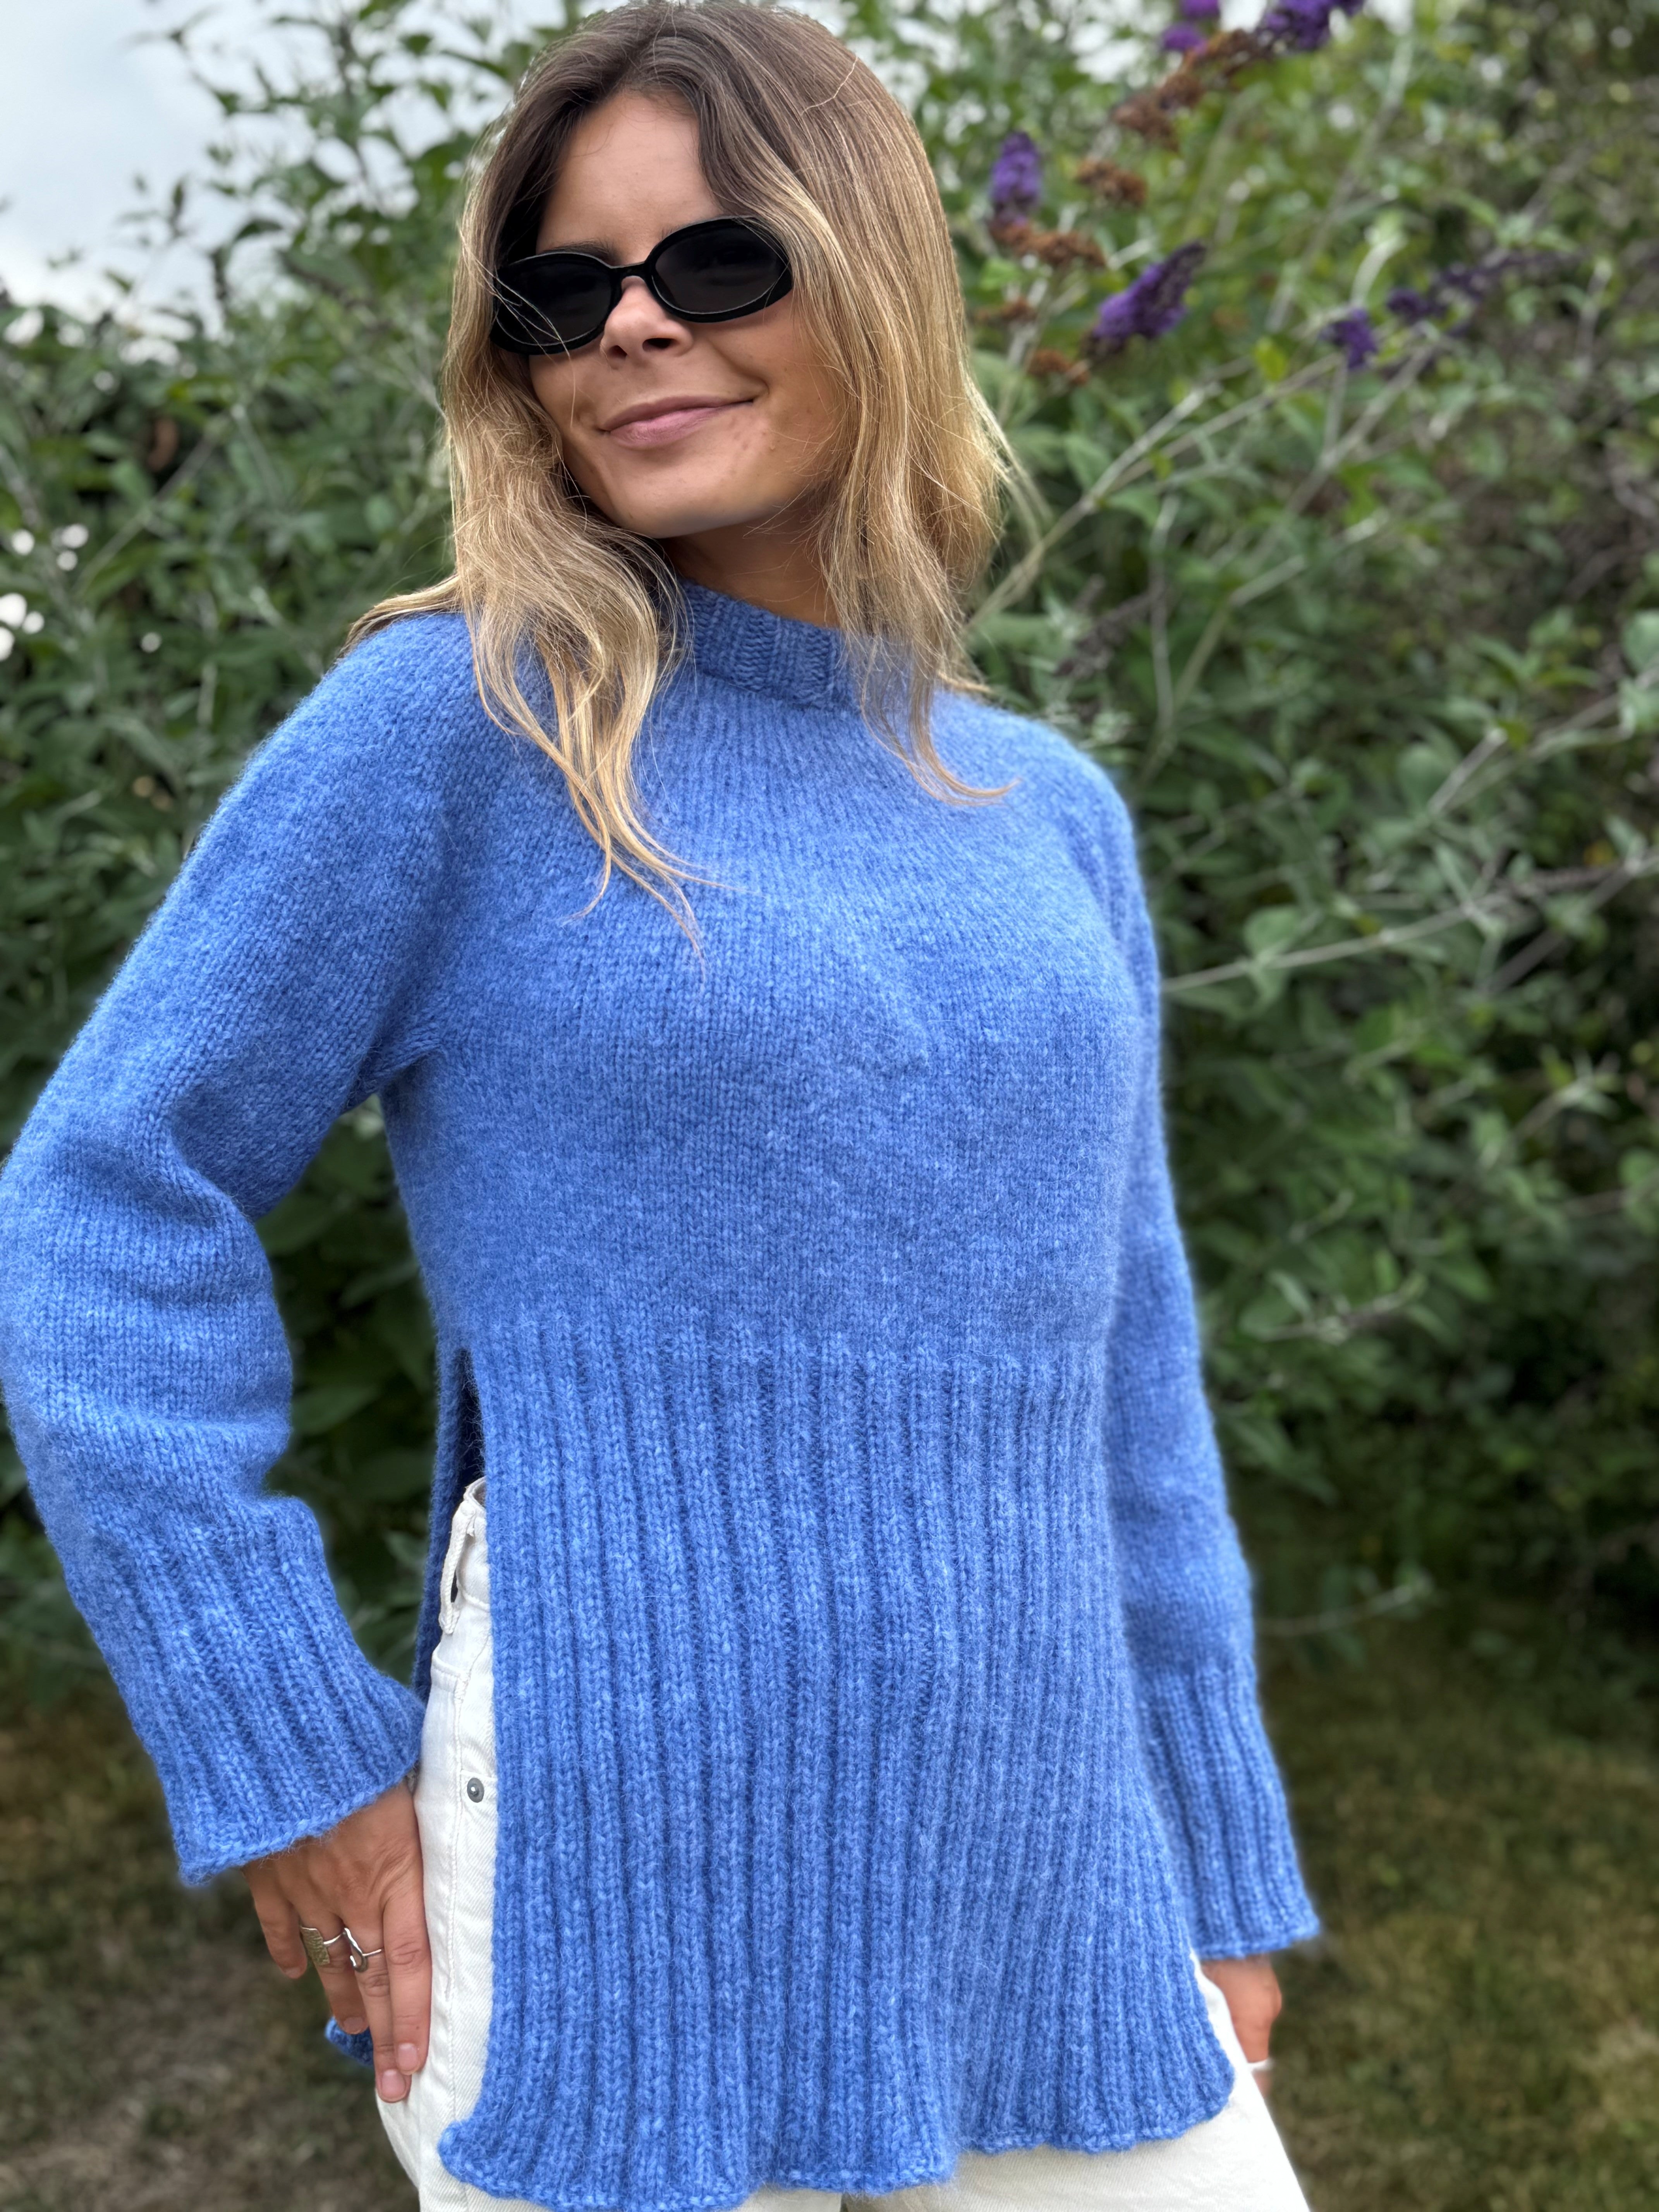
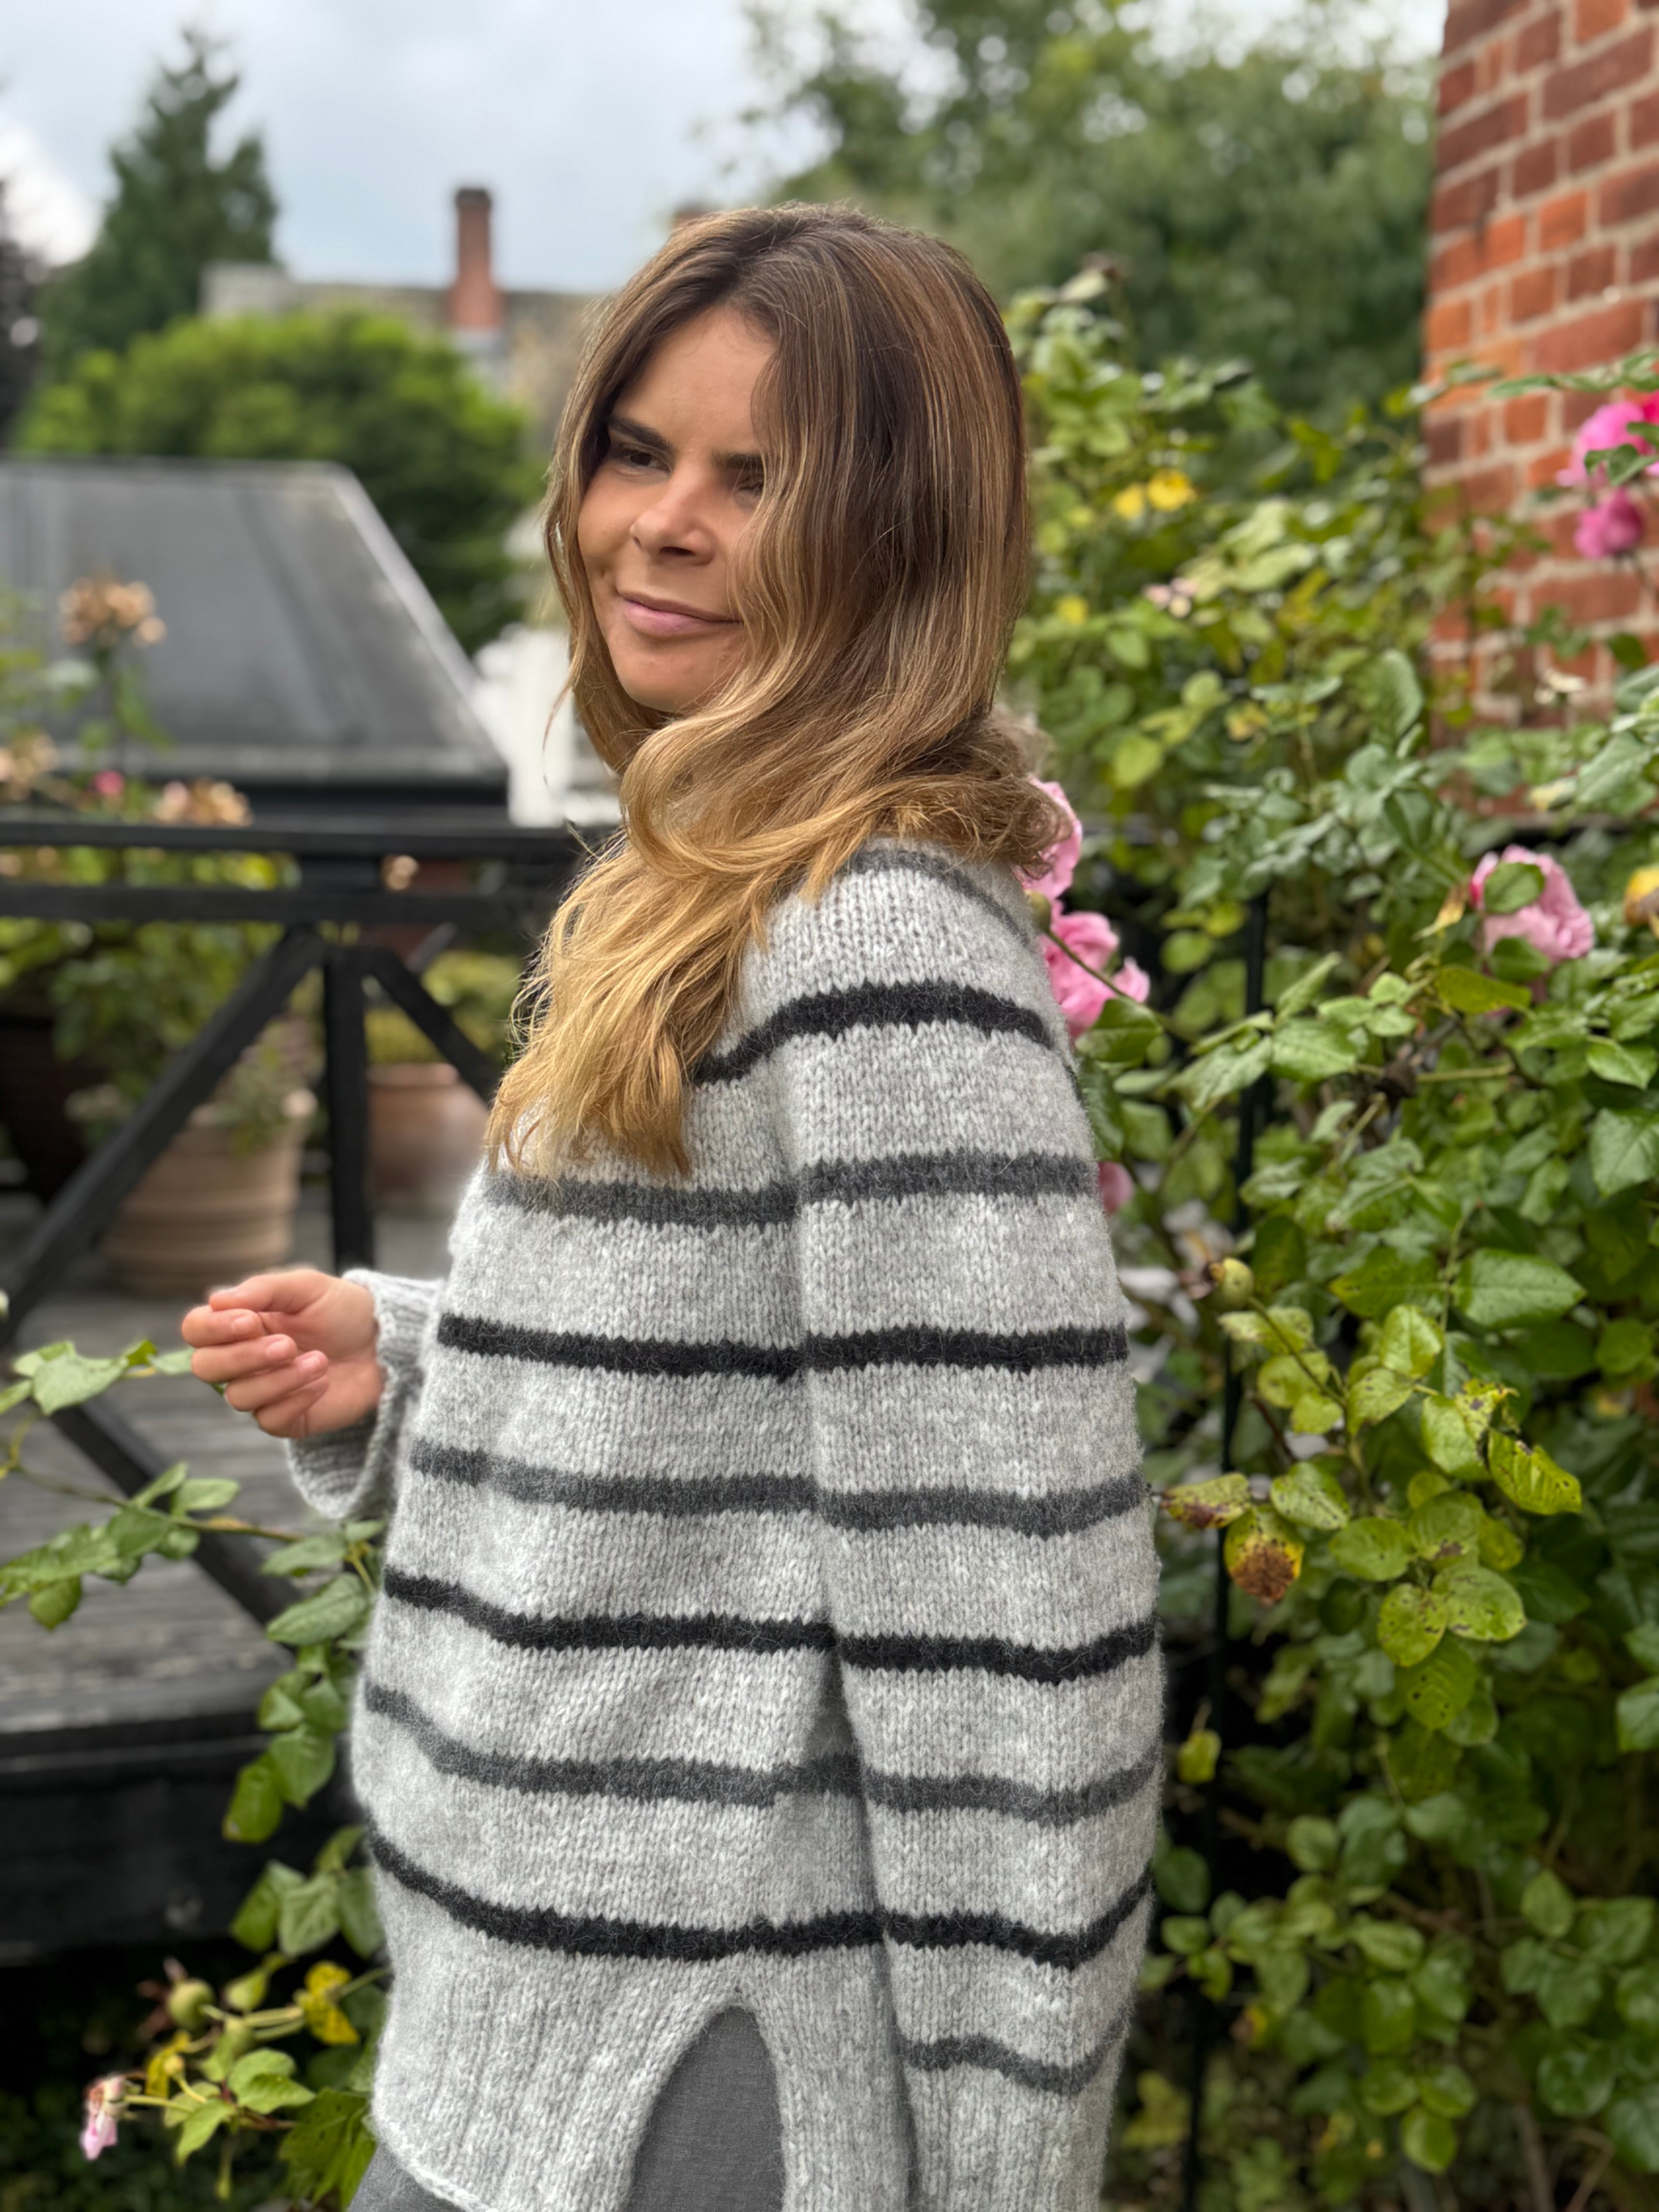
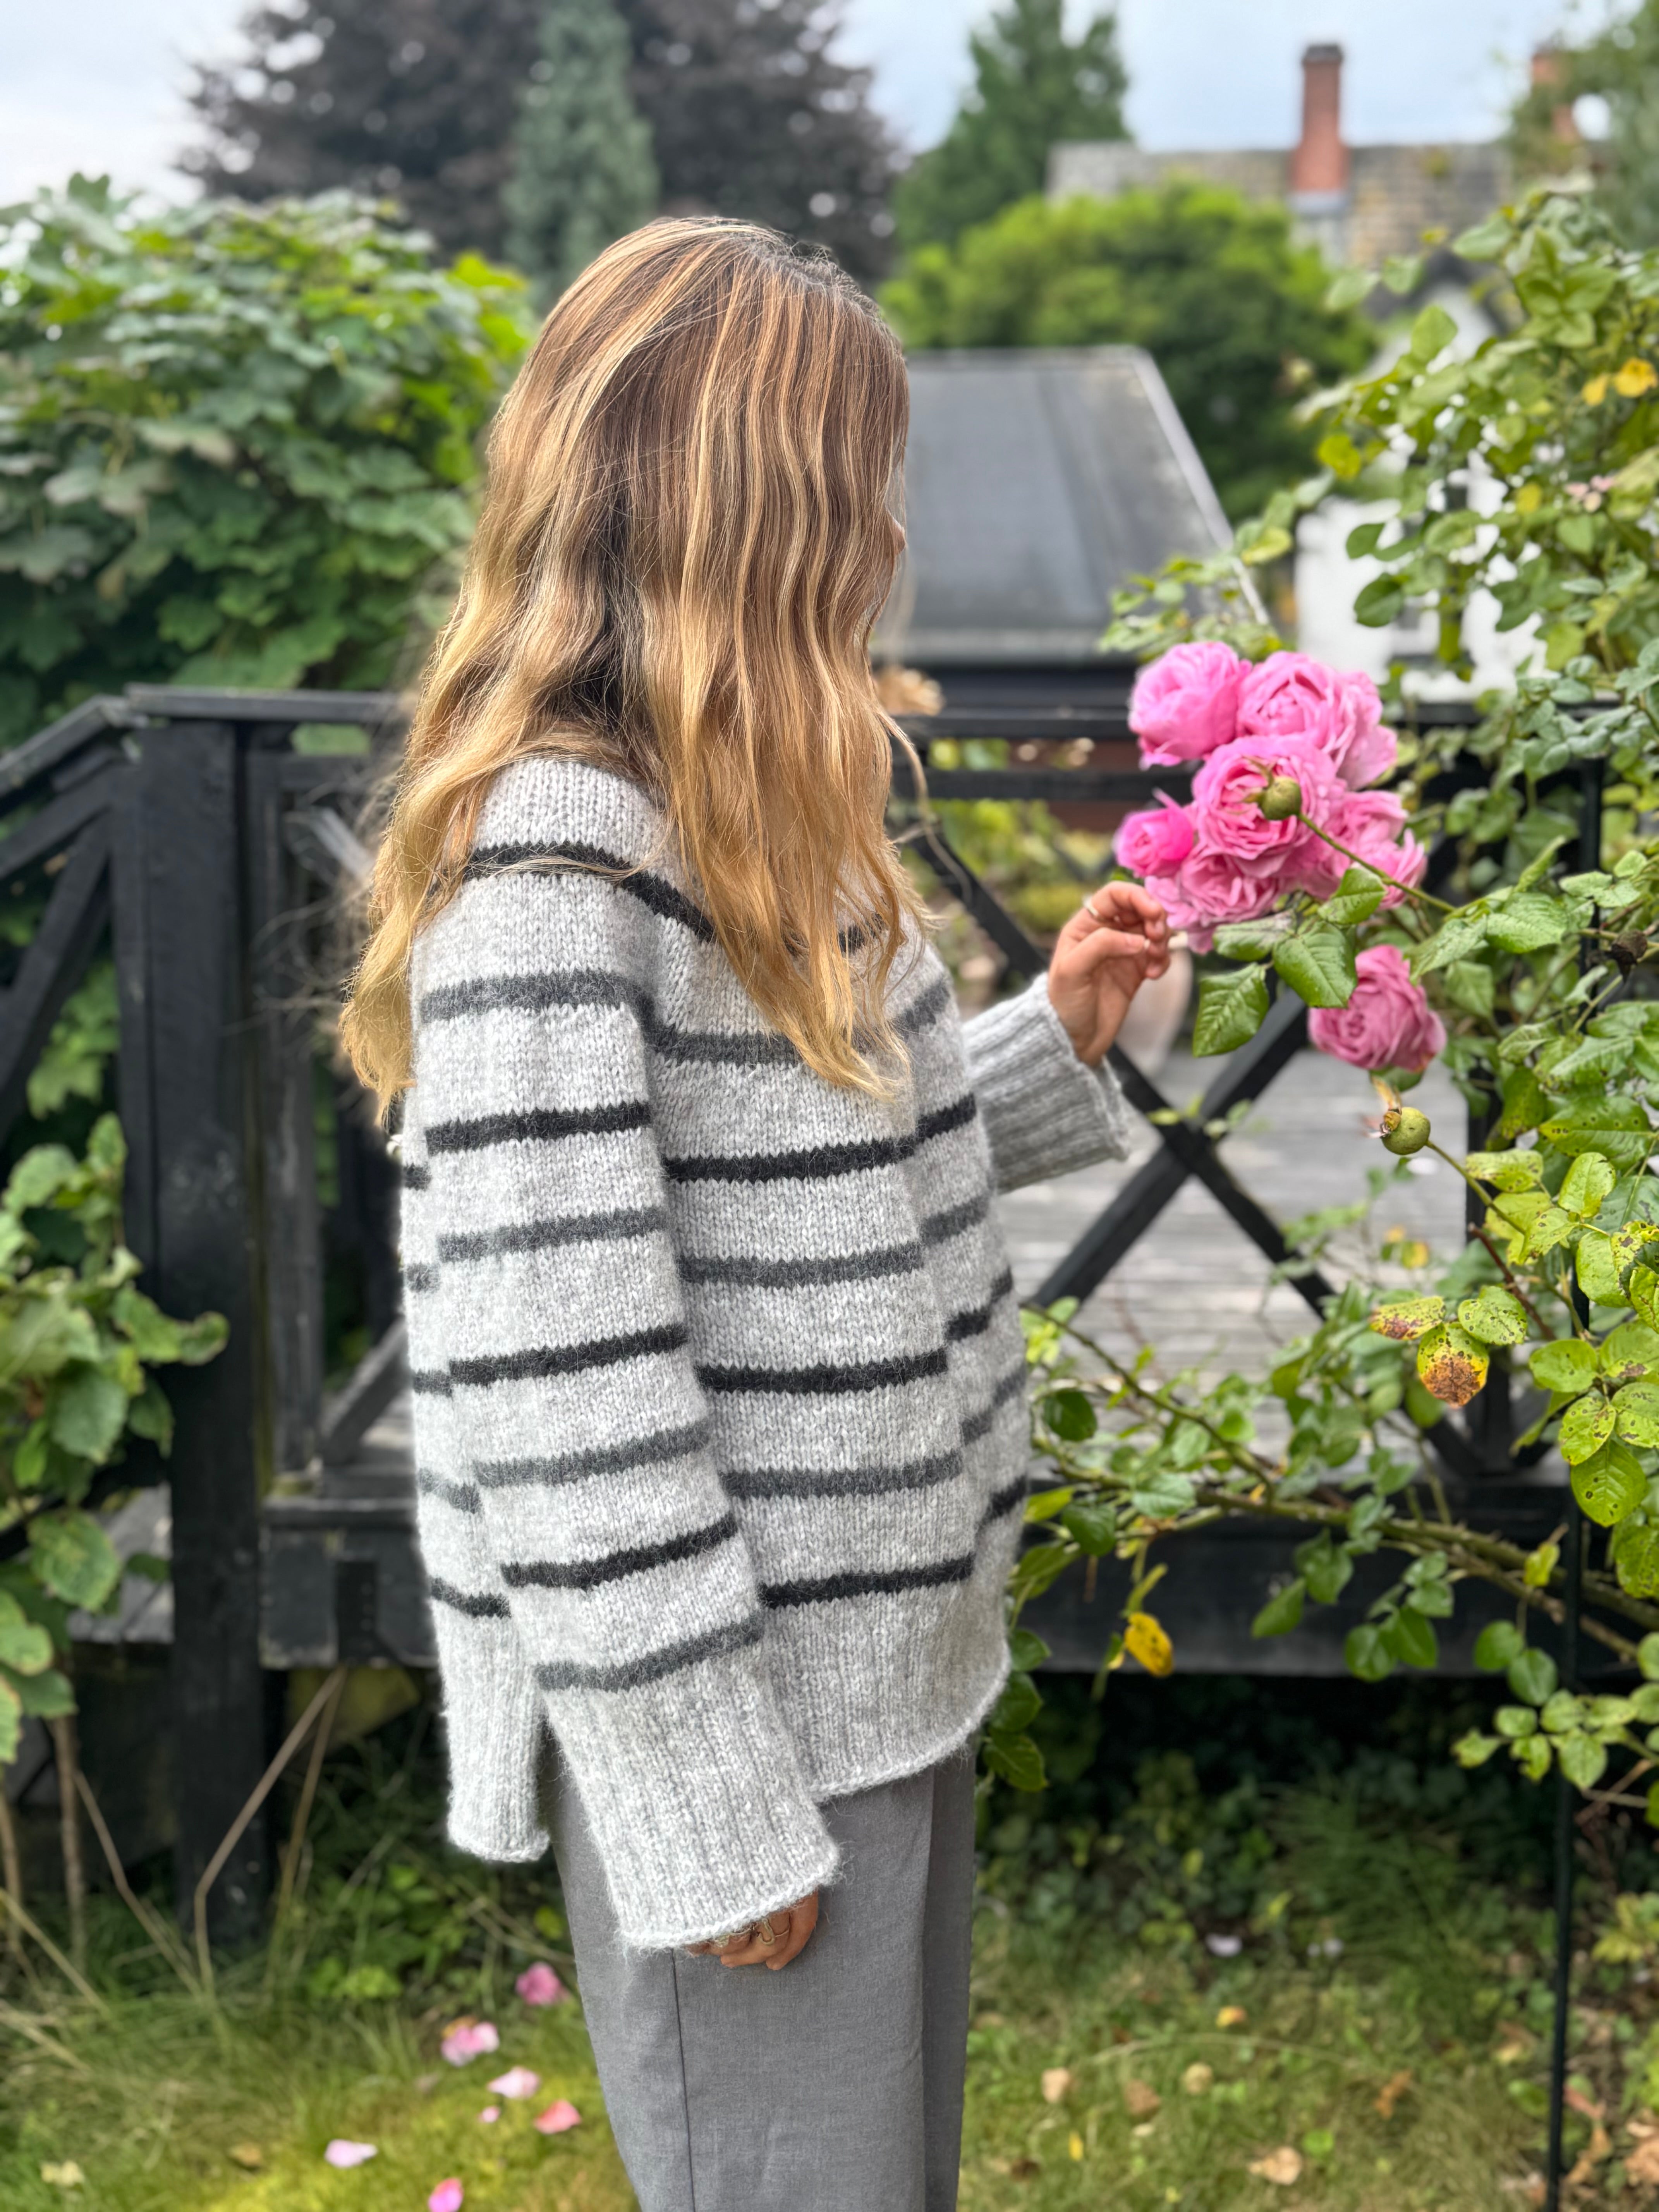
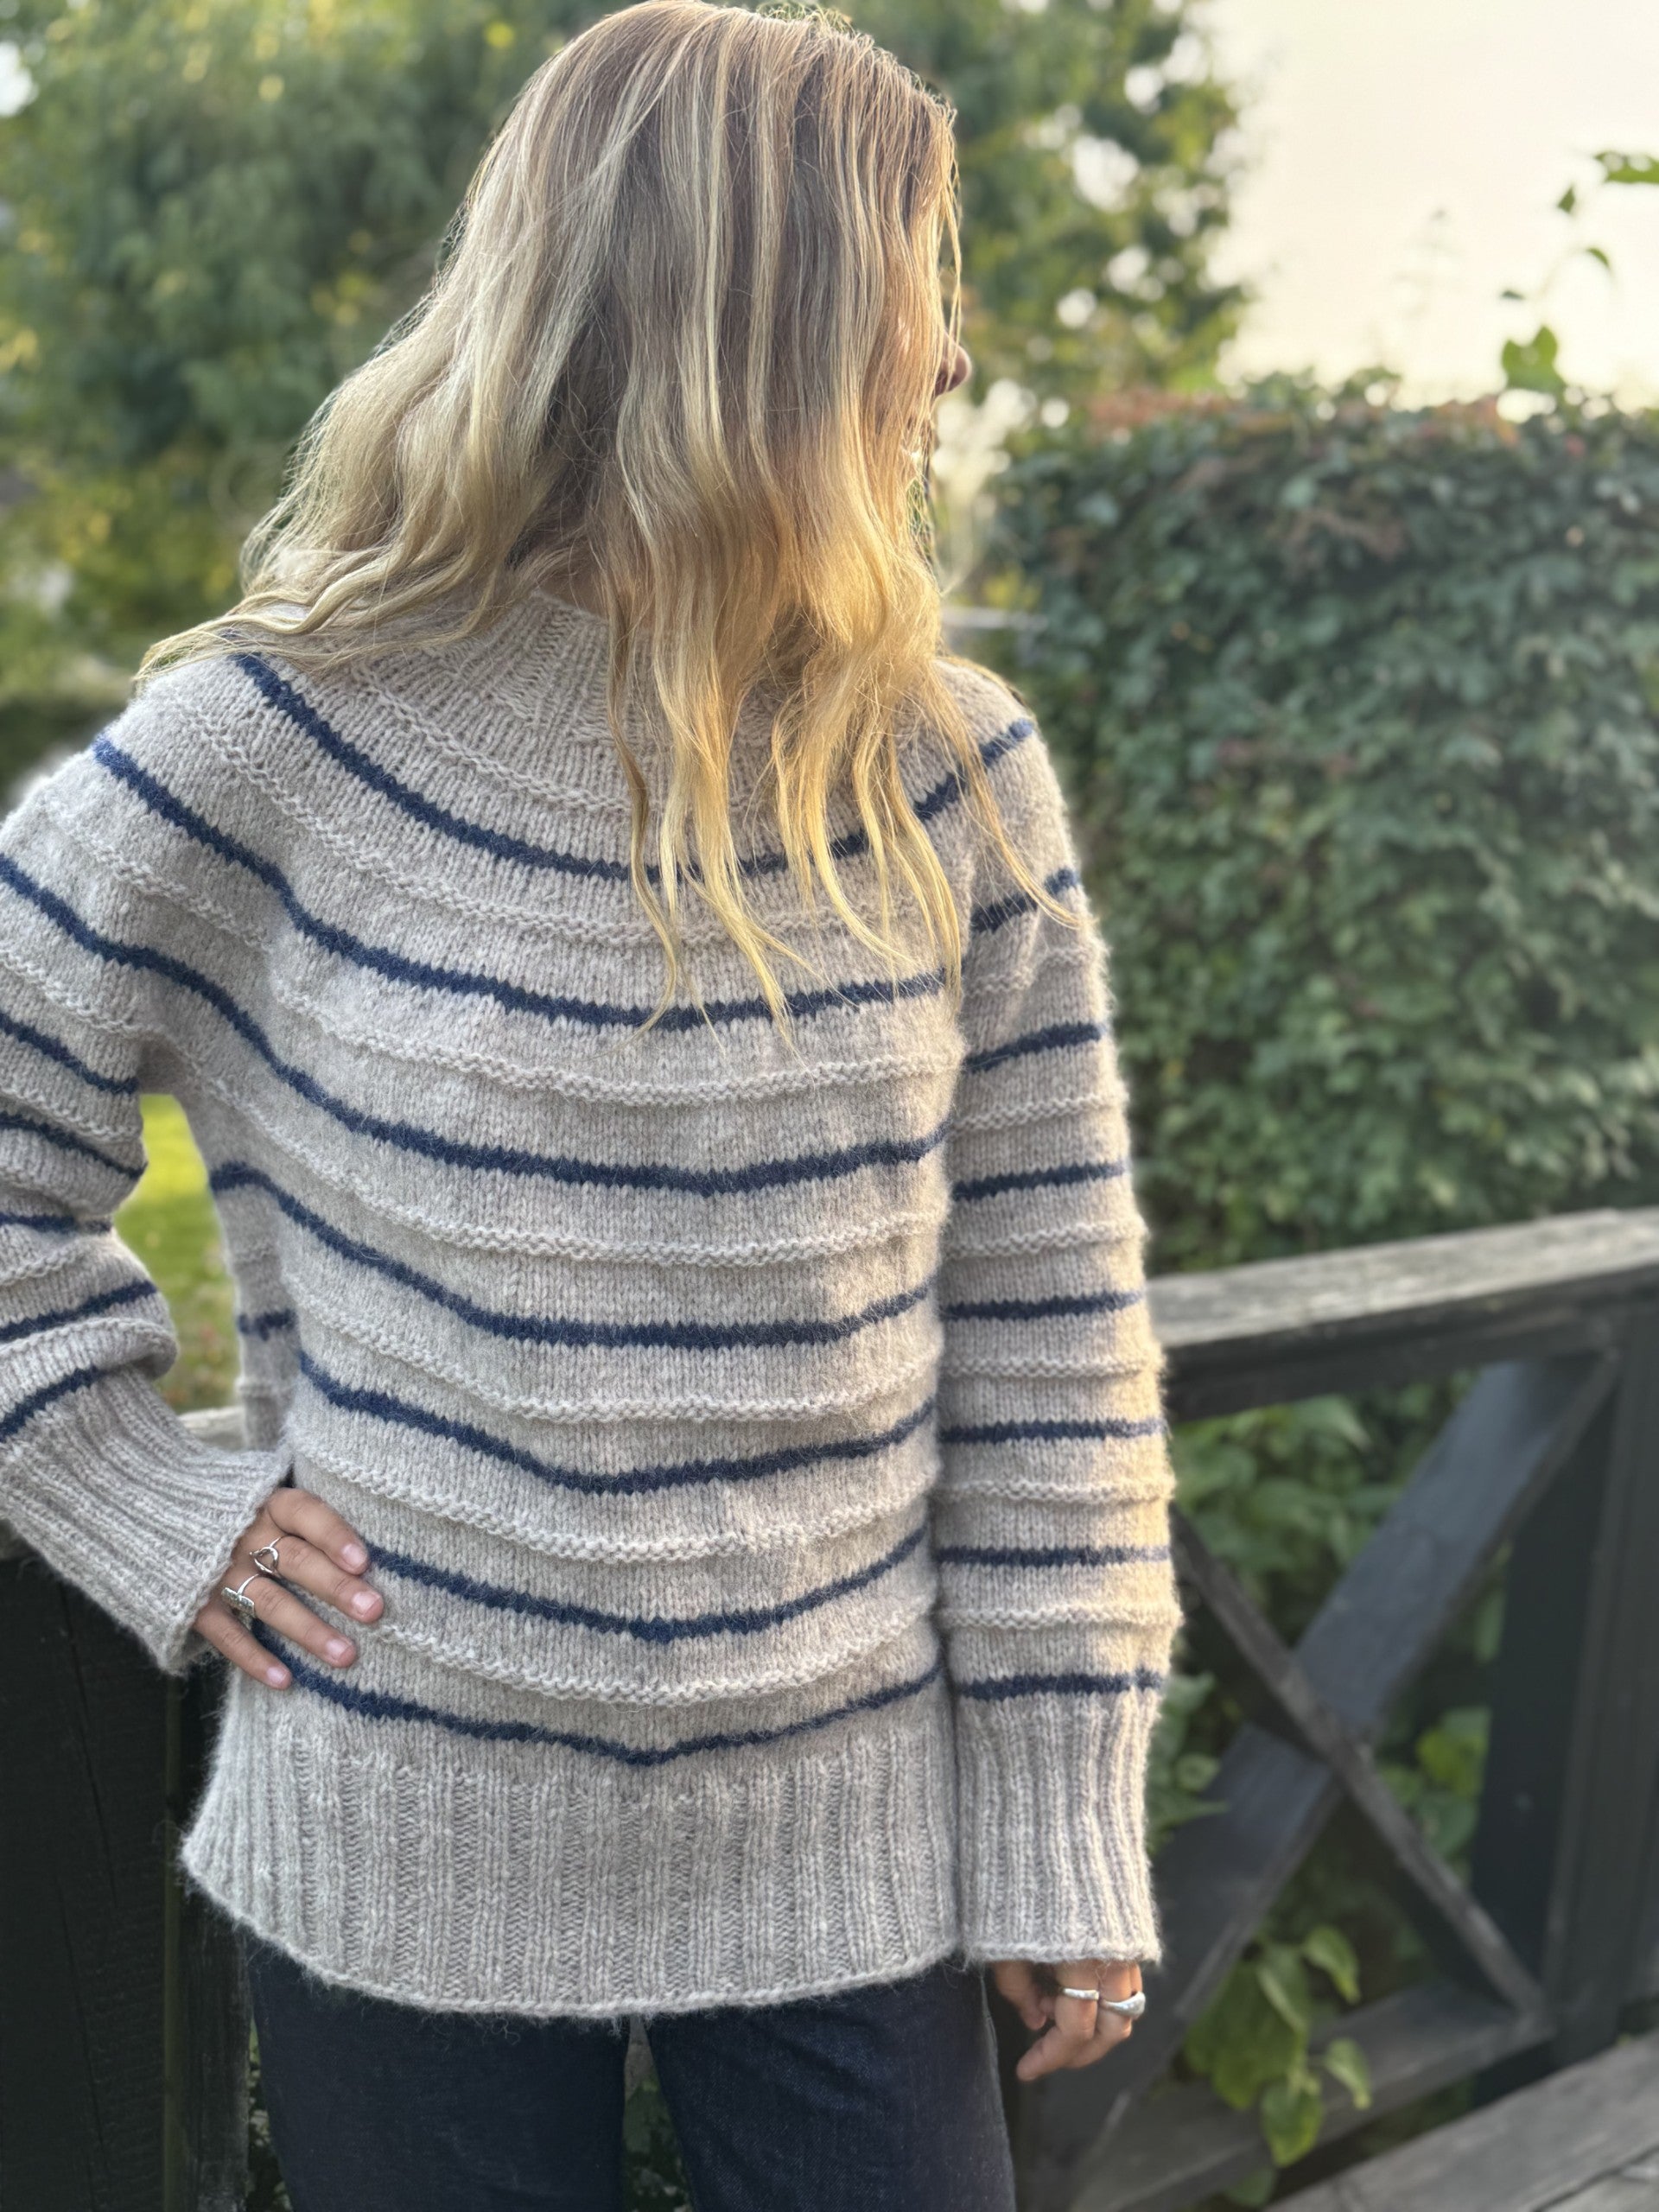
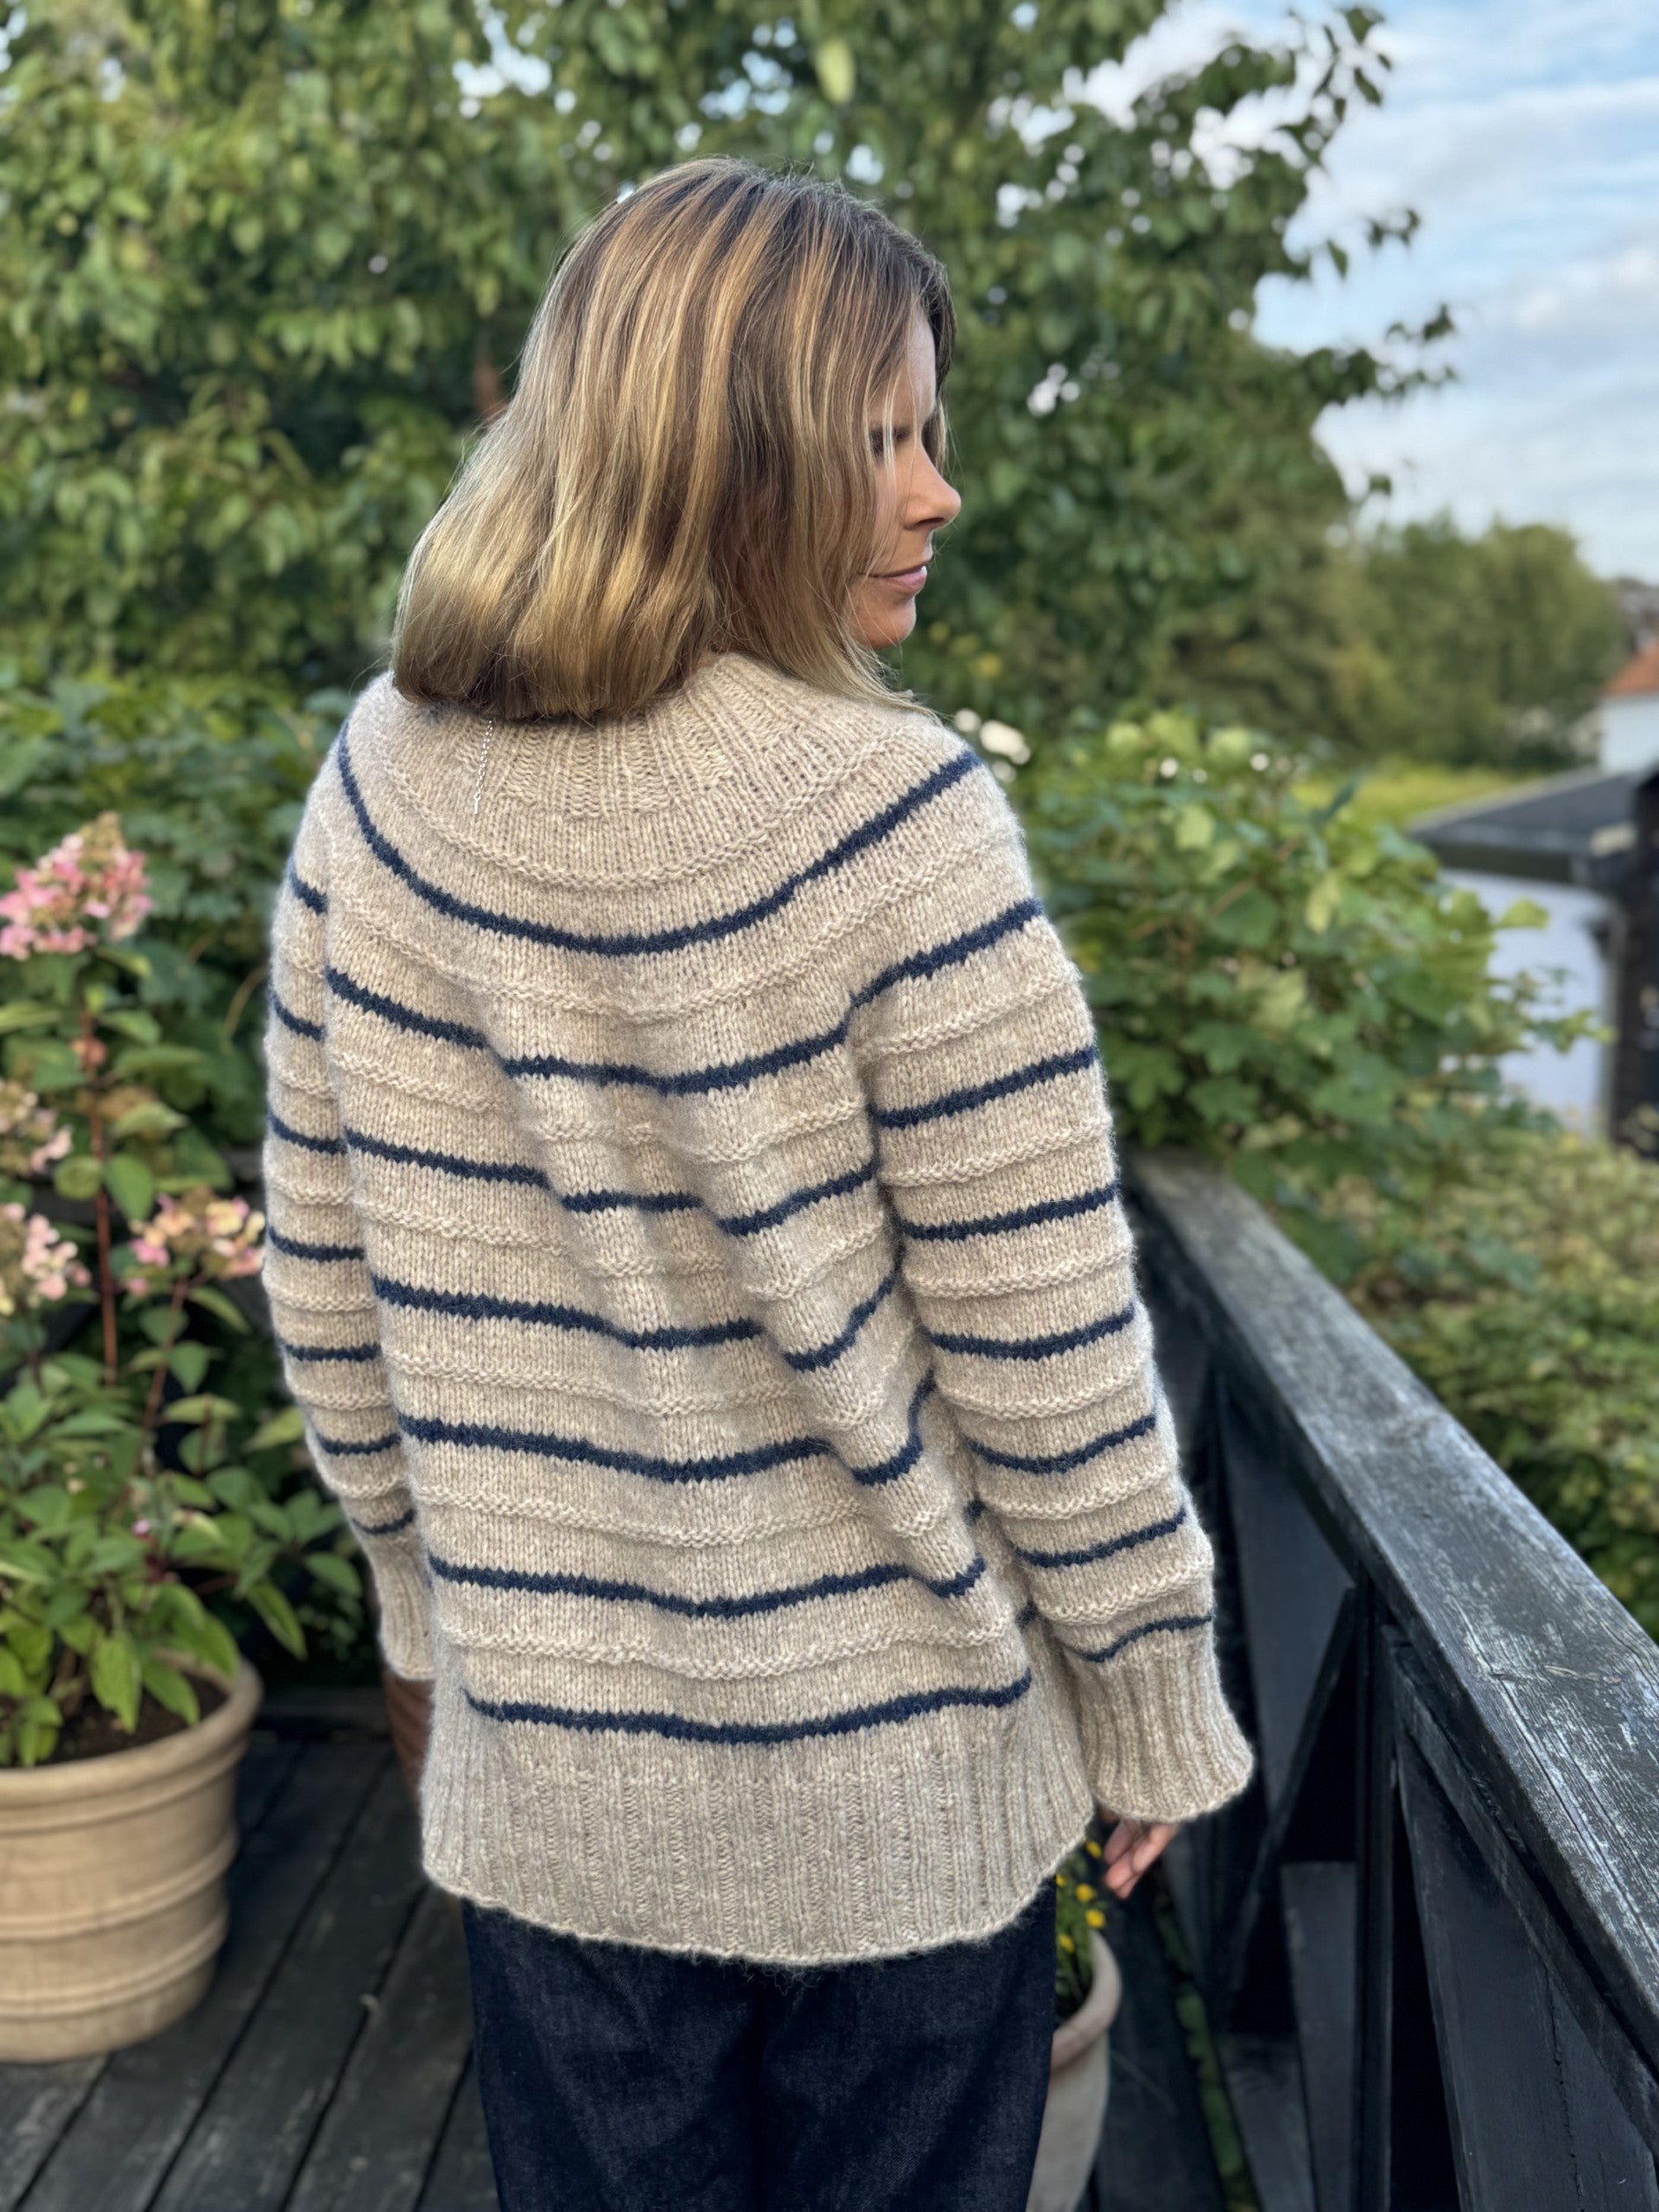
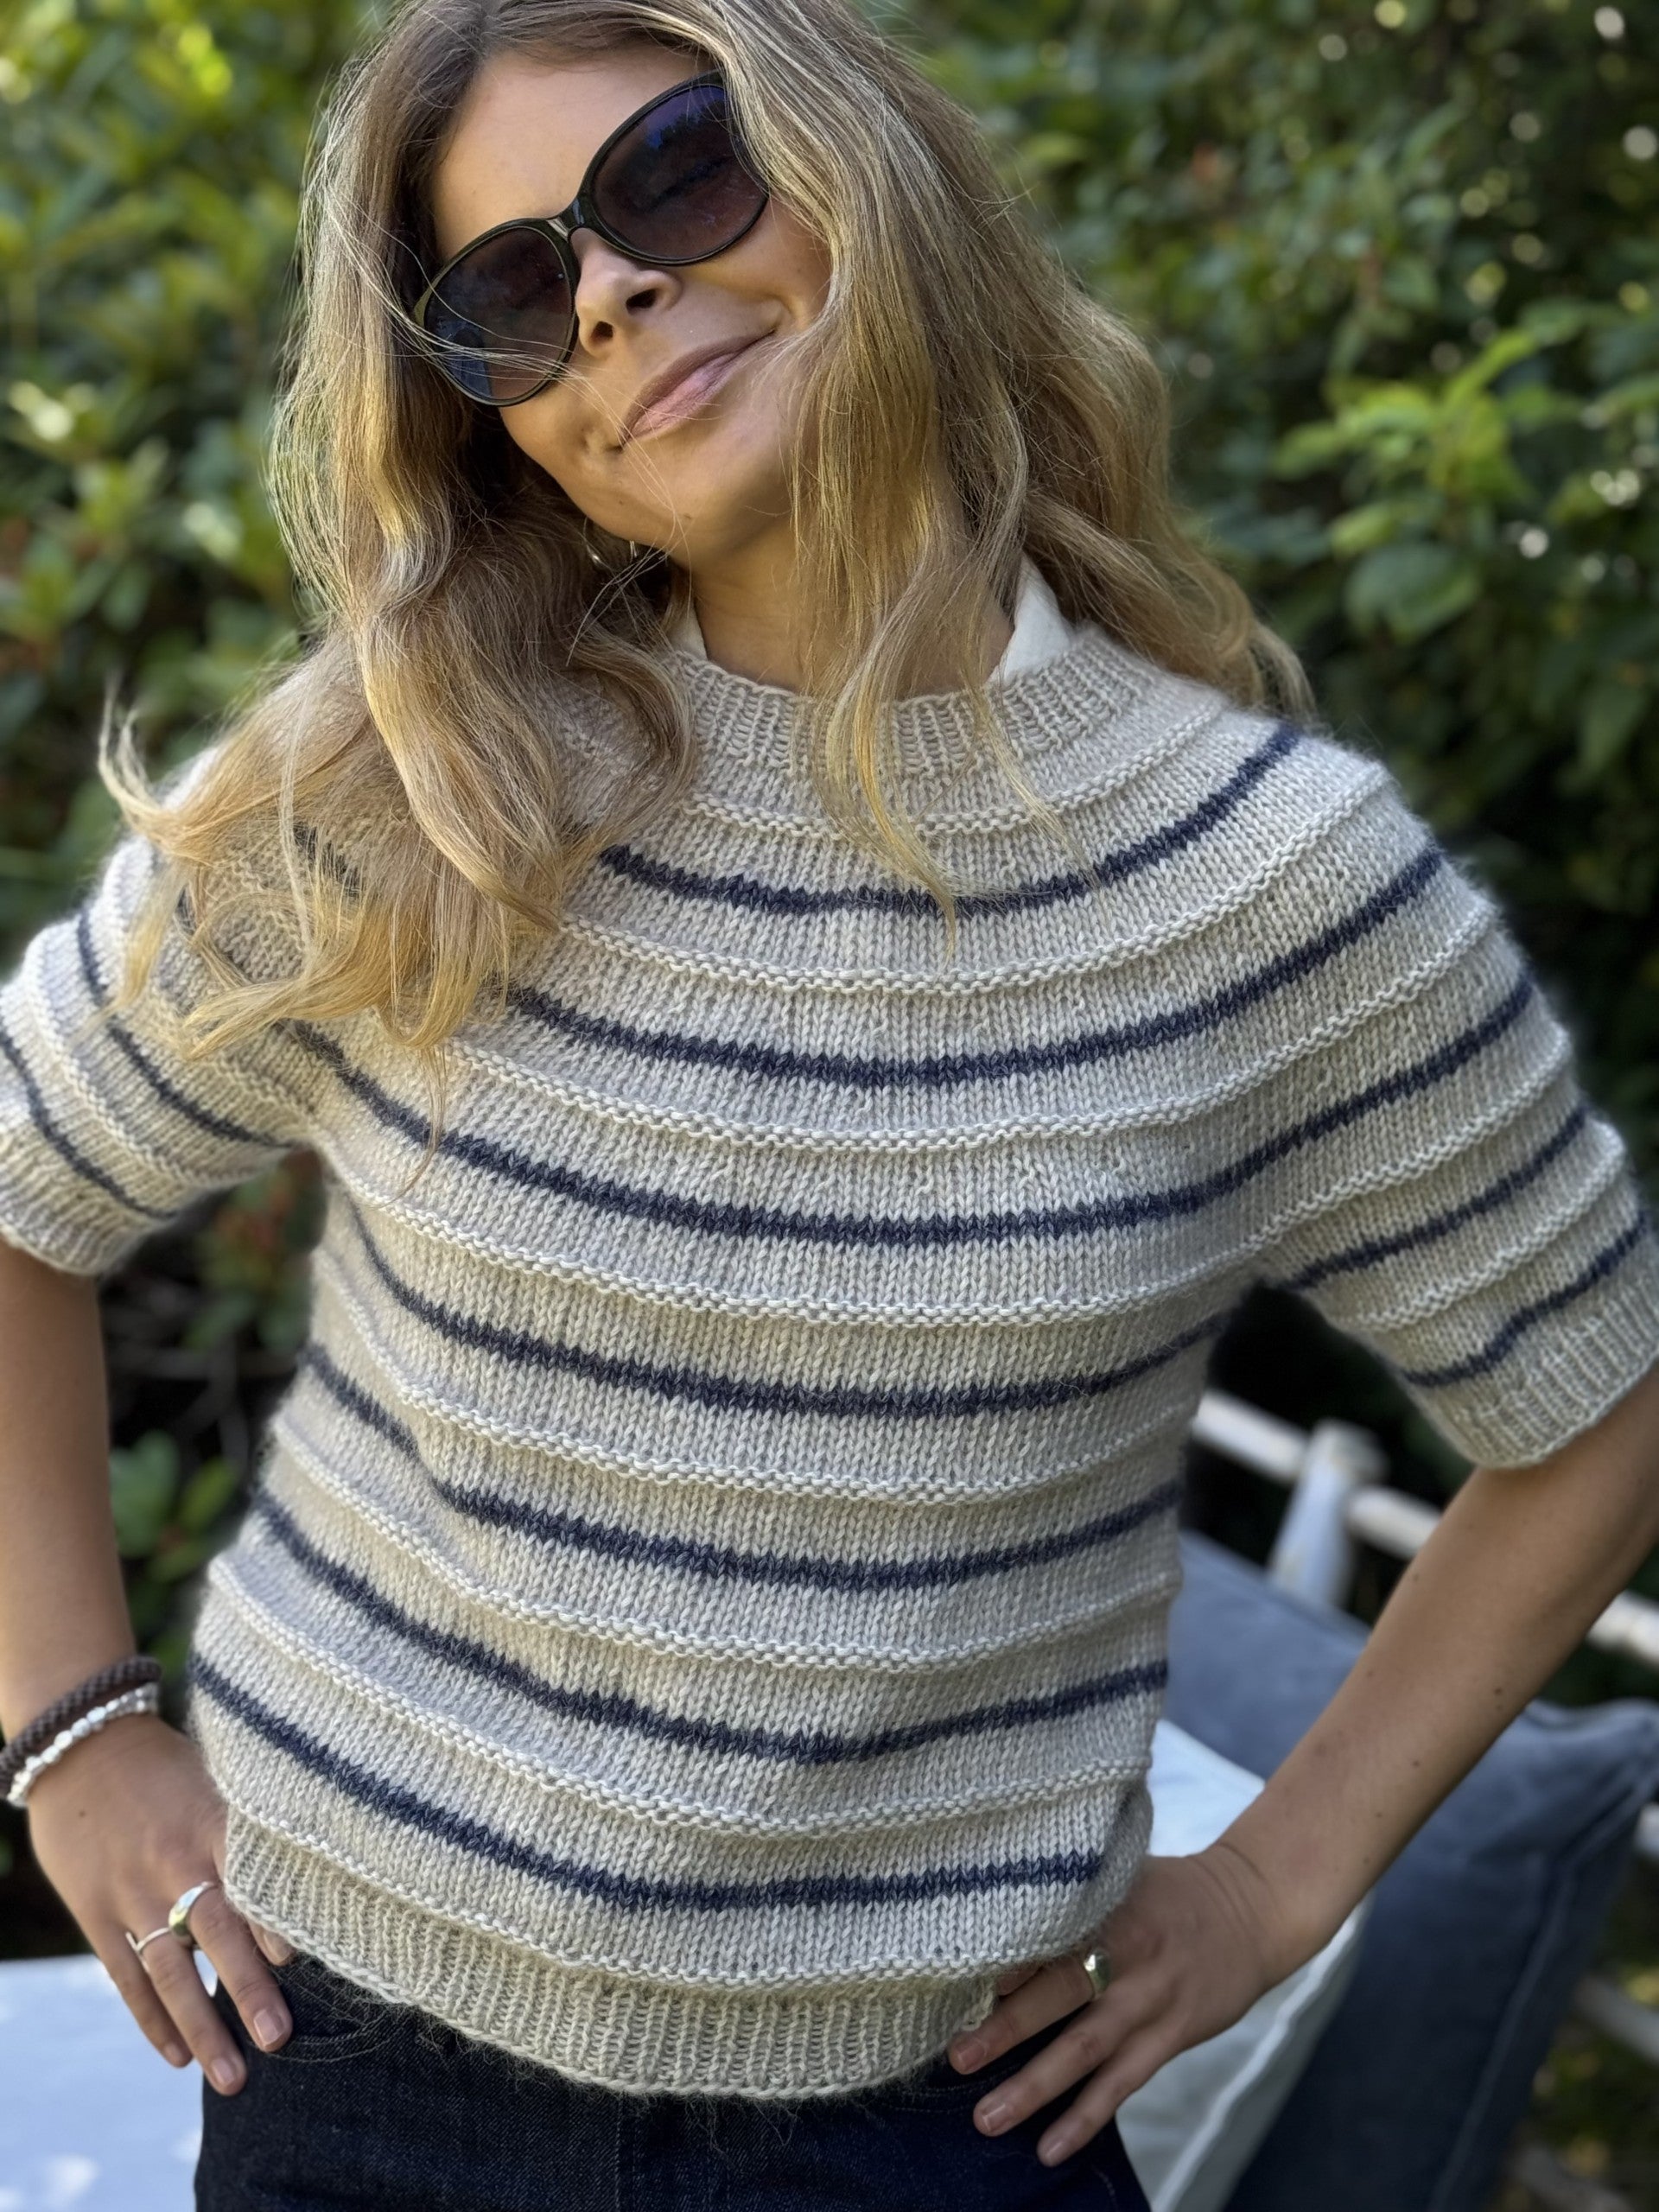
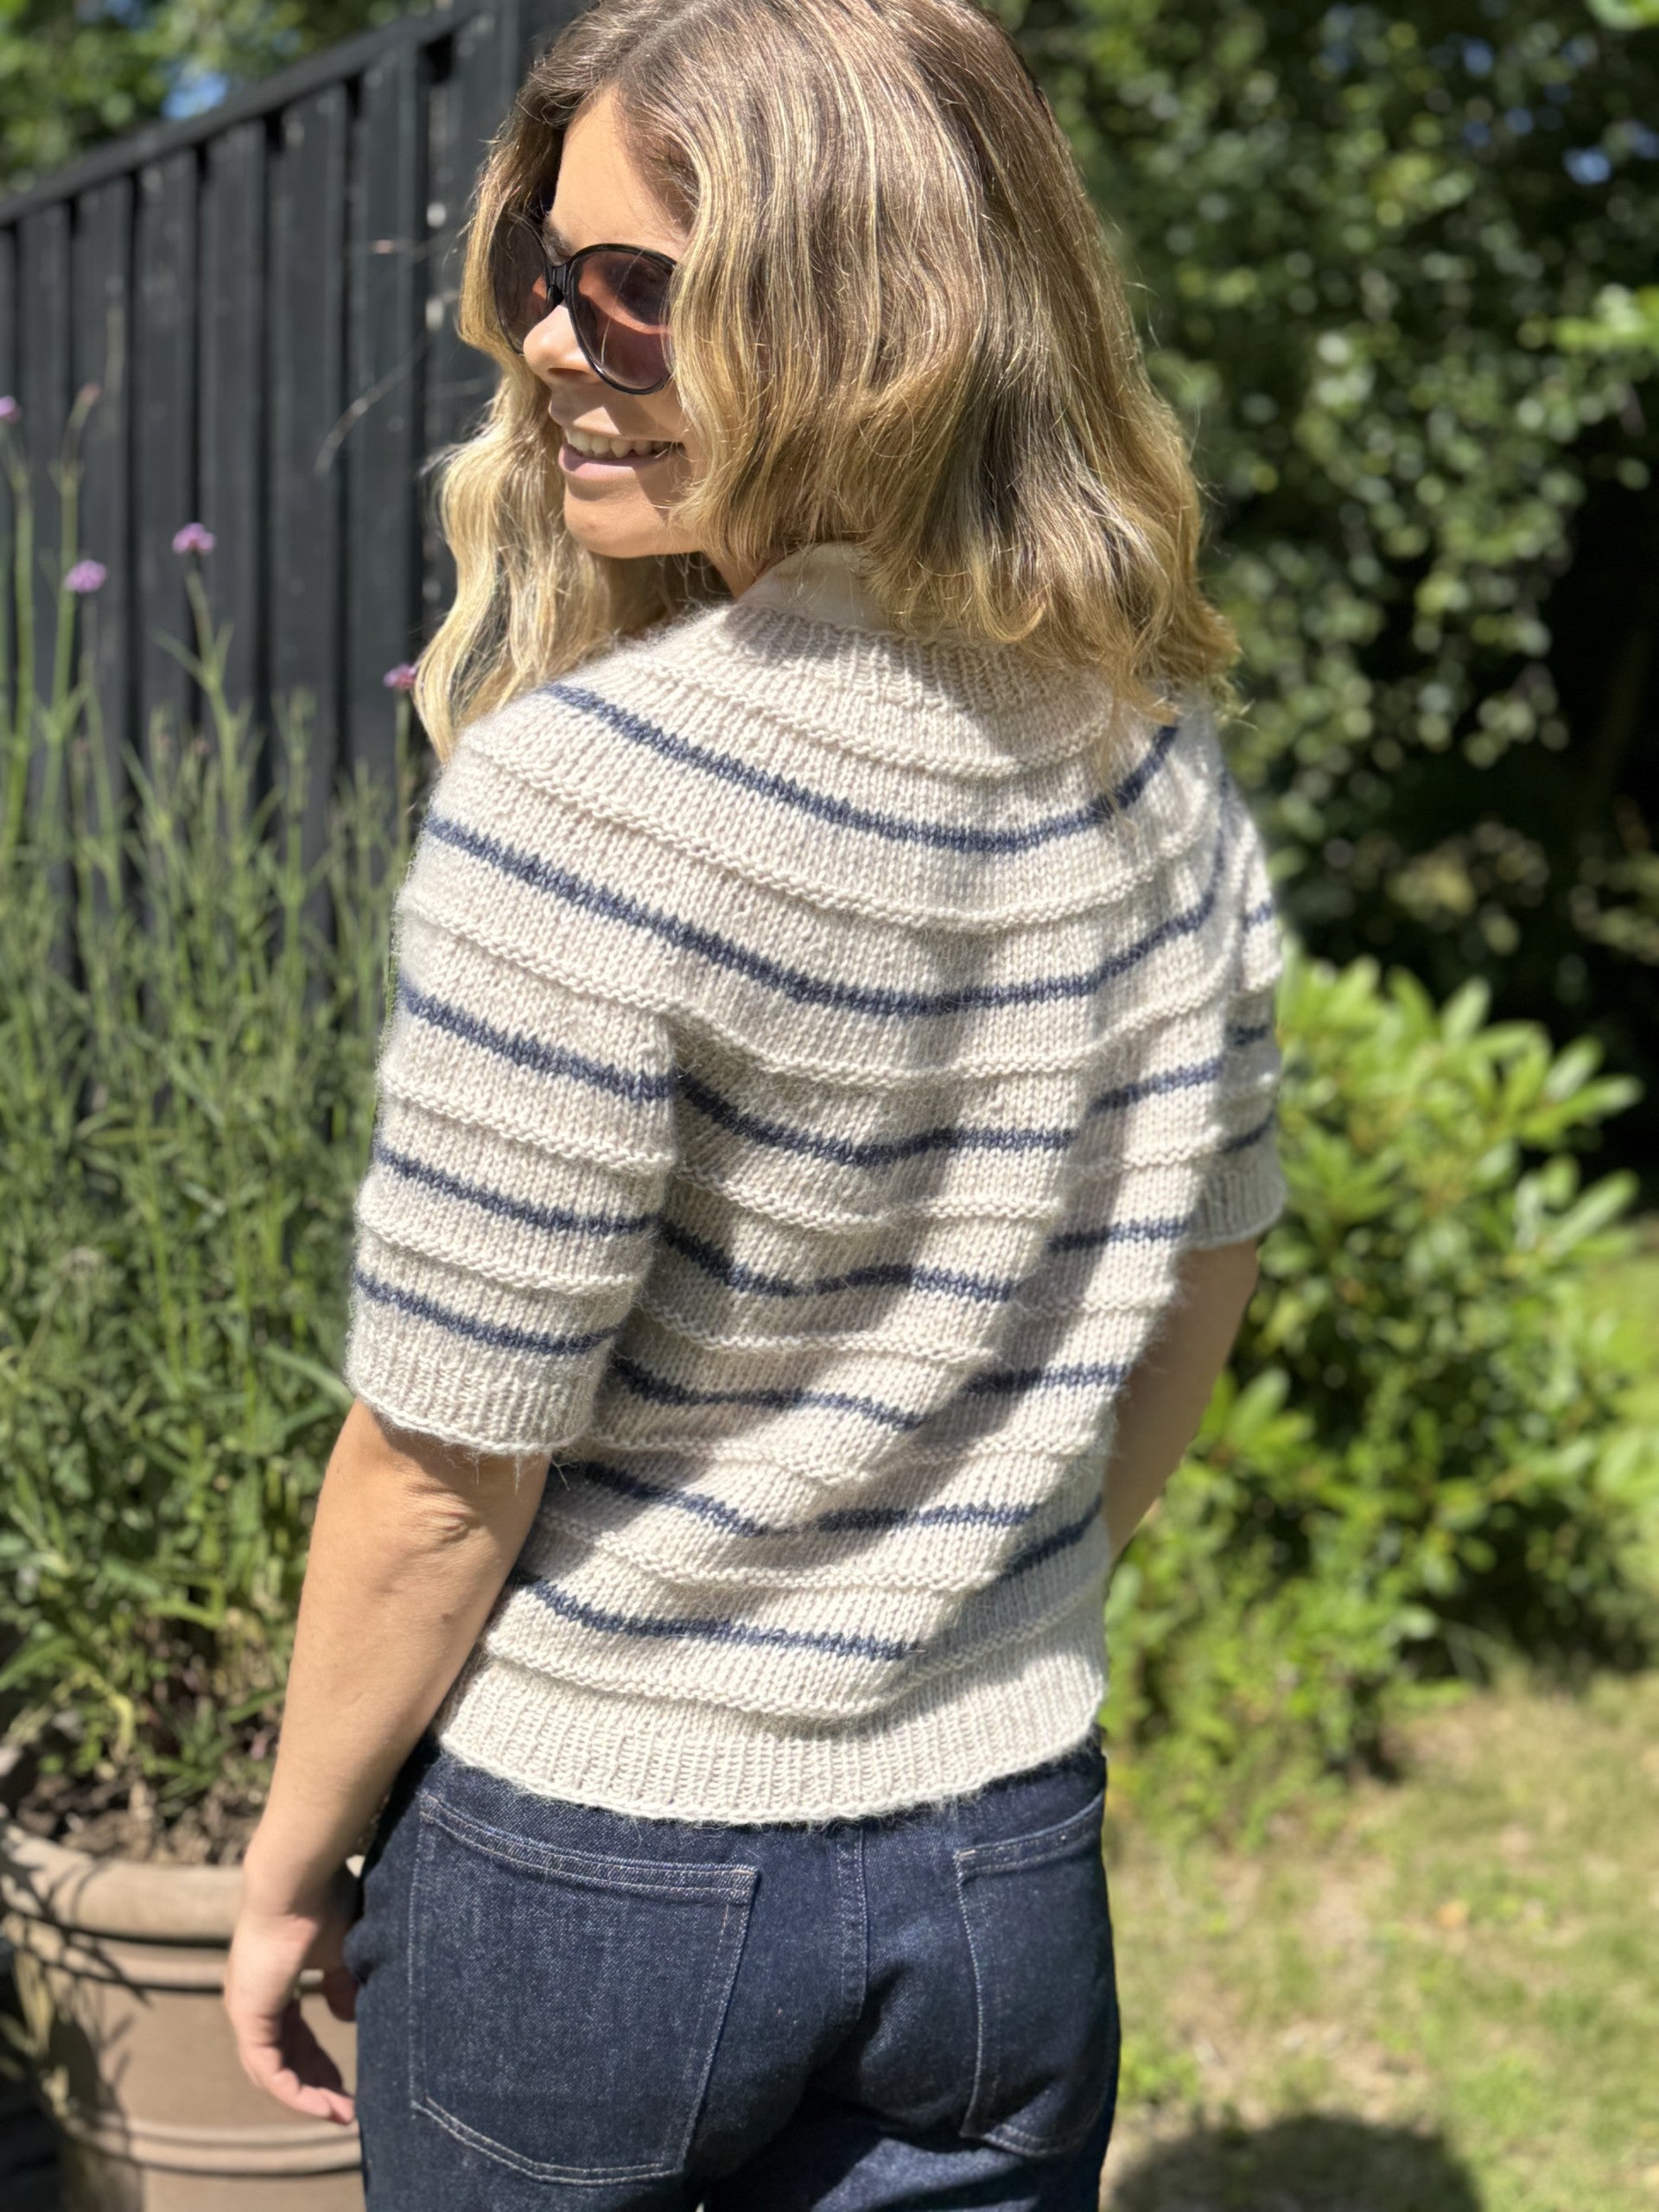
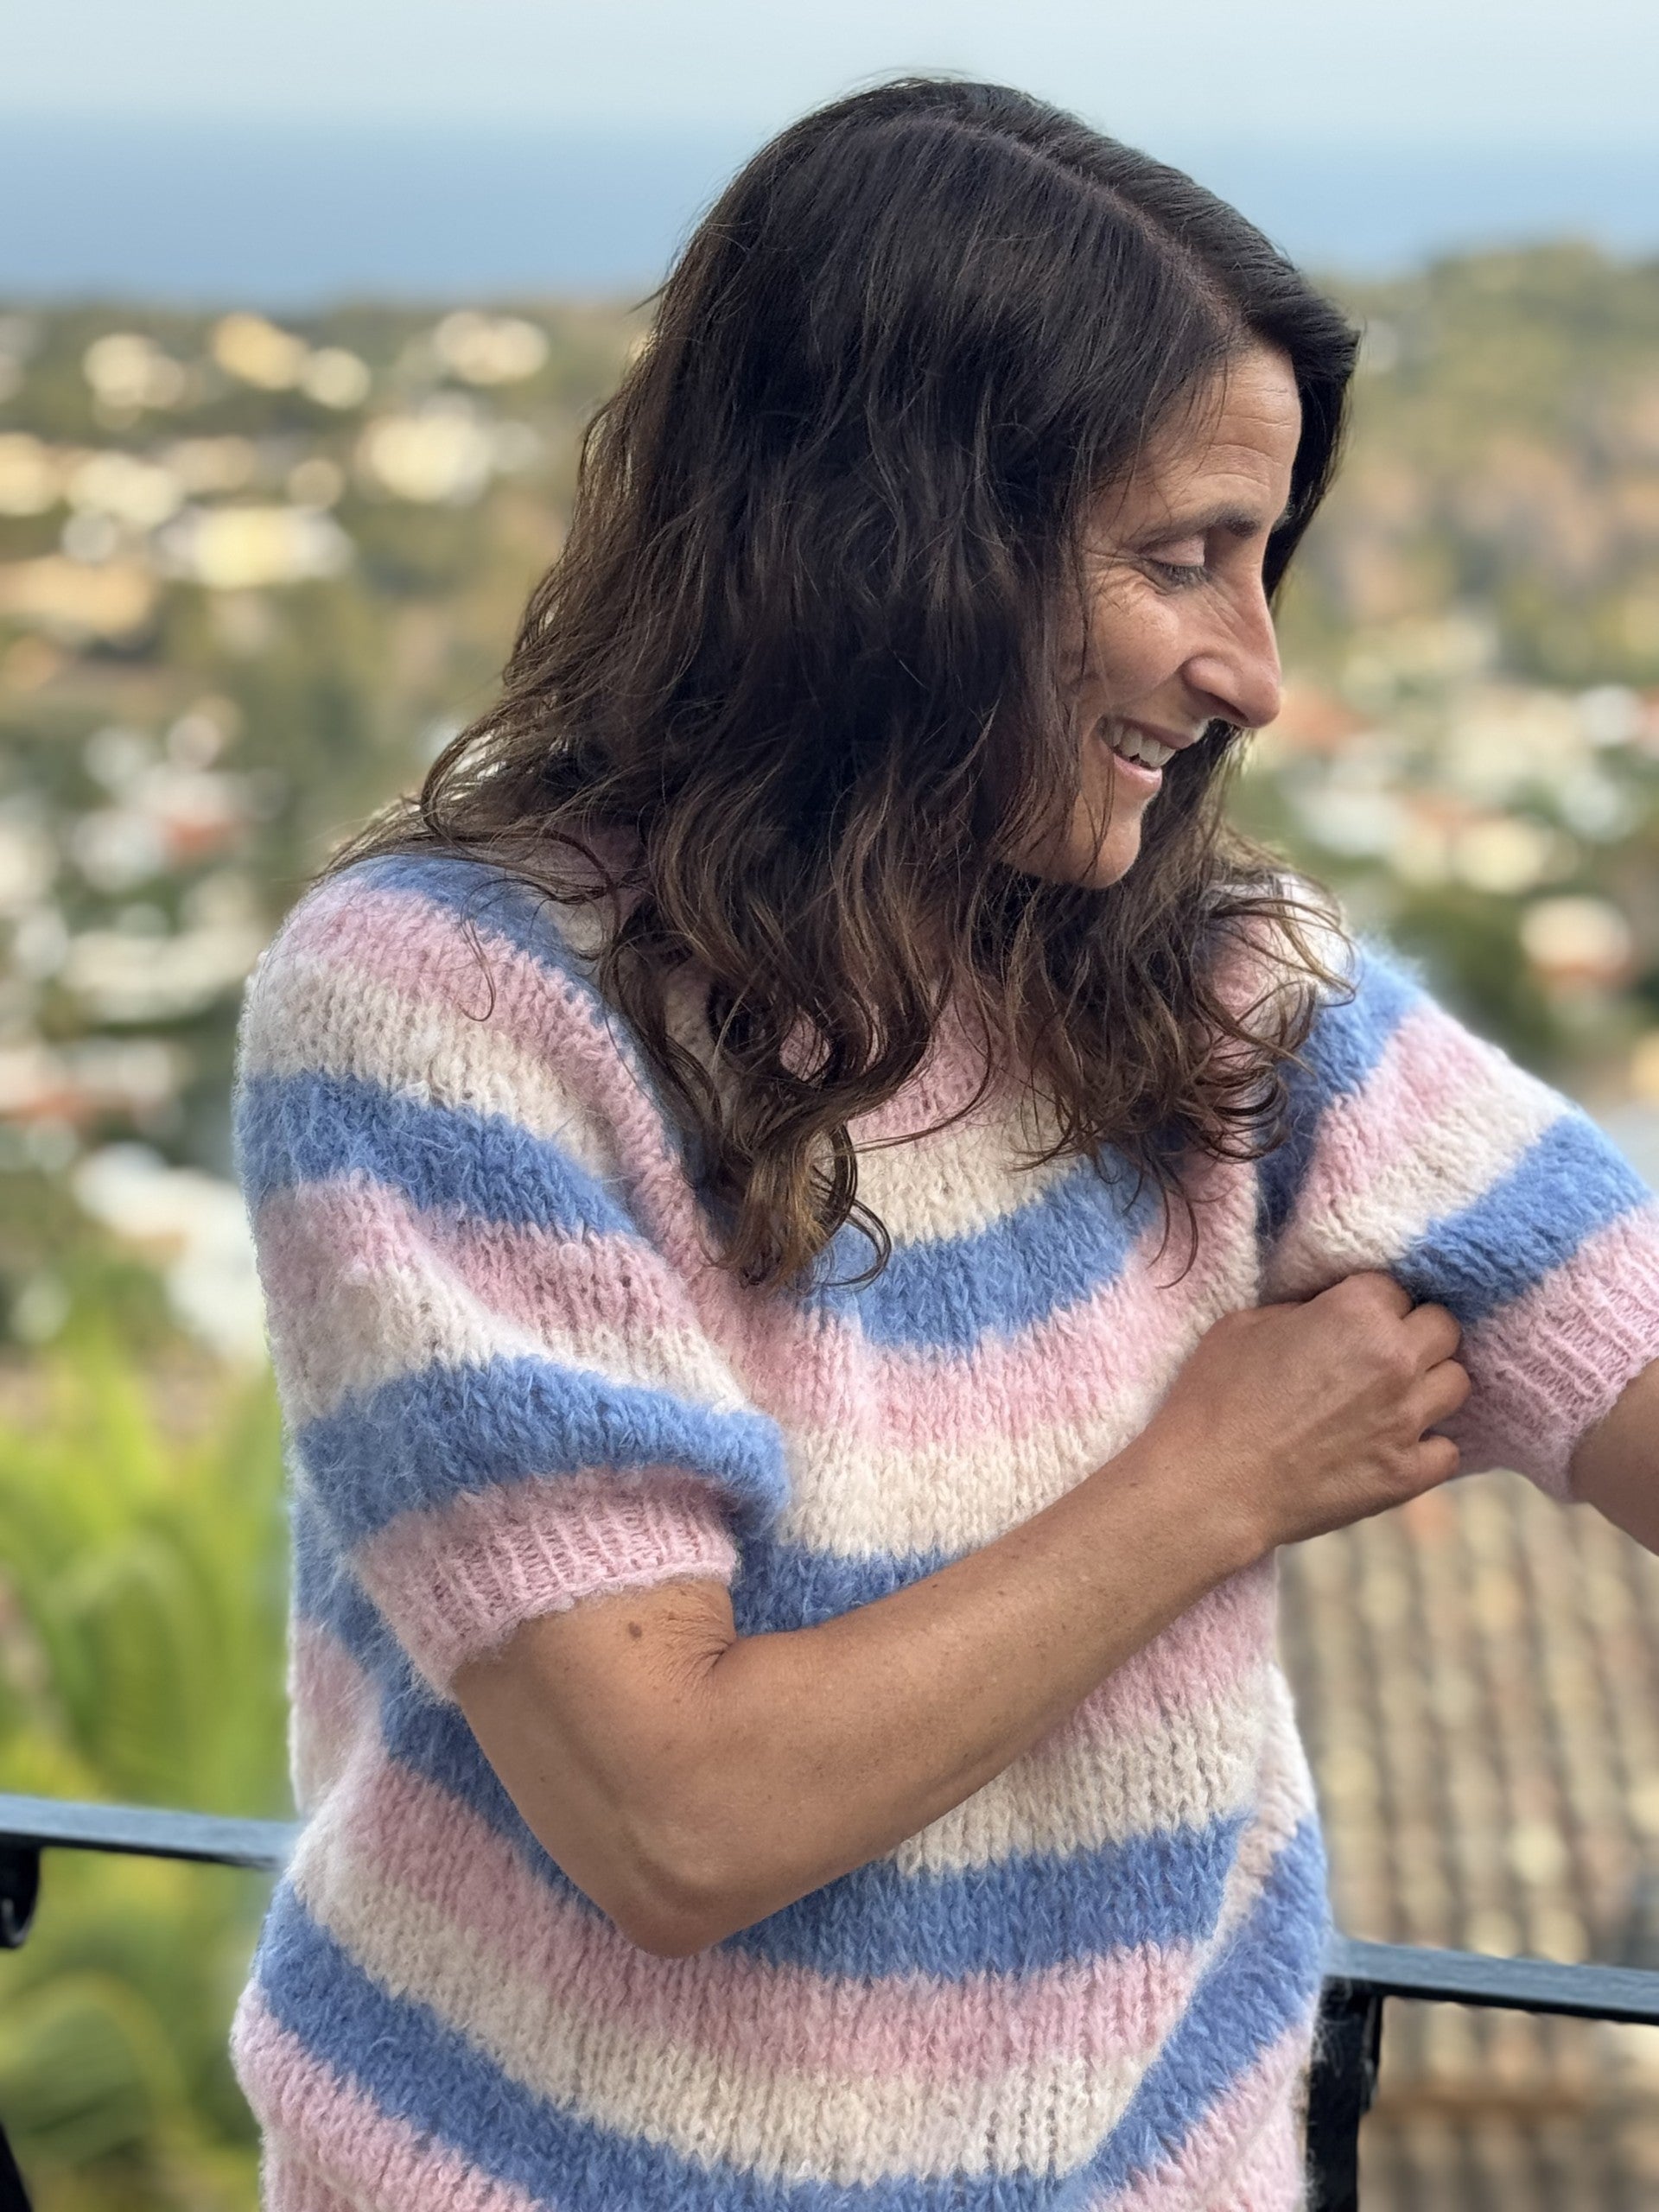
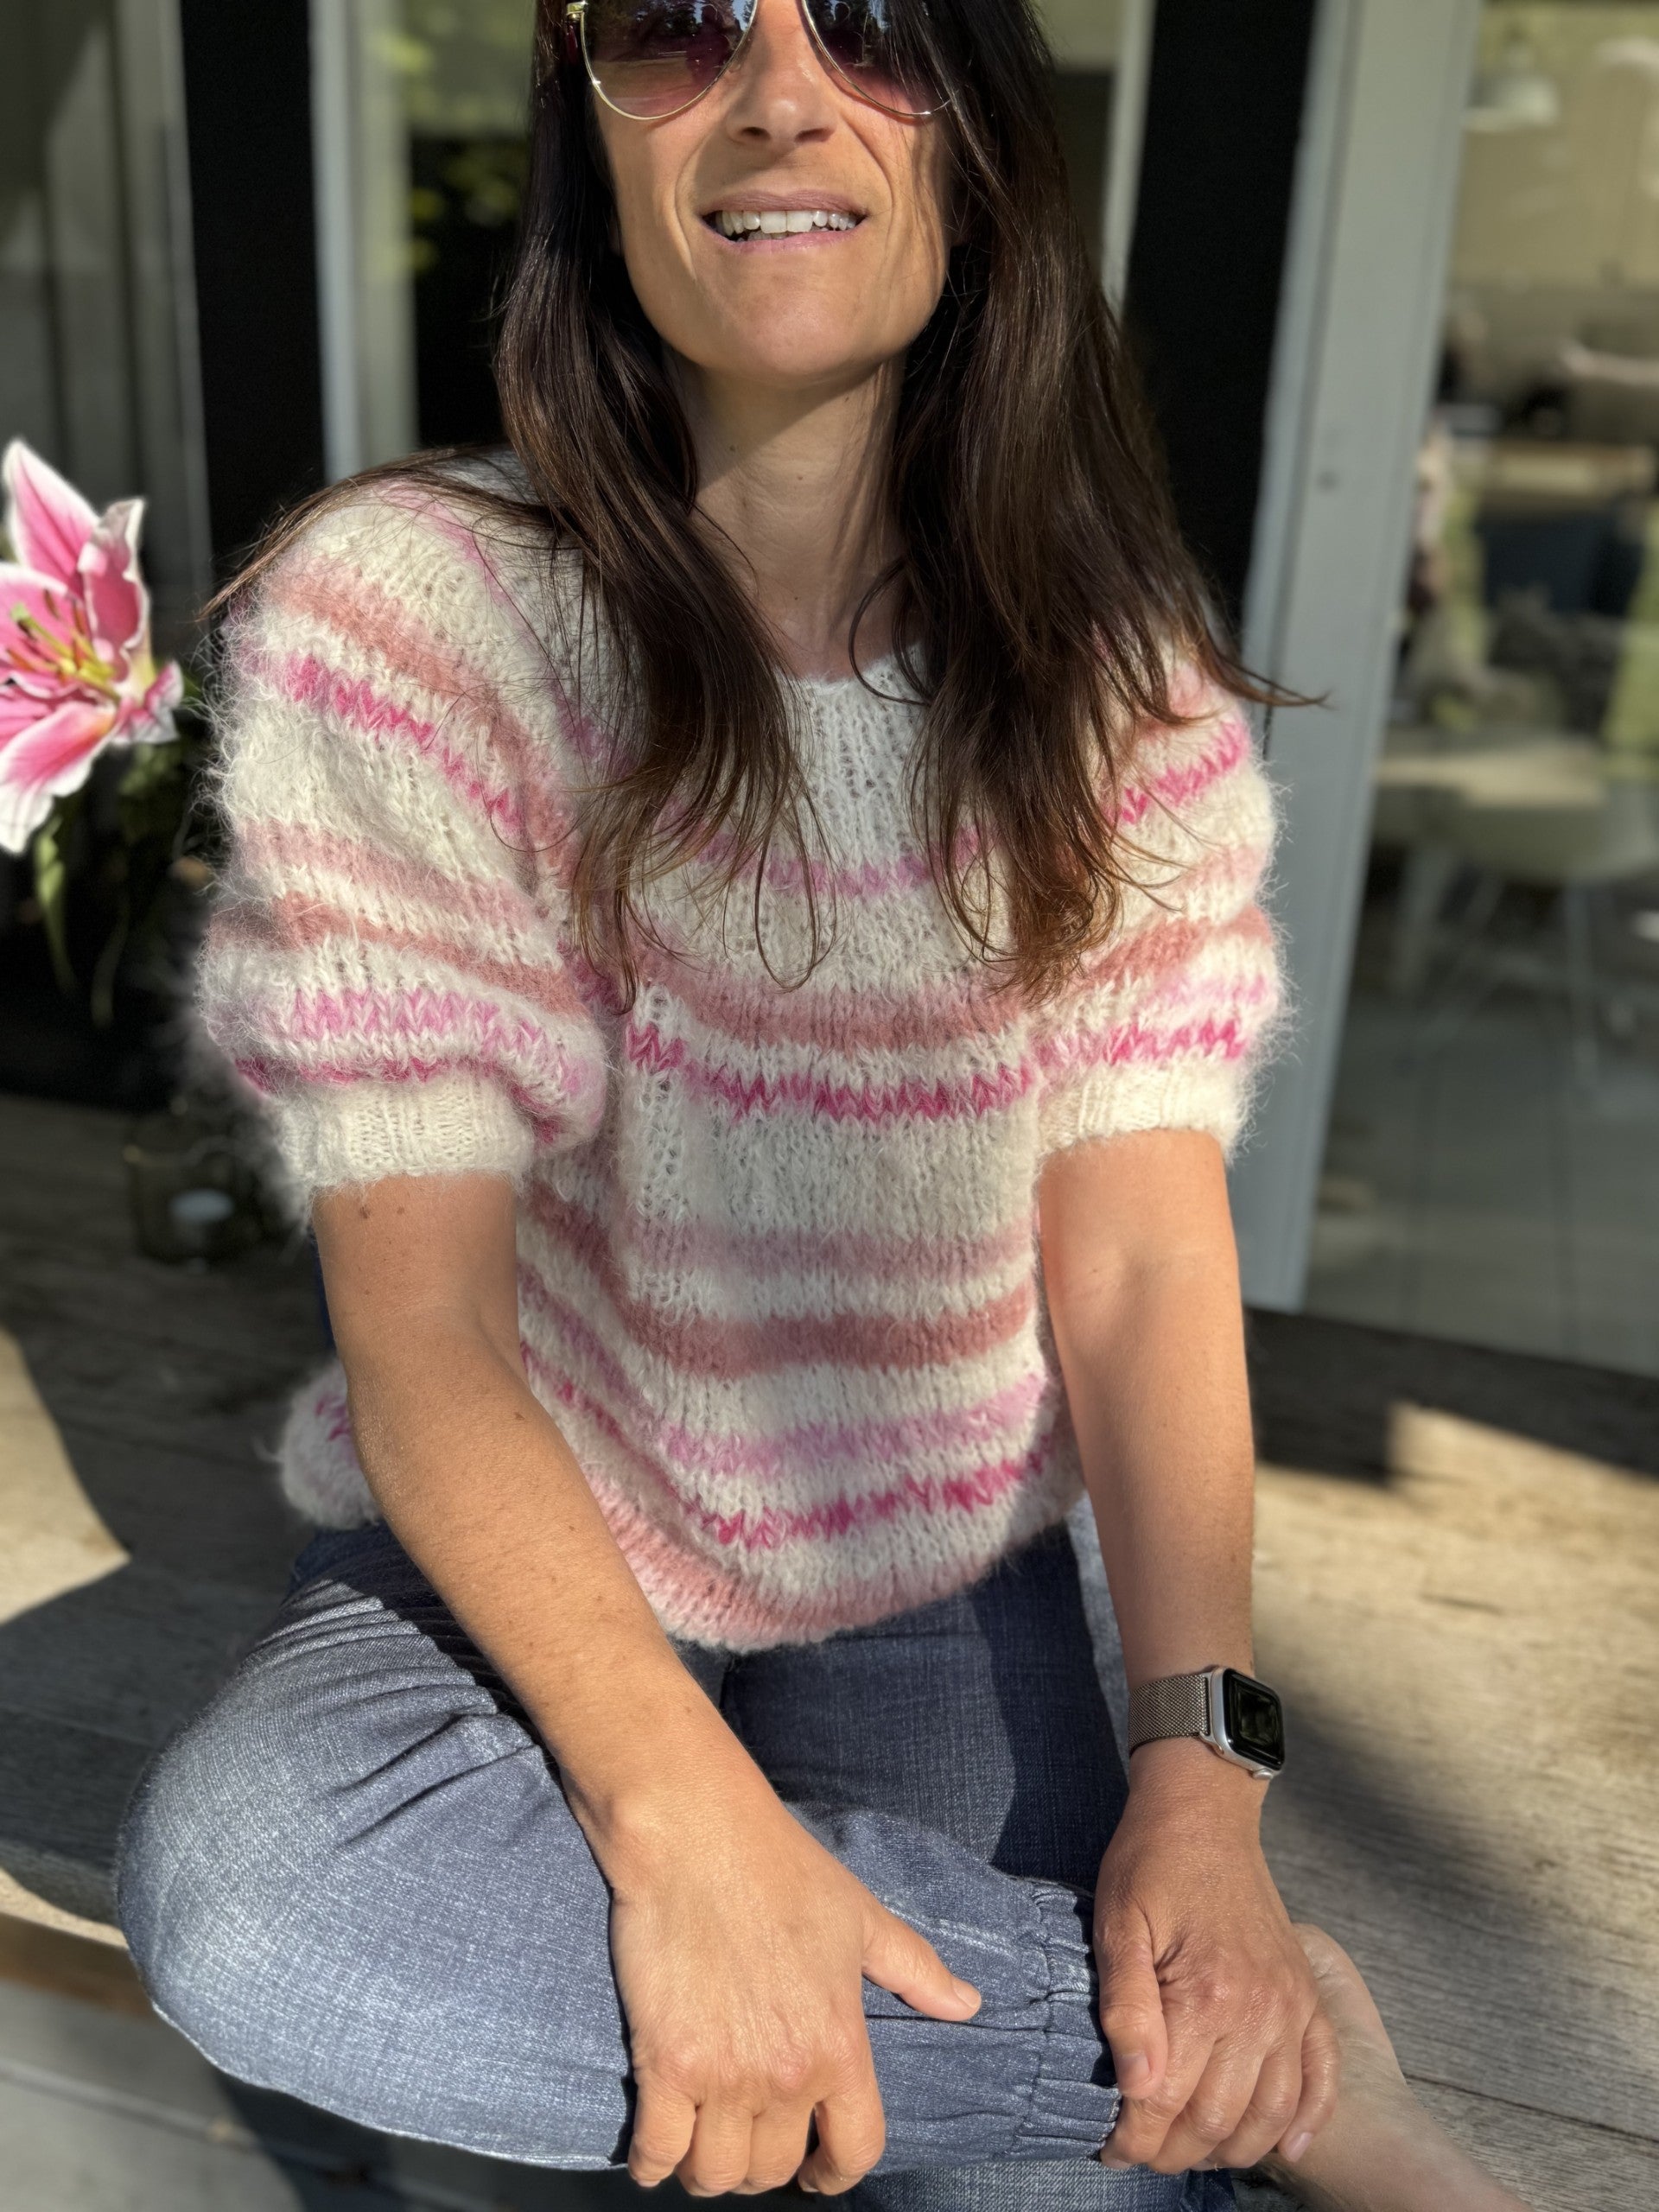
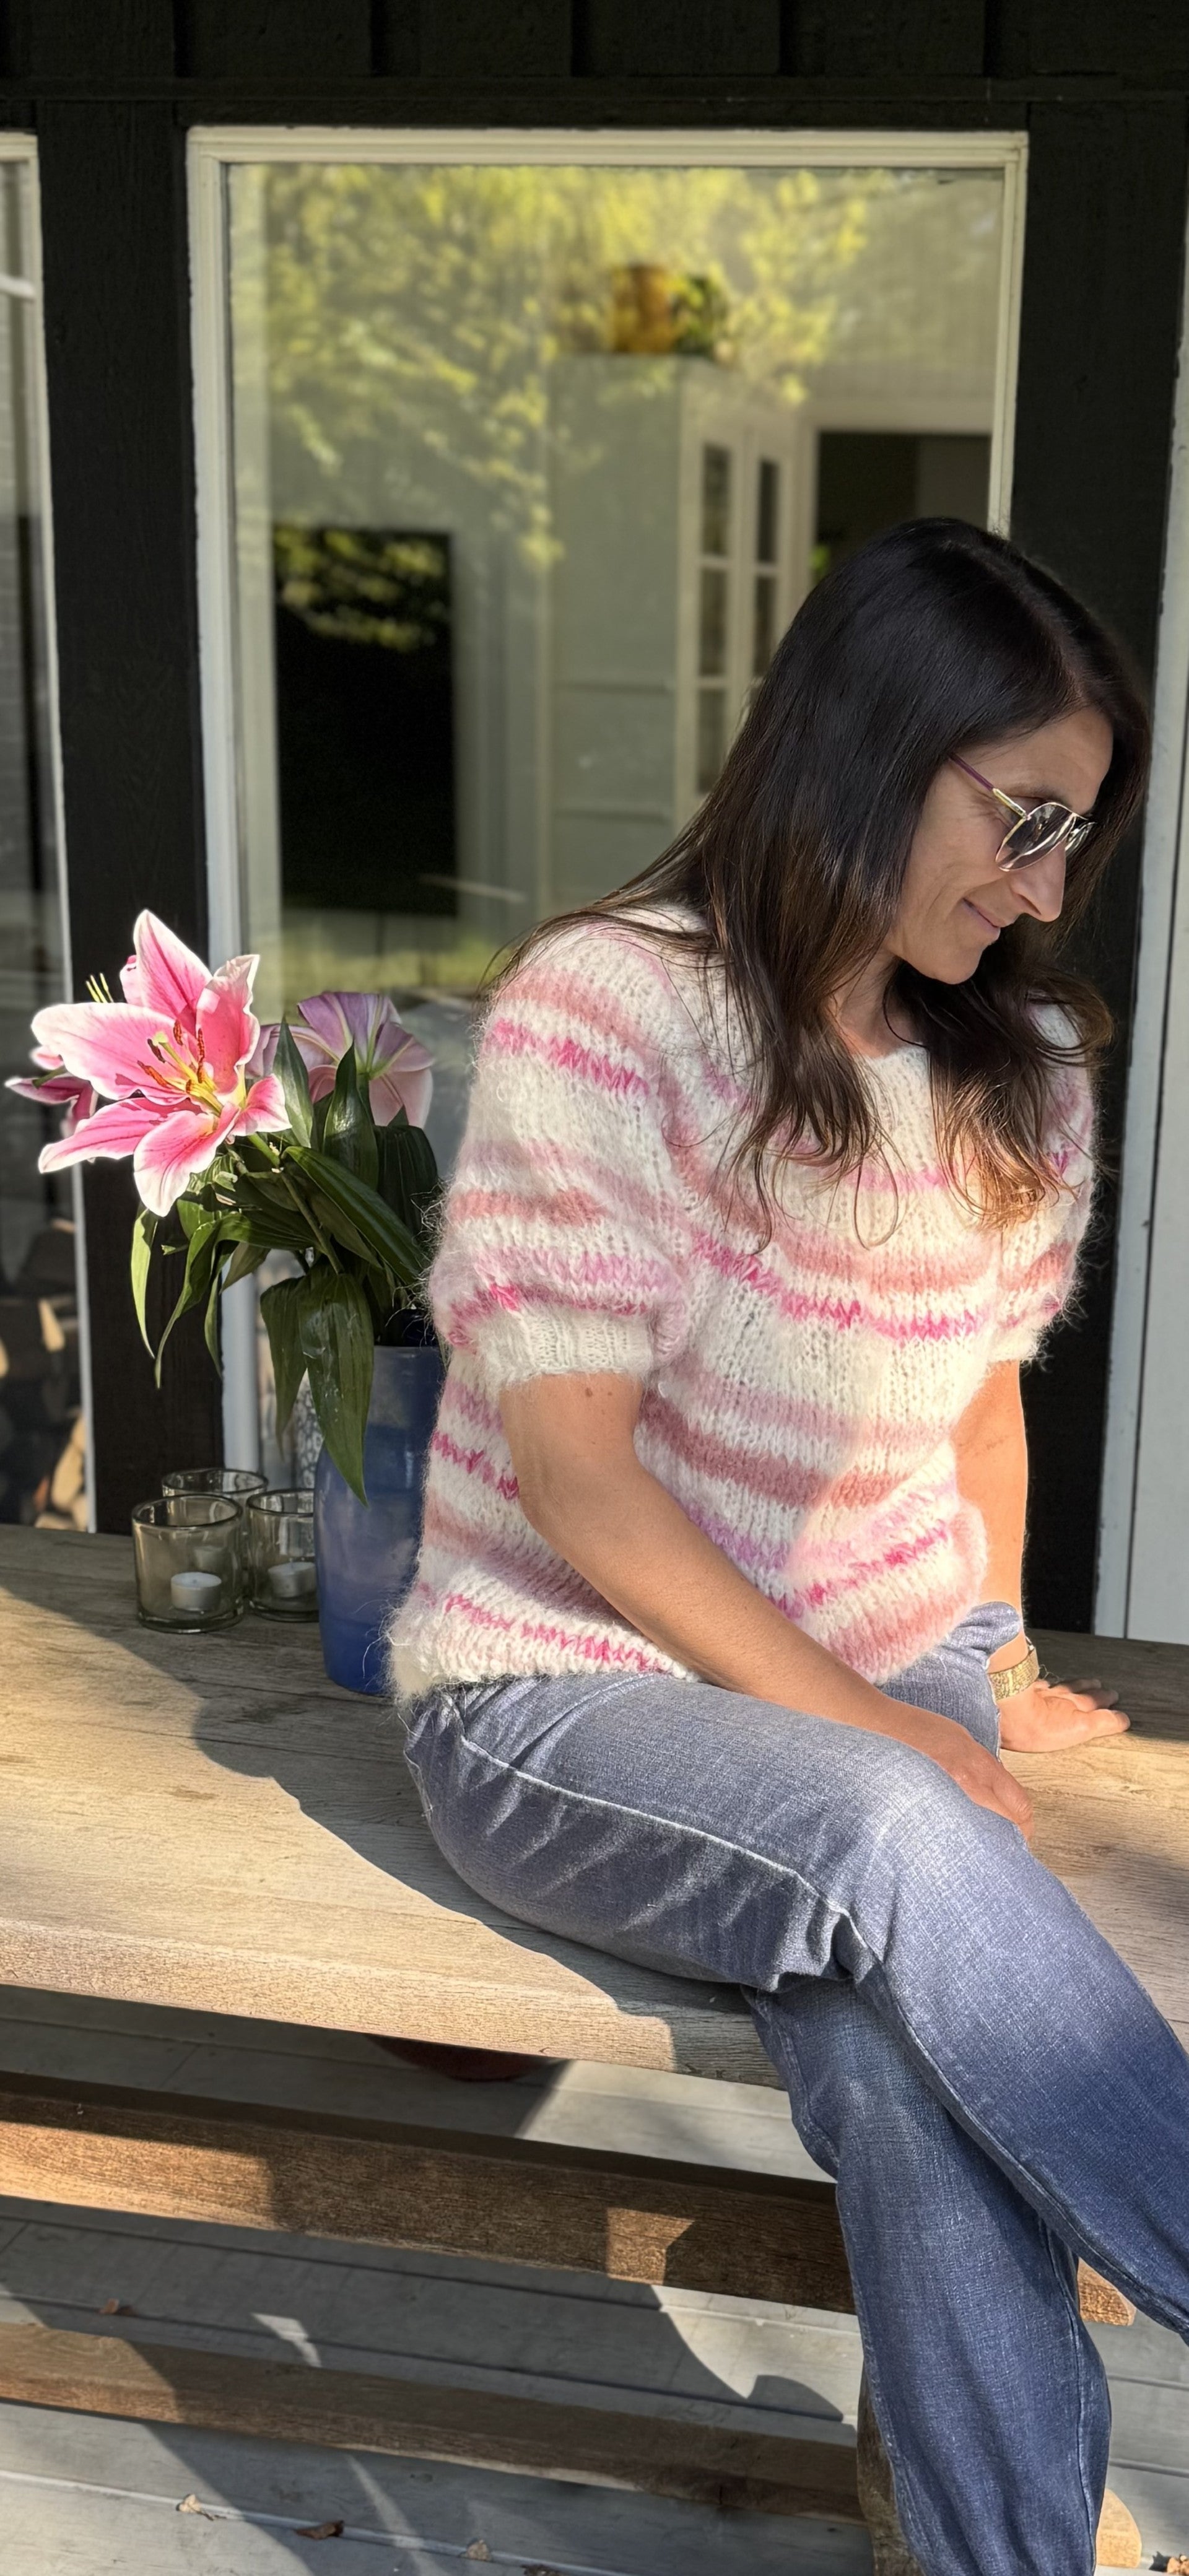
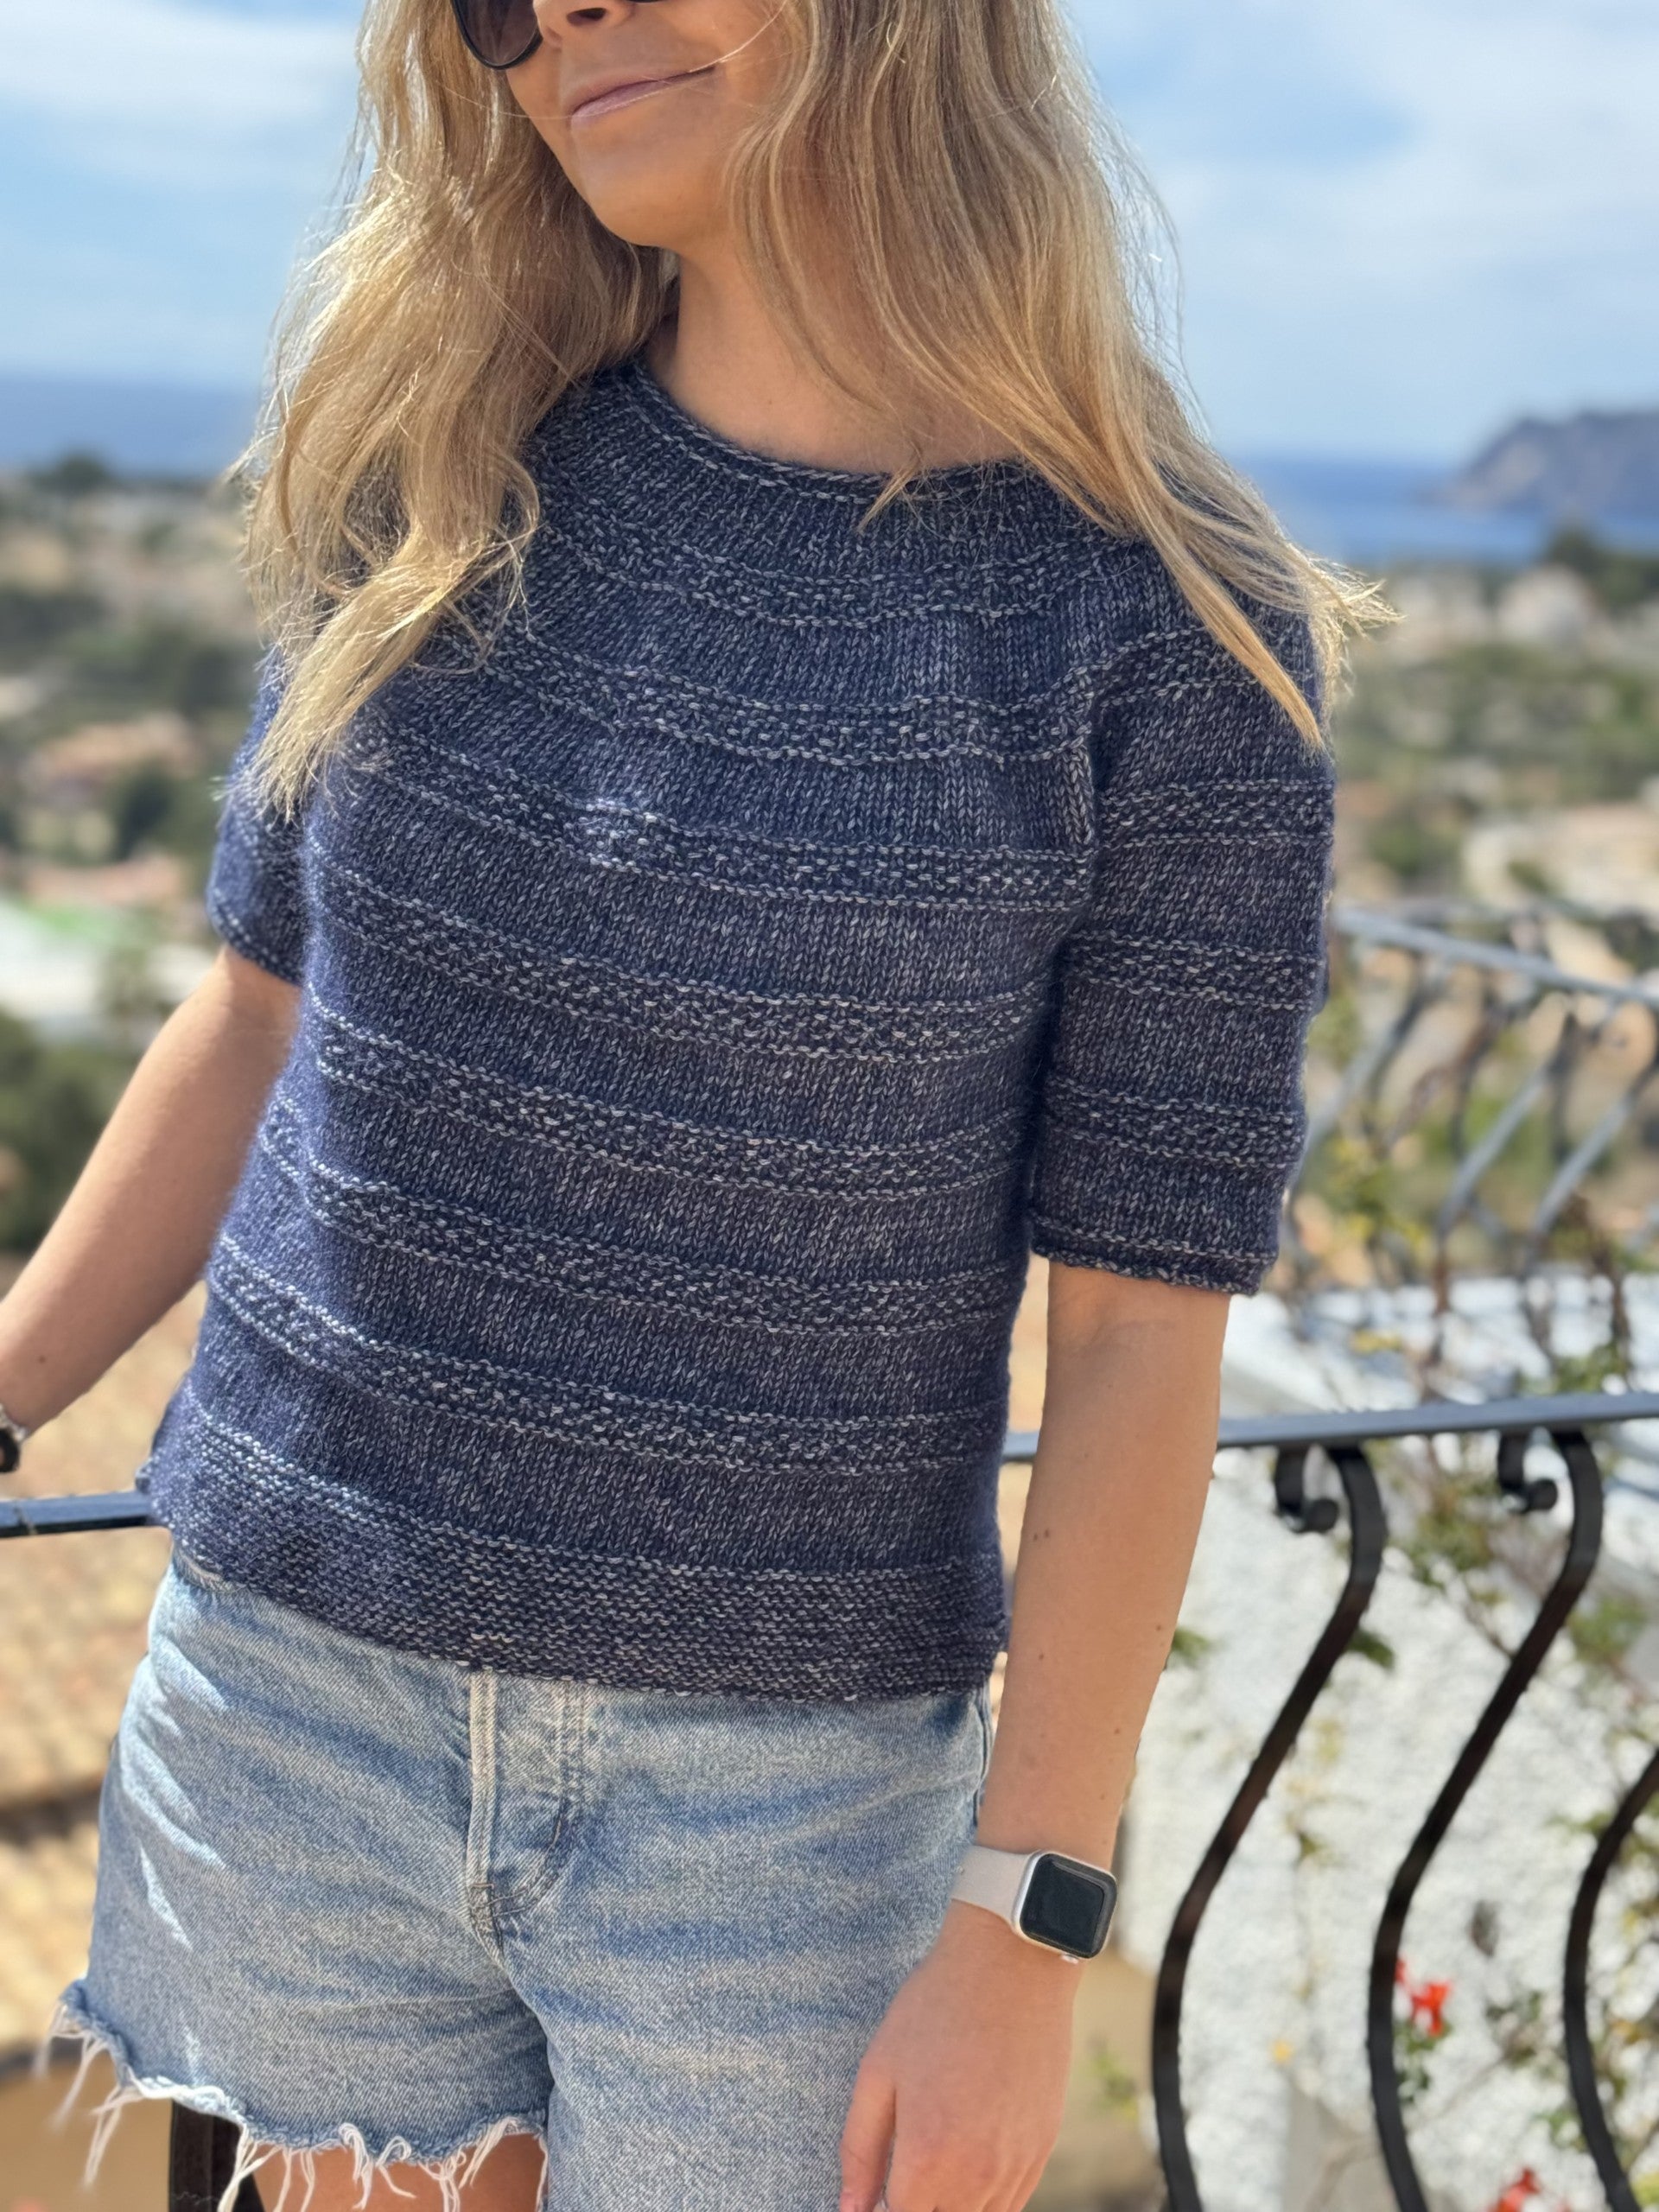
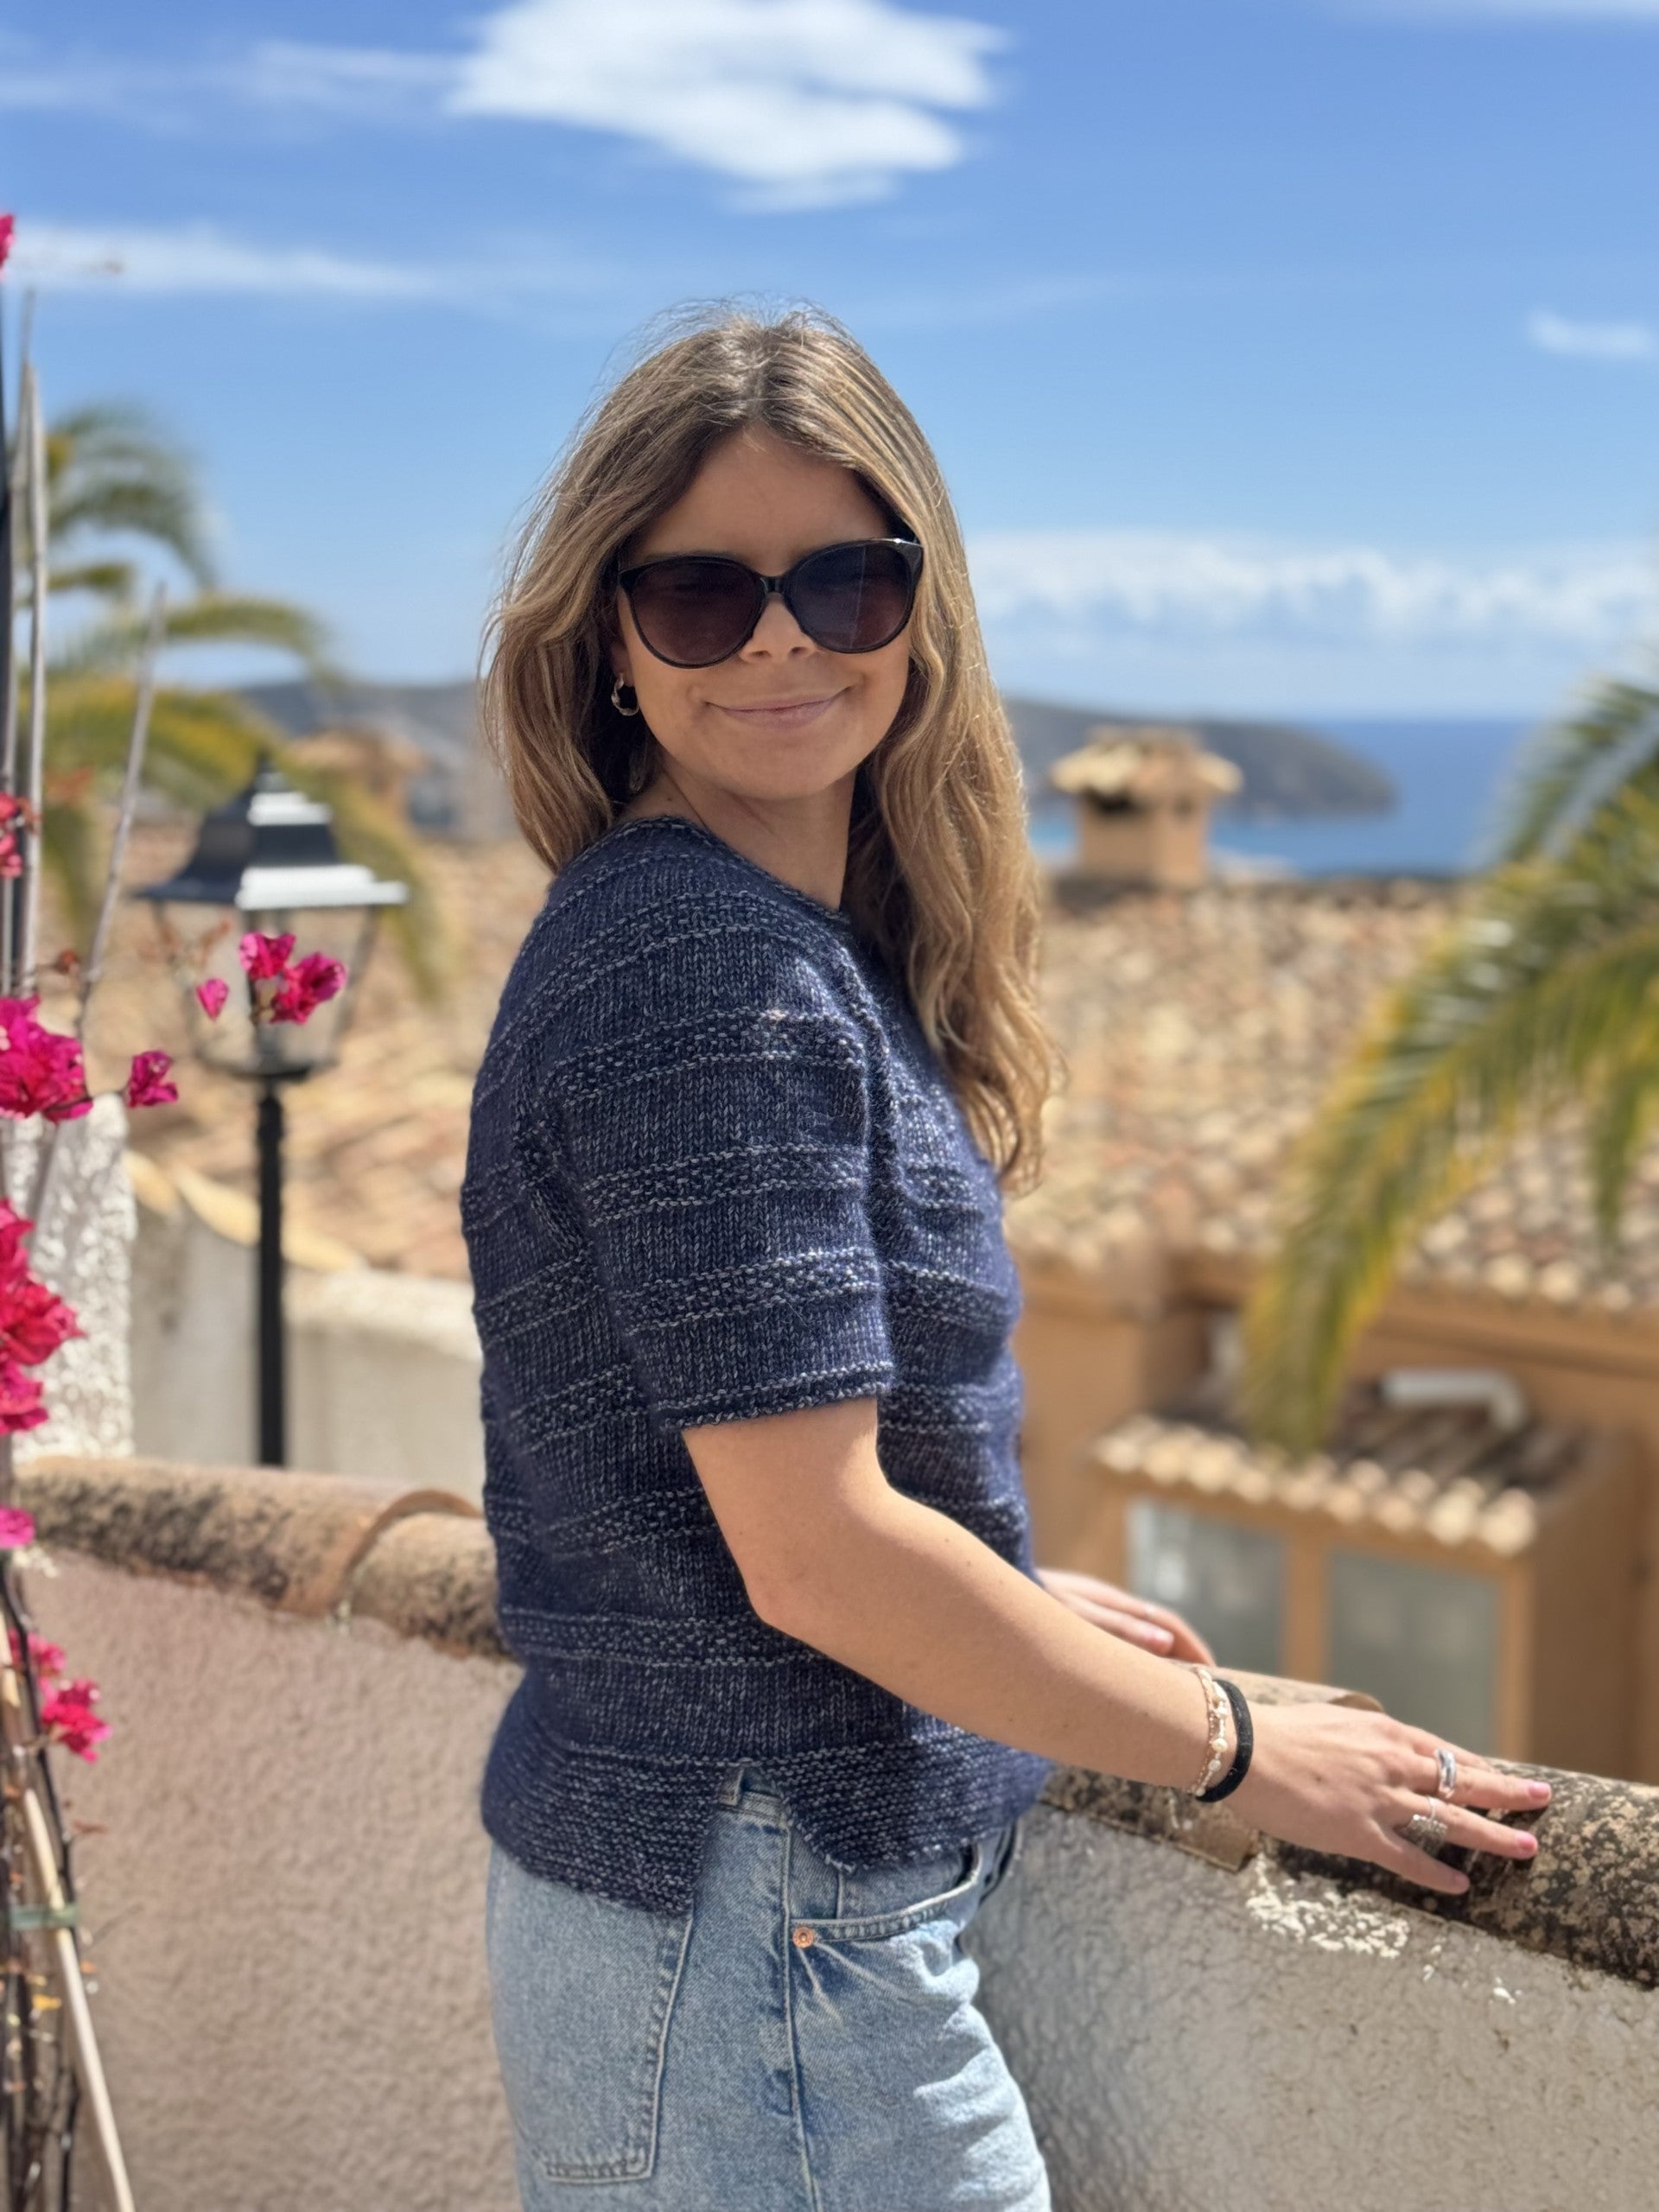
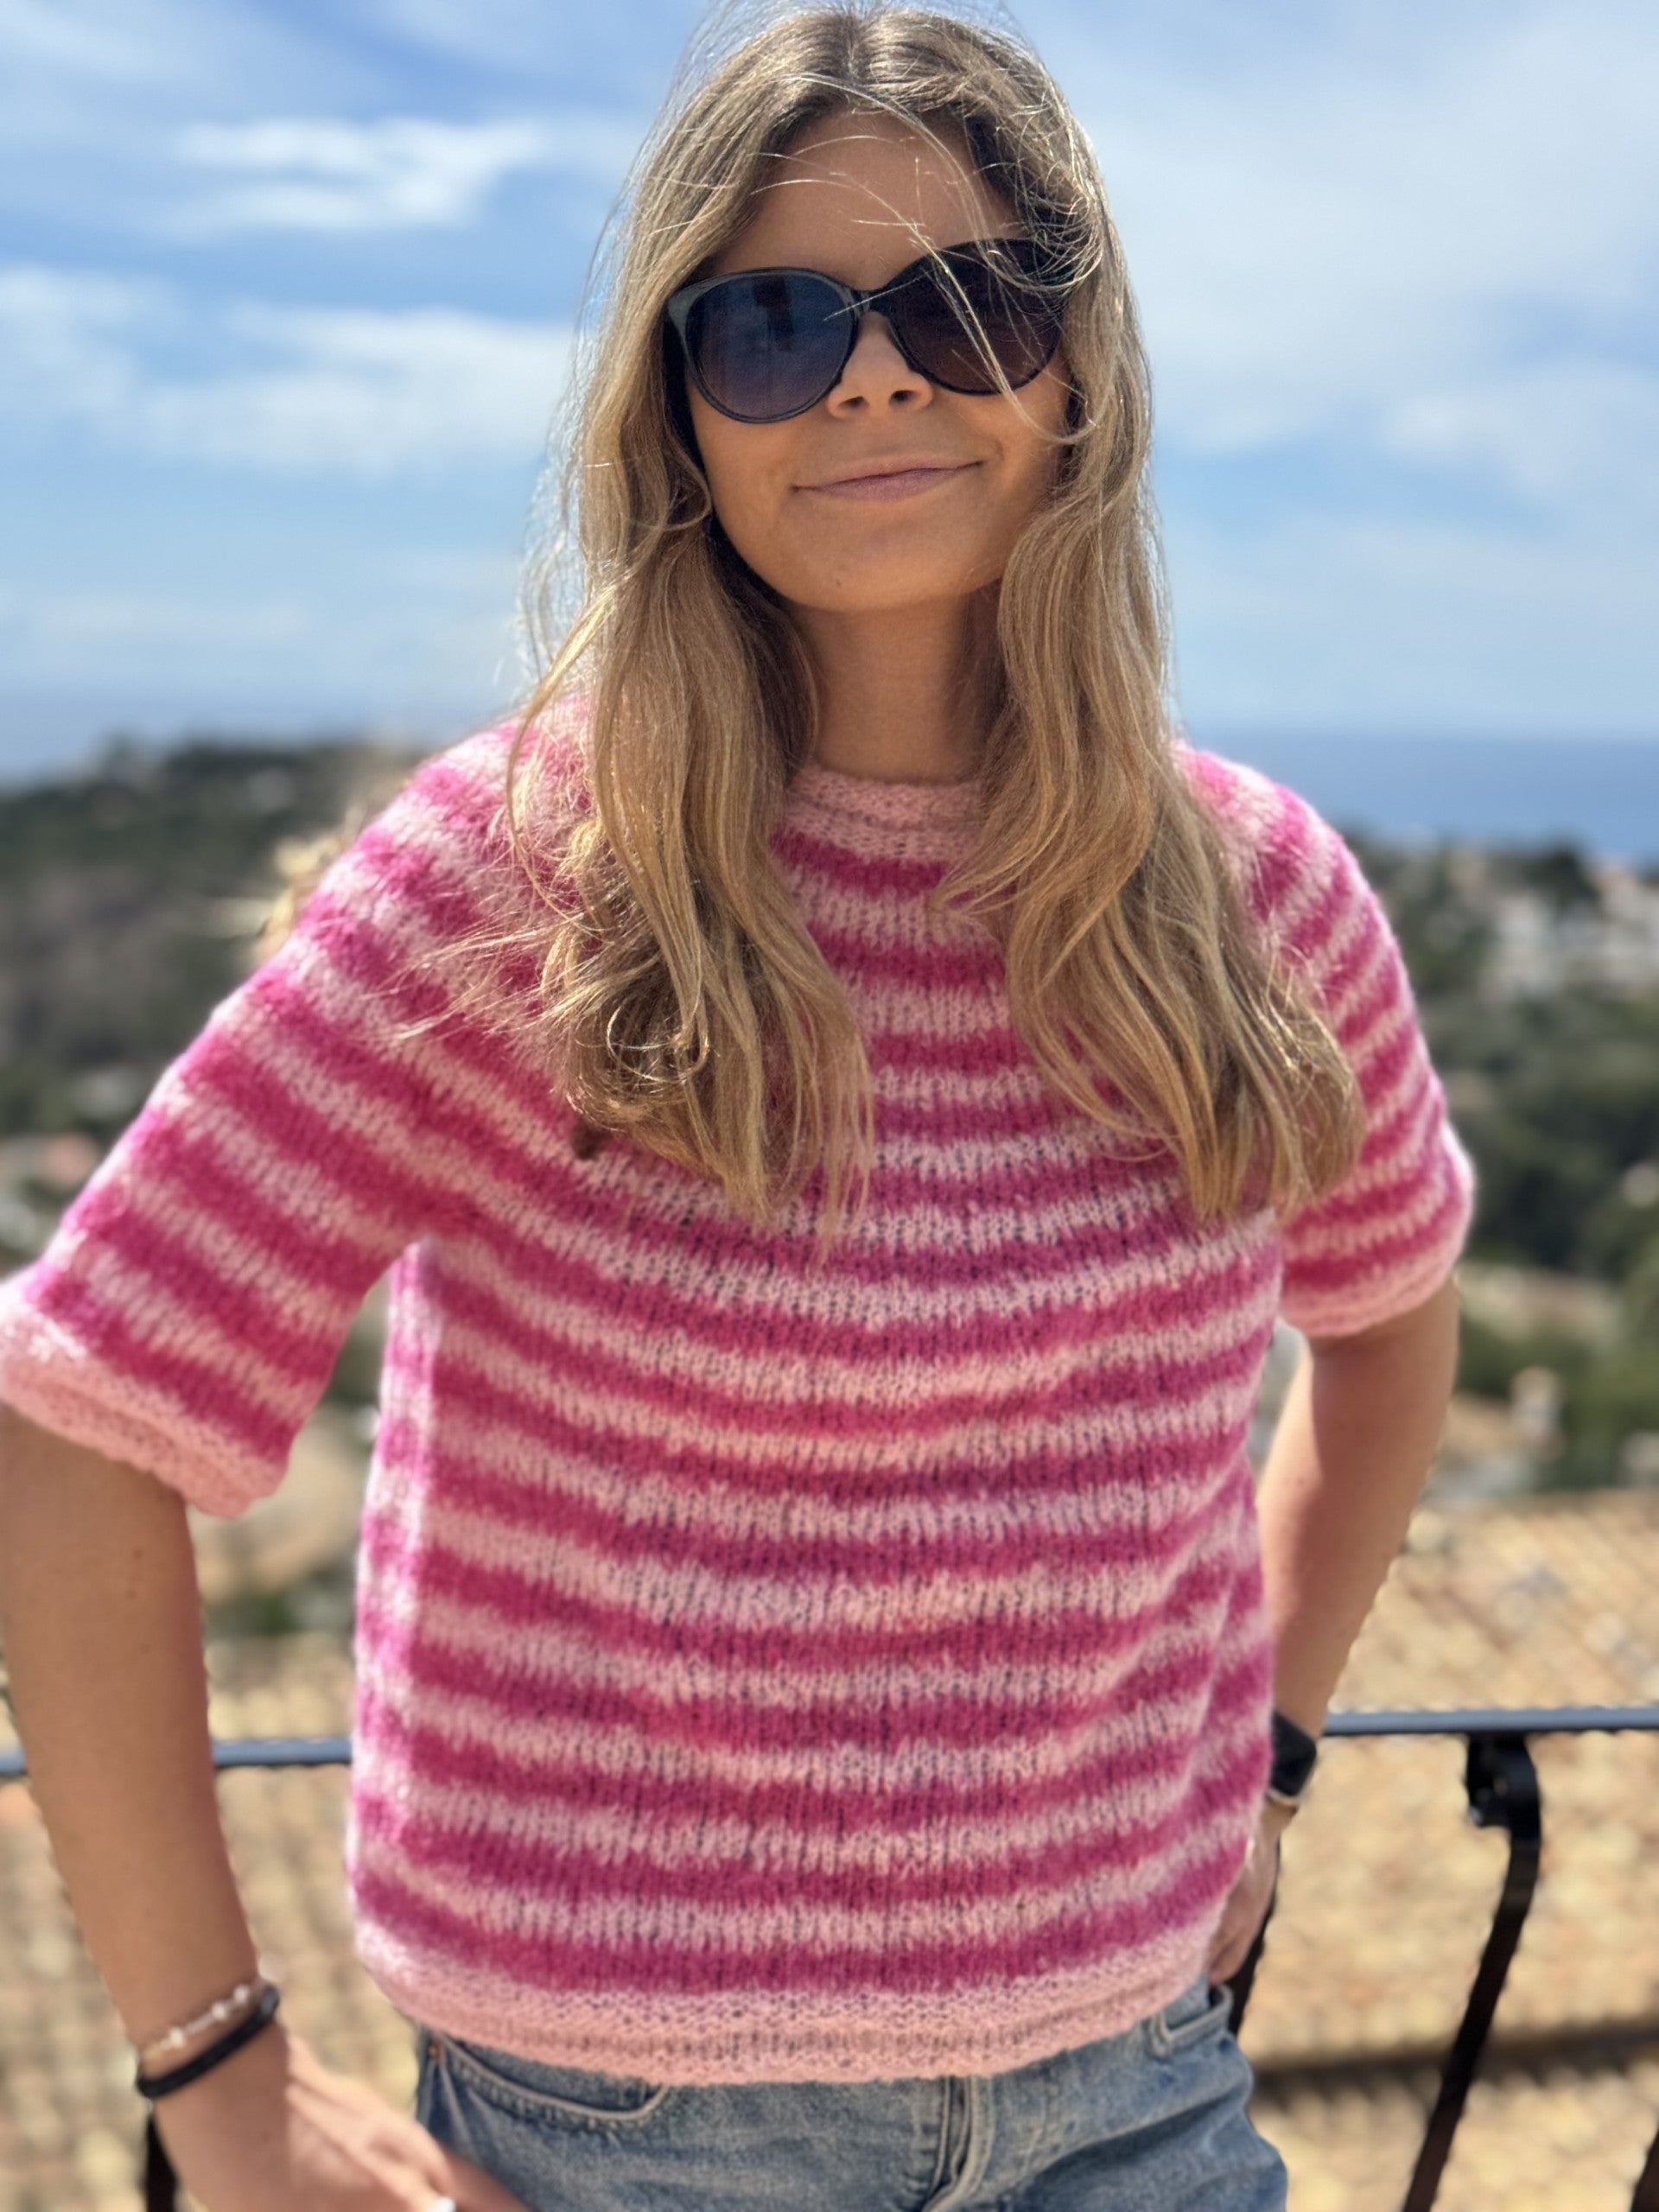
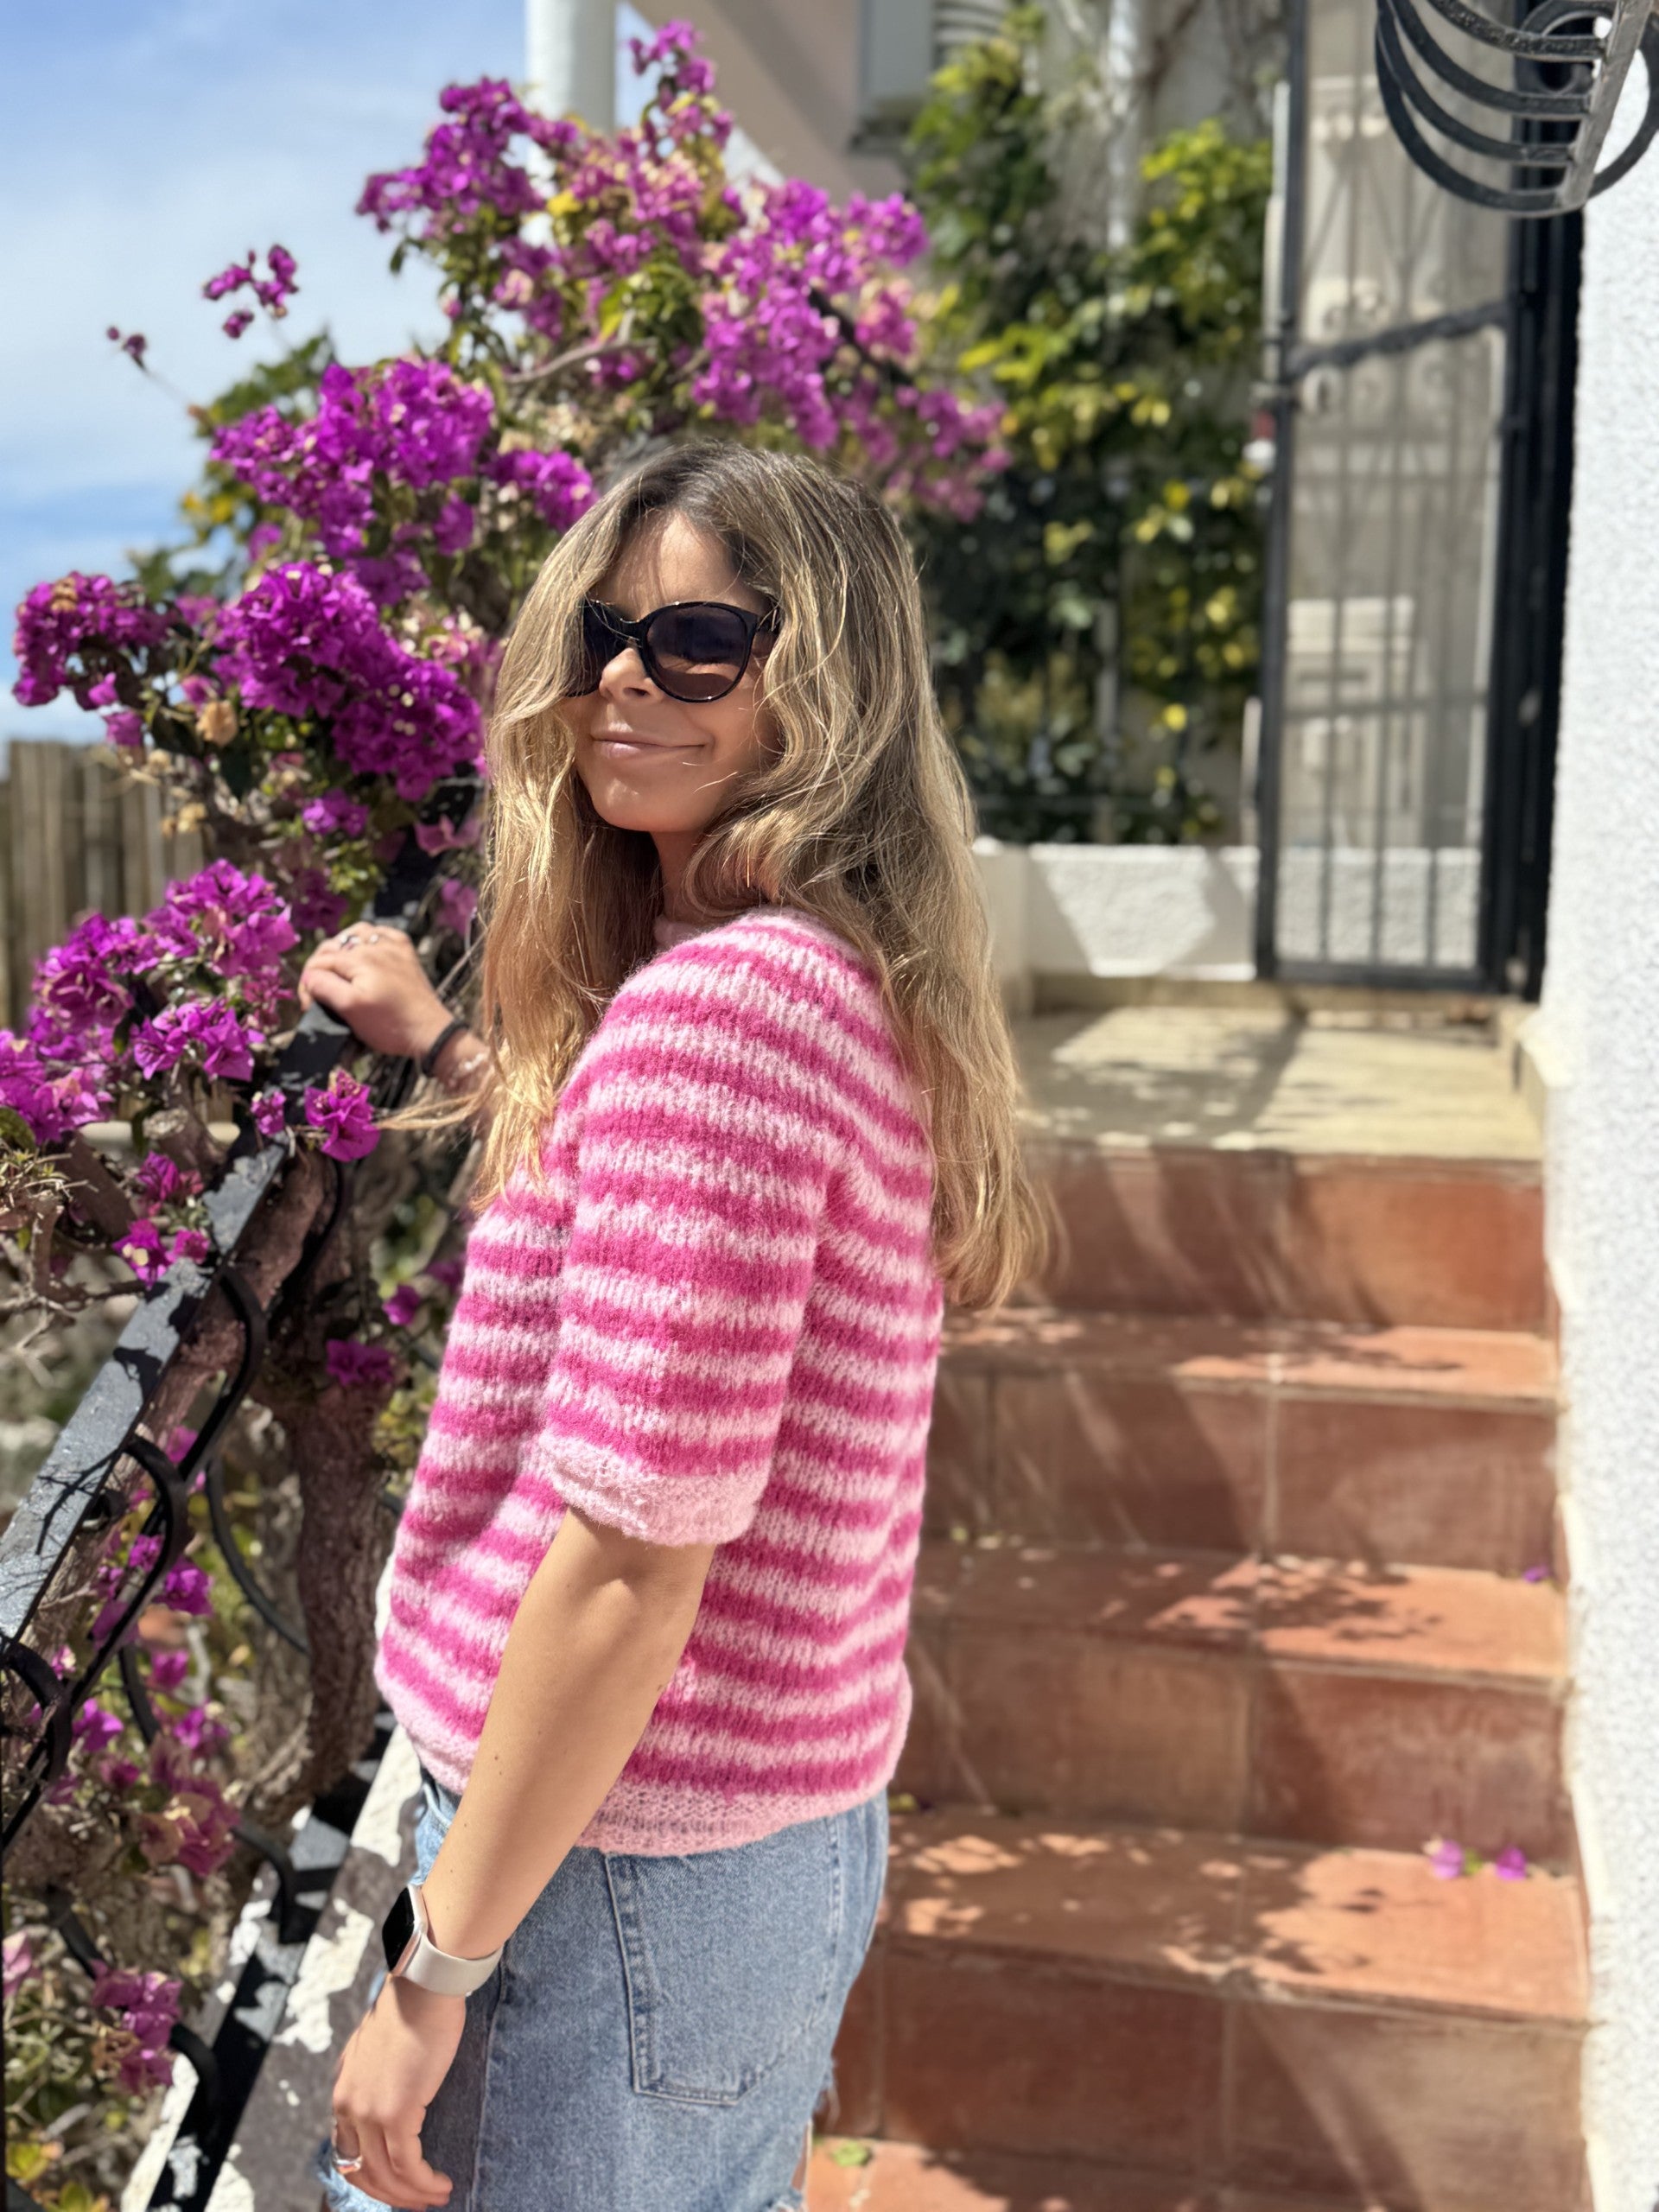
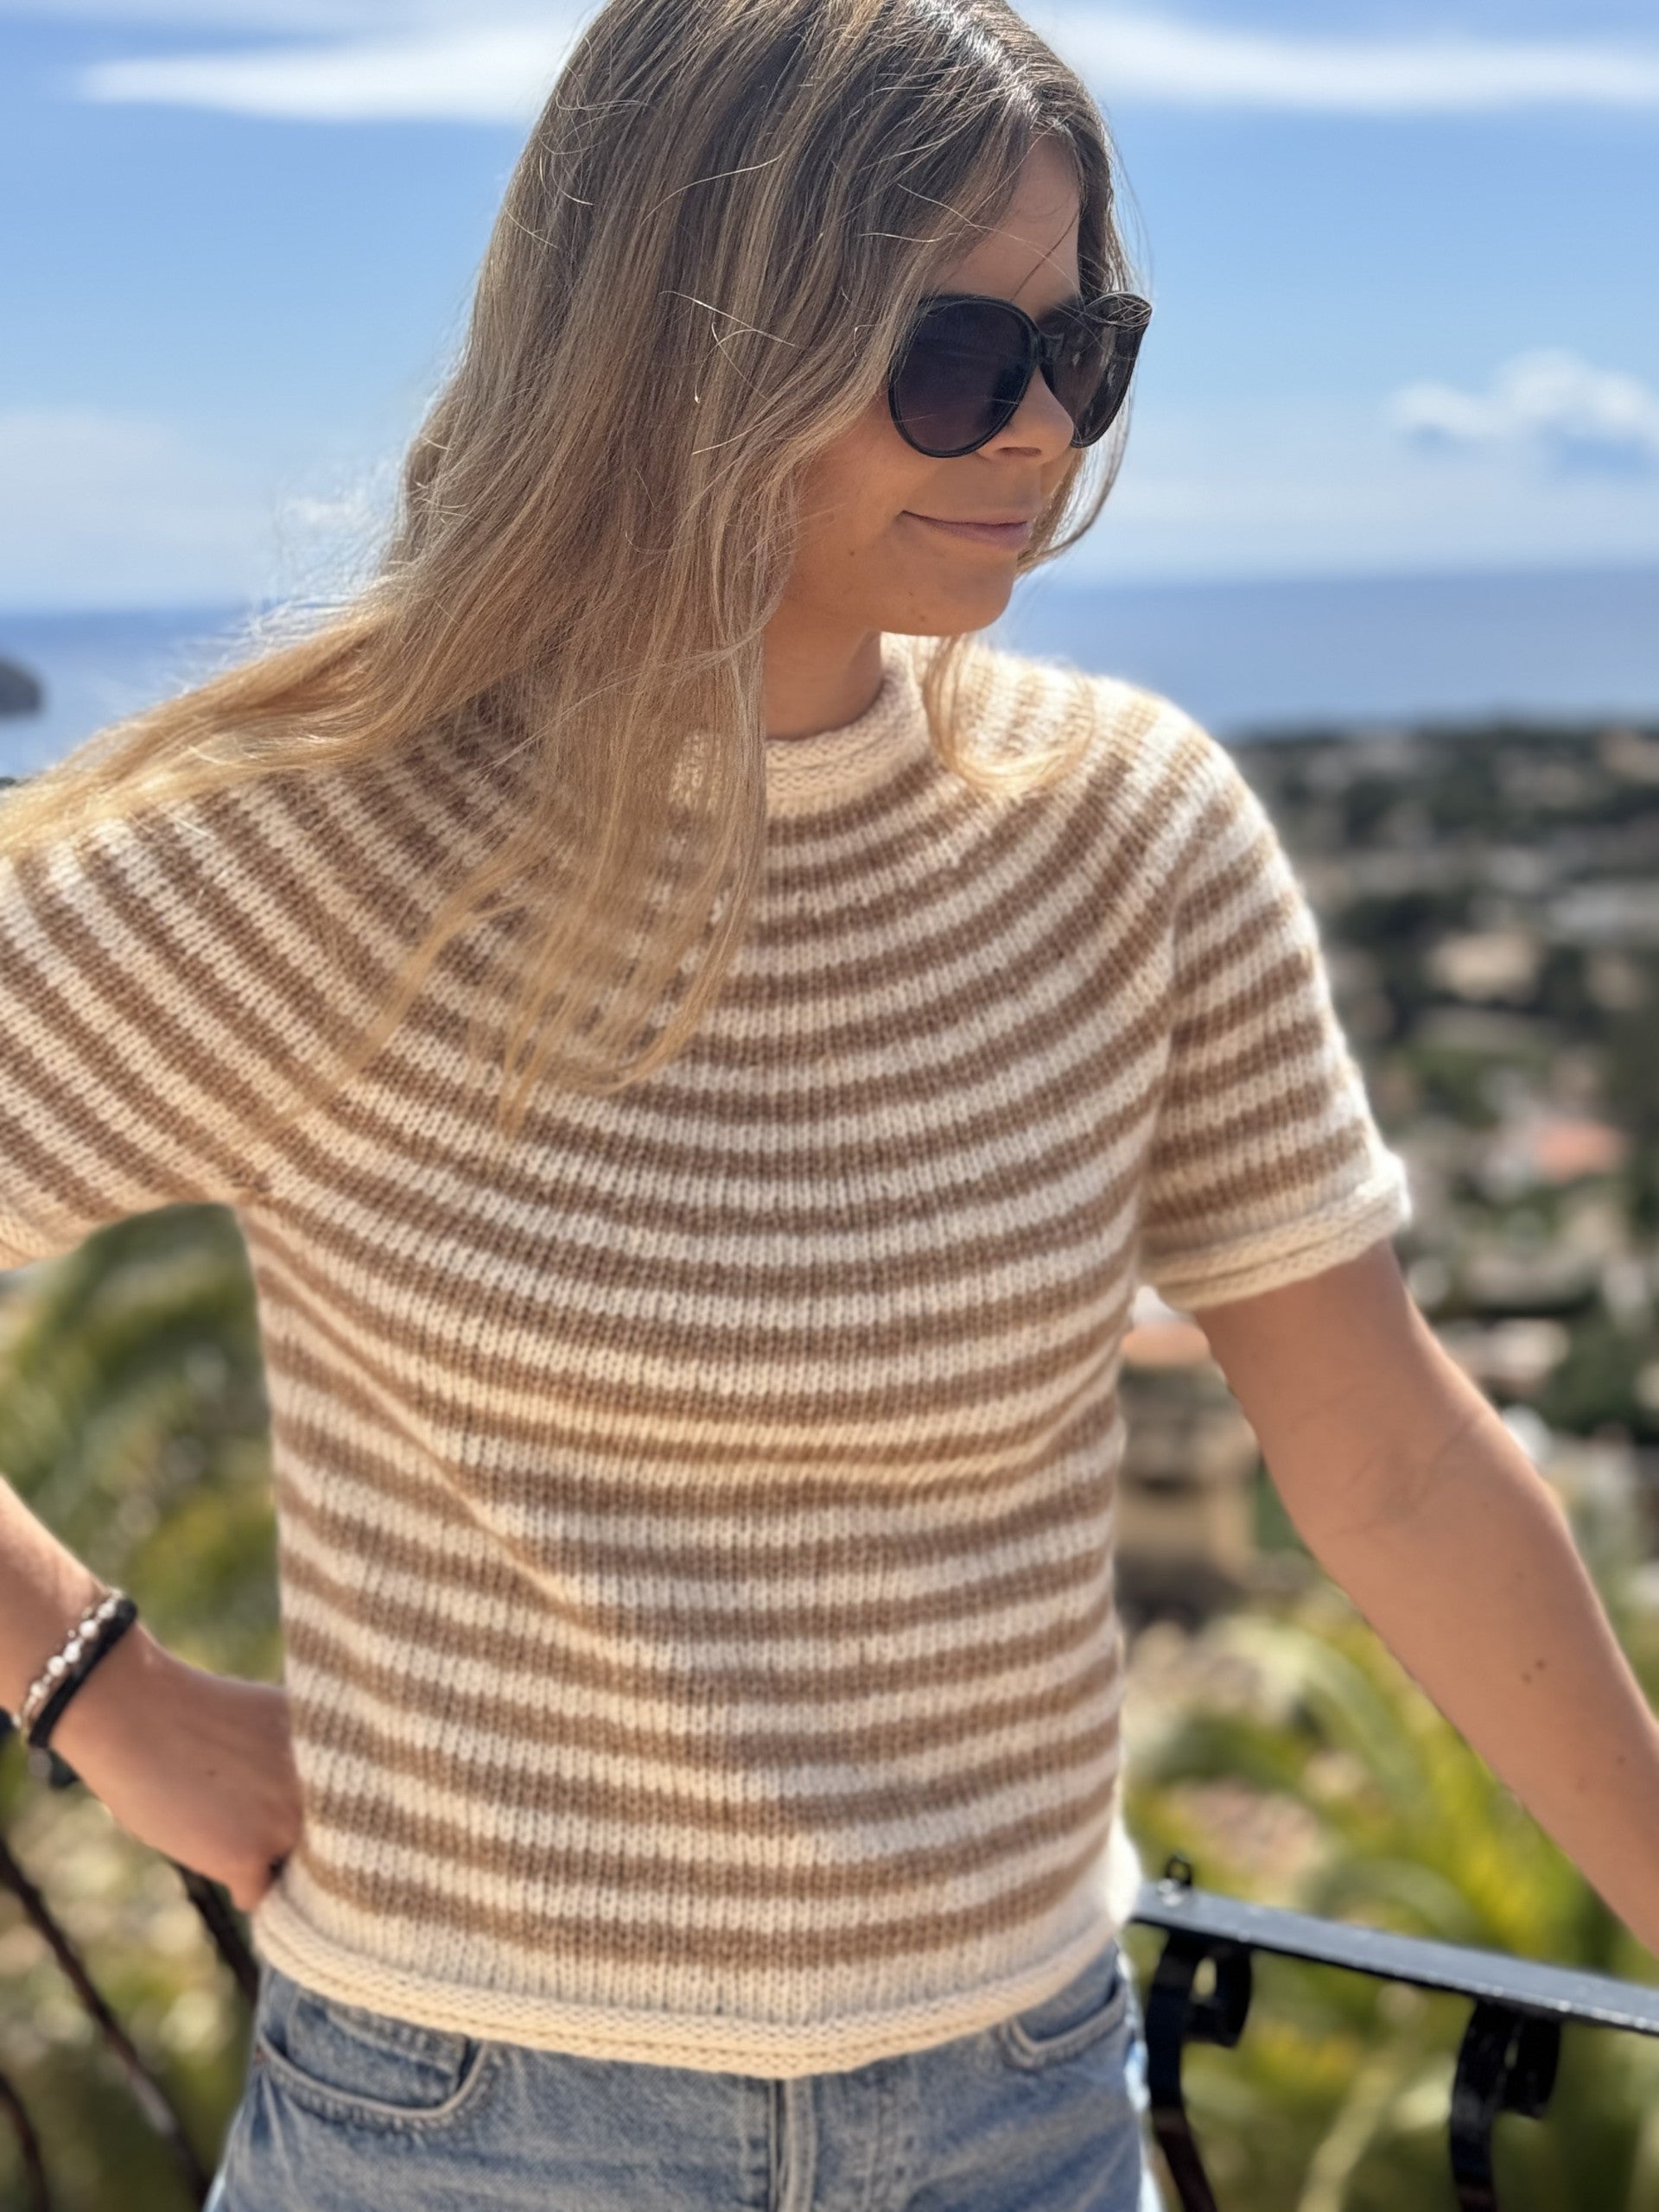
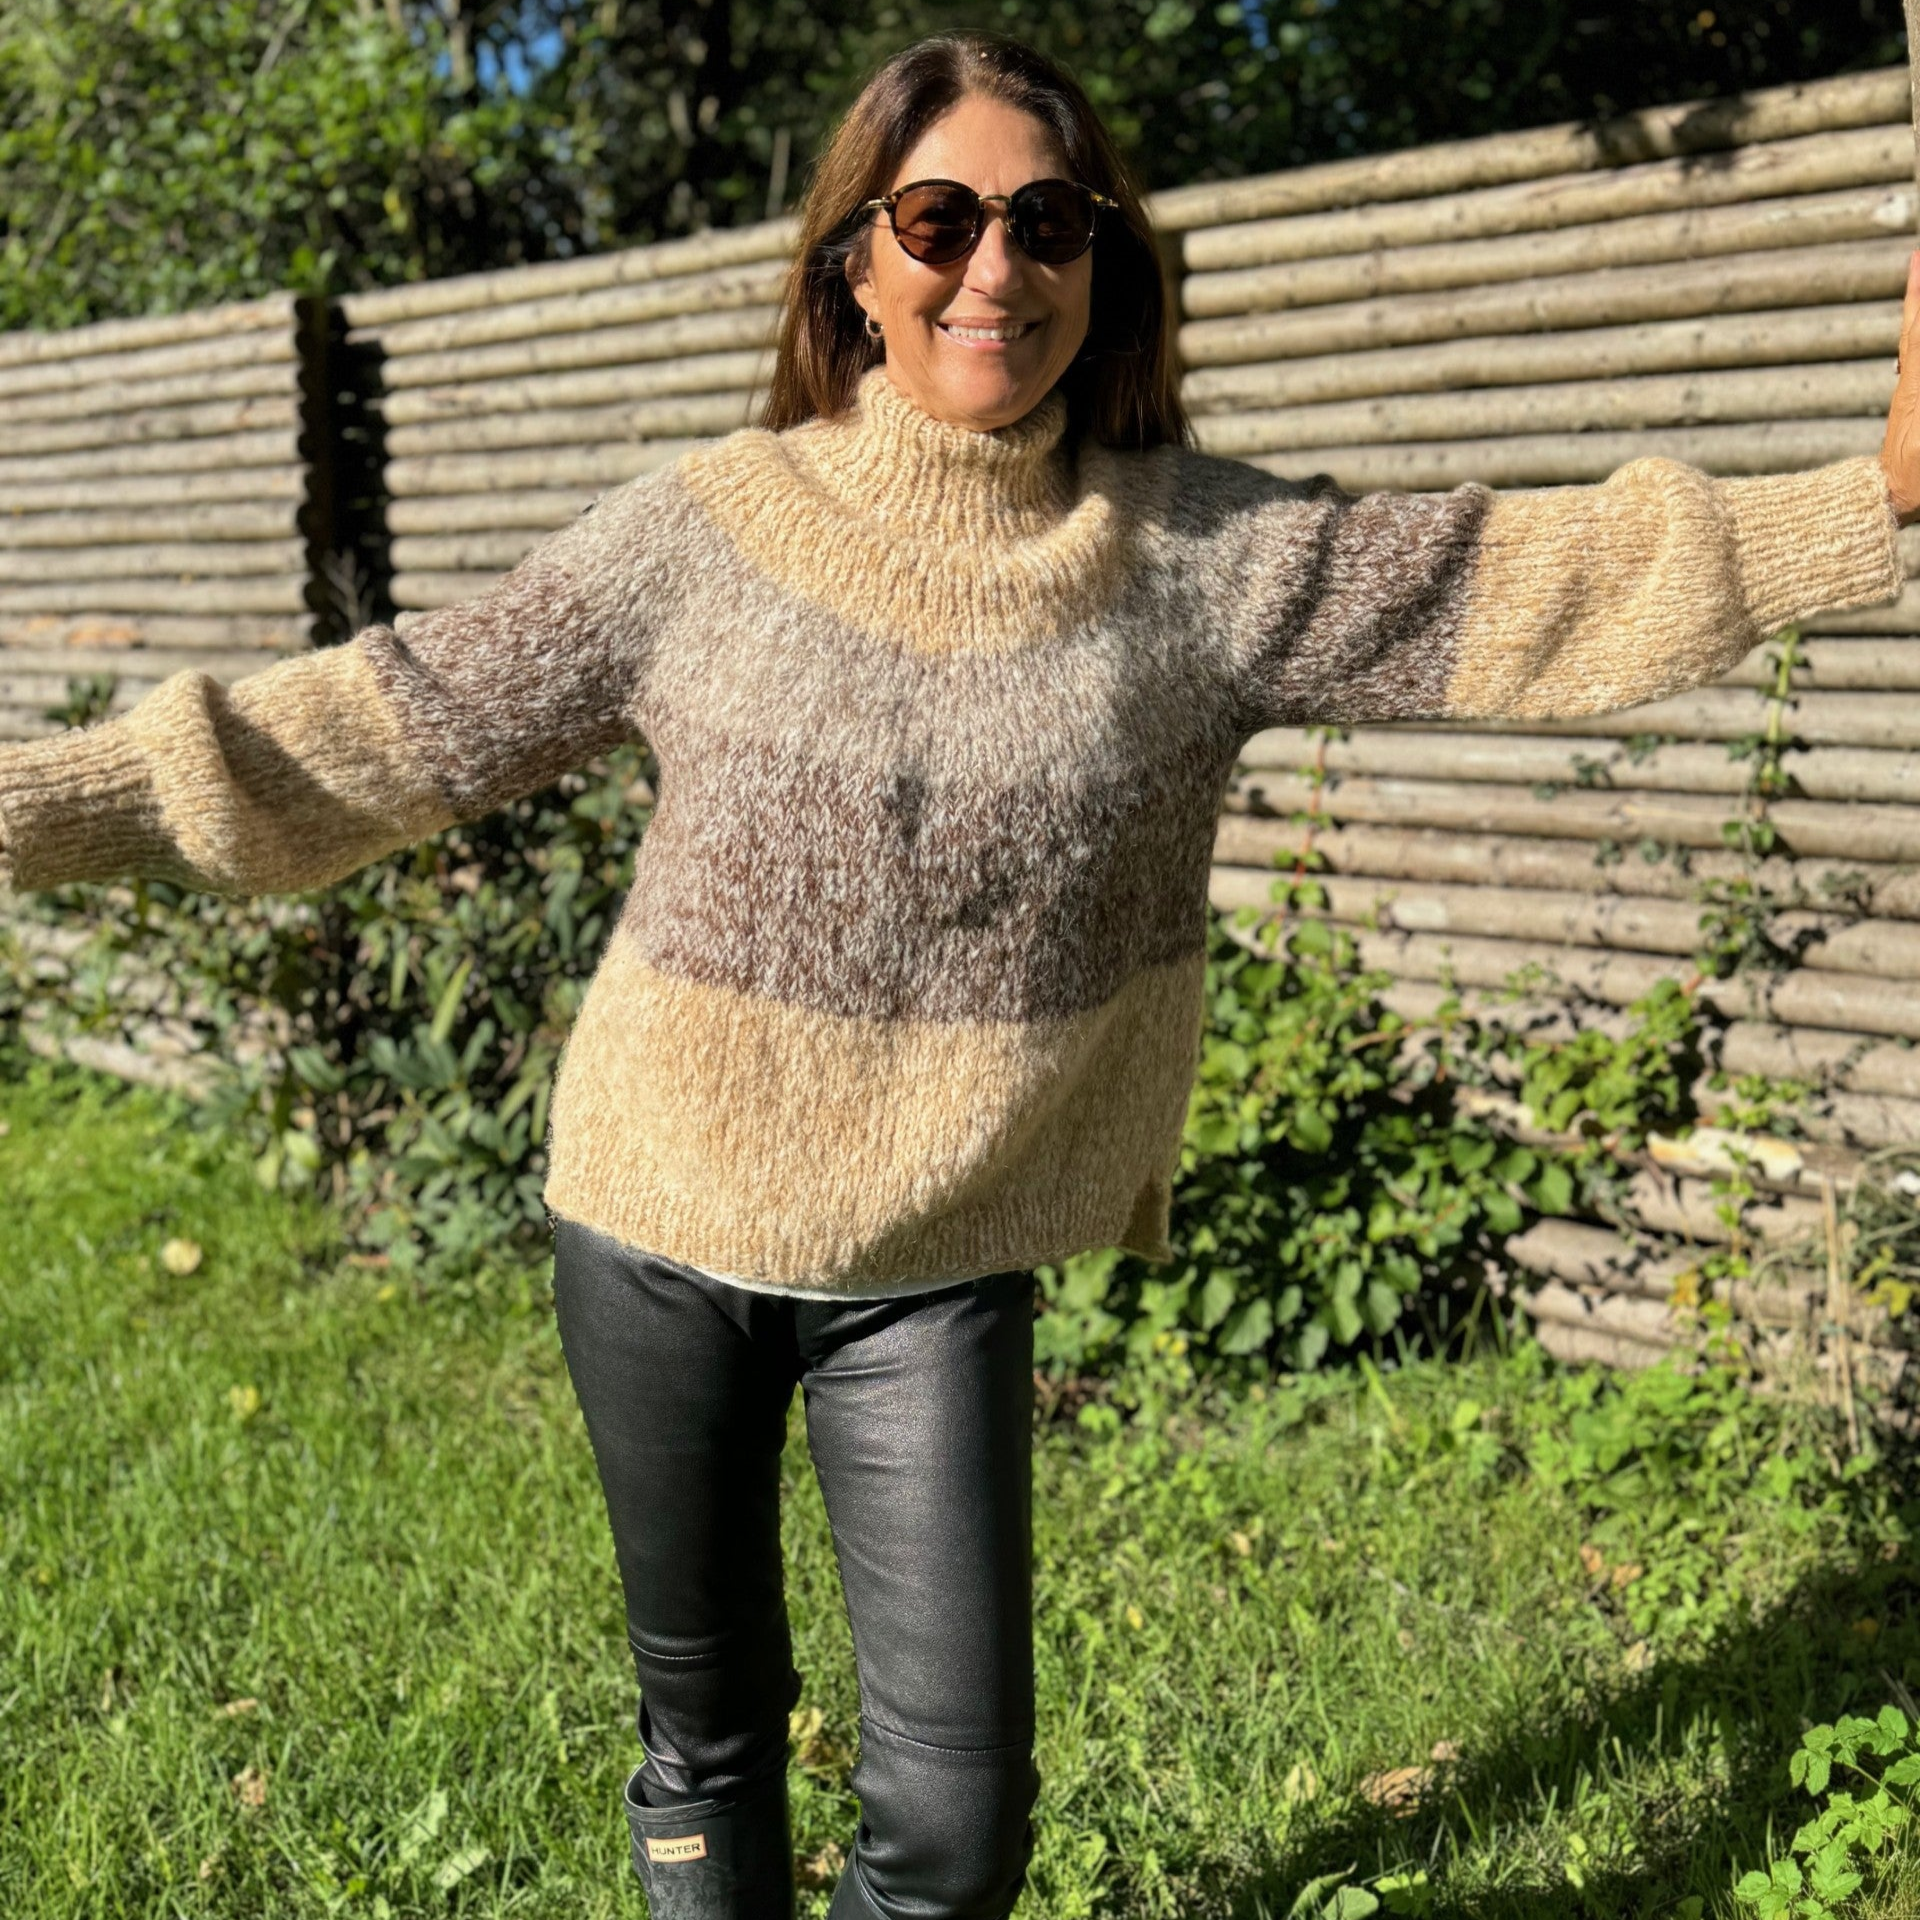
Sweater B has a round neckline and is worked from the top down in stockinette stitch. First, you work the upper part of your back. Then, stitches are picked up along the cast-on edge. Sweater B is worked in one piece.
Increases: Worked when shaping your V-neck.
Inc-r: Using the left needle, lift the strand between two stitches from the back and knit the strand.
Inc-l: Using the left needle, lift the strand between two stitches from the front and knit the strand twisted.
|
The yarn requirement is a guide, as it depends a lot on your personal tension.
Therefore, it is important to make a gauge swatch.
Before you begin
Read through the pattern and familiarise yourself with the various methods and abbreviations used along the way. It is a pity to get stuck once you are well underway.
Always knit a tension swatch before you begin the pattern. You do this by knitting a square piece using the number of stitches and needles stated under "tension" in the pattern. Then, measure to see if the piece measures 10cm x 10cm. If it is too small, you can switch to a larger needle, and vice versa if the piece is too large. This ensures that you end up with a project that matches the chosen size as closely as possible, saving you from wasting valuable knitting time on something you won't be able to use.
Back
You start with your back
Cast on 26 (26) 28 stitches on 8 mm needles. Knit in stocking stitch.
You now need to start shaping your shoulders. (It is important that you pull your yarn tight when knitting your 2 loop stitches the first time)
- Knit one row knit
- Cast on 2 loop stitches.
- Turn your work
- Purl
- Cast on 2 loop stitches.
This is repeated a total of 8 (9) 8 times.
Then cast on 3 loop stitches and repeat 2 (3) 5 times.
- Knit one row knit
- Cast on 3 loop stitches.
- Turn your work
- Purl
- Cast on 3 loop stitches.
Then cast on 3 loop stitches in each side a total of 2 (3) 5 times.
Your work now consists of 70 (80) 90 stitches.
Now work stocking stitch back and forth until your work measures 21 cm from the middle of your back.
Then you need to start knitting your pattern.
Pattern 1.
Now you need to start knitting double pearl knit.
- Knit 2, purl 2, purl the whole round.
- Now knit over knit and purl over purl in the round.
- Round knit 2 purl, 2 knit
- Knit over your knit stitches and purl over your purl stitches.
Change yarn to your colour number 2.
Knit 2 rows stocking stitch in colour 2.
Change to colour 2.
Now work back and forth until your work measures 28 (30) 32 cm
Break the yarn and let the stitches rest.
Now you have divided your work into sleeves, front piece and back piece.
Left shoulder
Now you need to start forming your shoulders.
Left shoulder (Left side when wearing sweater)
Important: the new stitches are picked up between the stitches and not in the stitches, then you will get a result where your cast on will be neat.
Pick up stitches in the leftmost stitches, in the cast-on edge of the back piece from RS 22 (27) 32 .
Then work 4 (4) 6 rows. Work first and last row from wrong side.
Worked in stocking stitch.
Then start shaping your V-neck:
- Knit 3 stitches
- Make a V-increase,
- Now knit to the end of the row.
- Turn your work
- Purl back.
This is repeated 13 (13) 13 times in total.
You have now increased your number of stitches by 13 stitches and now have 35 (40) 45 stitches
Break the yarn and let your left shoulder rest.
Right shoulder
Worked at the beginning and end of your row.
Always remember to make your increases on the right side.
Pick up stitches in the rightmost stitches, in the cast-on edge of the back piece from RS 22 (27) 32.
Then work 4 (6) 6 rows. Work first and last row from wrong side.
You are now on the right side of work.
Then start shaping your V-neck:
Knit until 3 masks before row ends
- Make an h-out,
- Now knit to the end of the row.
- Turn your work
- Purl back.
This is repeated 13 times in total.
You have now increased your number of stitches by 13 stitches and now have 35 (40) 45 stitches
Break the yarn and let your left shoulder rest.
Let the work rest.
Now you need to join your 2 shoulders and you need to knit the upper part of the front piece.
Worked in stocking stitch.
Now work stocking stitch back and forth until your work measures 21 cm from the middle of your back.
Then you need to start knitting your pattern.
Pattern 1.
Now you need to start knitting double pearl knit.
- 1. Knit 2, purl 2, purl the whole round.
- 2. Now knit over knit and purl over purl.
- 3. Knit 2, purl 2 in the round
- 4. Knit over your knit stitches and purl over your purl stitches.
Change yarn to your colour number 2.
Knit 2 rows stocking stitch in colour 2.
Change to colour 2.
Now work back and forth until your work measures 28 (30) 32 cm
Break the yarn and let the stitches rest.
Body
Work body in the round on circular needle size 8 mm, 80 or 100 cm
Now you need to gather your work:
It is worked with colour 2. Work in the round.
- Knit back
- Join back and front,
- Knit front piece
- Join the other front piece with the front piece.
- Knit the front piece
- Set a stitch markers (this is your lap start)
- Knit front piece and back together
Now you need to start with Pattern 1 (colour 2).
Pattern 1.
- Knit 2, purl 2, purl the whole round.
- Now knit over knit and purl over purl.
- (we knit double pearl knit)
- needle size 2 purl, 2 knit
- Knit over your knit stitches and purl over your purl sts.
- Pattern 1 is repeated 2 times
Repeat pattern 1, 2 times, (i.e. 8 rows)
Change to colour 2.
Knit one round.
Then:
Pattern 1
- Knit 2, purl 2, purl the whole round.
- Now knit over knit and purl over purl in the round.
- (we knit double pearl knit)
- Round knit 2 purl, 2 knit
- Knit over your knit stitches and purl over your purl stitches.
Repeat pattern 1 a total of 2 times.
Knit 5 rounds.
Change colour 2. Knit Pattern 1.
- Knit 2, purl 2, purl the whole round.
- Now knit over knit and purl over purl in the round.
- (we knit double pearl knit)
- Round knit 2 purl, 2 knit
- Knit over your knit stitches and purl over your purl stitches.
One round.
Change to colour 1.
Pattern 1.
- Knit 2, purl 2, purl the whole round.
- Now knit over knit and purl over purl in the round.
- (we knit double pearl knit)
- Round knit 2 purl, 2 knit
- Knit over your knit stitches and purl over your purl stitches.
Repeat pattern 3 times.
Then knit the remaining rounds until your work measures 46 (48) 50 cm from the middle of the back.
Rib edge
You continue on needle and color 1.
Work (K 2, D 2) all the way around for 8cm.
Sleeves
The sleeves are worked on circular needle size 8 mm (40) cm.
Knit in colour number 1.
Pick up stitches along your armhole. Pick up stitches along right side along sleeve opening 48 (50) 550 stitches.
Put a marker in your armhole so you know where you started.
Work in the round until sleeve measures 29 (30) 30 cm
Switch to circular needle size 4 mm (40 cm) and work a round.
Decrease 8 (10) 10 stitches evenly on your round. You do this by knitting two stitches together on your round.
Then you knit (2 knit, 2 purl); your ribbing now consists of 40 (40) 40 stitches.
Switch to colour 2 when your ribbing measures 10 cm.
Knit until the ribbing measures a total of 15 (16) 18 cm or the desired length.
V-neck
You now need to start knitting your neckline on 4 mm needles (60 or 80 cm)
Start by picking up 32 (32) 32 stitches at the back of the neck, pick up 28 (56) 60 along the side, 2 stitches in your V and place a stitch marker between the 2 stitches you pick up in your V, 28 (56) 60 on the other side, and place a stitch marker in a different colour so you can tell the difference between your V and where your round begins.
You need to knit a double rib edge that you then fold and sew together at the end.
You start by knitting a section with 2 knit, 2 purl. It is important that you knit your 2 stitches knitwise around your stitch marker in the V shape. These stitches are always knitted knitwise.
Now you need to decrease like this:
The rib pattern is (k2, p2)
- Knit up to 2 stitches before your stitch marker
- Knit 2 stitches together
- Slip your stitch marker onto your right needle
- Knit 2 stitches together (this is done by working them through the back loop, meaning you knit them together from behind. This is called a twisted knit.)
- Then one round without decreases.
This is repeated 5 times in total.
Then one round without knitting stitches together.
Now you need to increase stitches:
- Knit up to 1 stitch before your stitch marker, make 1 increase,
- k1,
- Move the stitch marker
- Knit one knit stitch.
- Then a v-neck.
- Then one round without decreases.
Then knit over knit and purl over purl.
This is repeated 5 times in total.
Bind off.
Assembly
Now the neck edge needs to be attached. Do this by turning your sweater inside out and sewing it neatly together.
Weave in your ends.
Congratulations on your Sweaters B.
MosterMoster @COPYRIGHT 2021
MosterMoster.dk
@mostermoster.dk
The recipe is for private use only. The recipe may not be marketed, resold, copied or otherwise redistributed